Smart and creative hacks to shoot viral photos with Kenko AI Flash! Vol.4
In this series of 7 articles we will introduce smart and creative hacks to shoot amazing photos using the Kenko AI Flash AB600-R from famous Japanese photographer Kazuyuki Hagiwara. This article is 4th.
Lately, the time we spend indoors has been steadily increasing. In light of this, I thought I would capitalize on the situation and try some shooting within the home. With the concept which I have titled "Shooting at Home!", I will be utilizing the Kenko AB600-R to introduce new ways of flash photography and a wide range of usages for camera flashes. With this concept, I will be making use of regular household items as subjects for my photography.
With this concept, I will be making use of regular household items as subjects for my photography. In part 3, I made the subject a bouquet of dry flowers I had recently made. I wanted to add hard light in attempts to provide a natural sunlight aesthetic, leading to strong contrast and a sharp cut.
The flash utilized was a single AB600-R. The flash faced the subject (bouquet of dry flowers) to mimic sunlight. However, leaving this as is would have highlights everywhere and leave sharp contrast between highlights and shadows. To avoid this, I used the flash's built-in wide panel and softened the light. Personally speaking, I like this quality of light and thus I recommend you try and decide for yourself whether it works with your style of photography. You can easily change your photography settings and thus firstly, please enjoy the wide range of options the flash has to offer. If you are lost, don't stress but rather test your shooting and find what works.
My flash set-up appeared as follows:
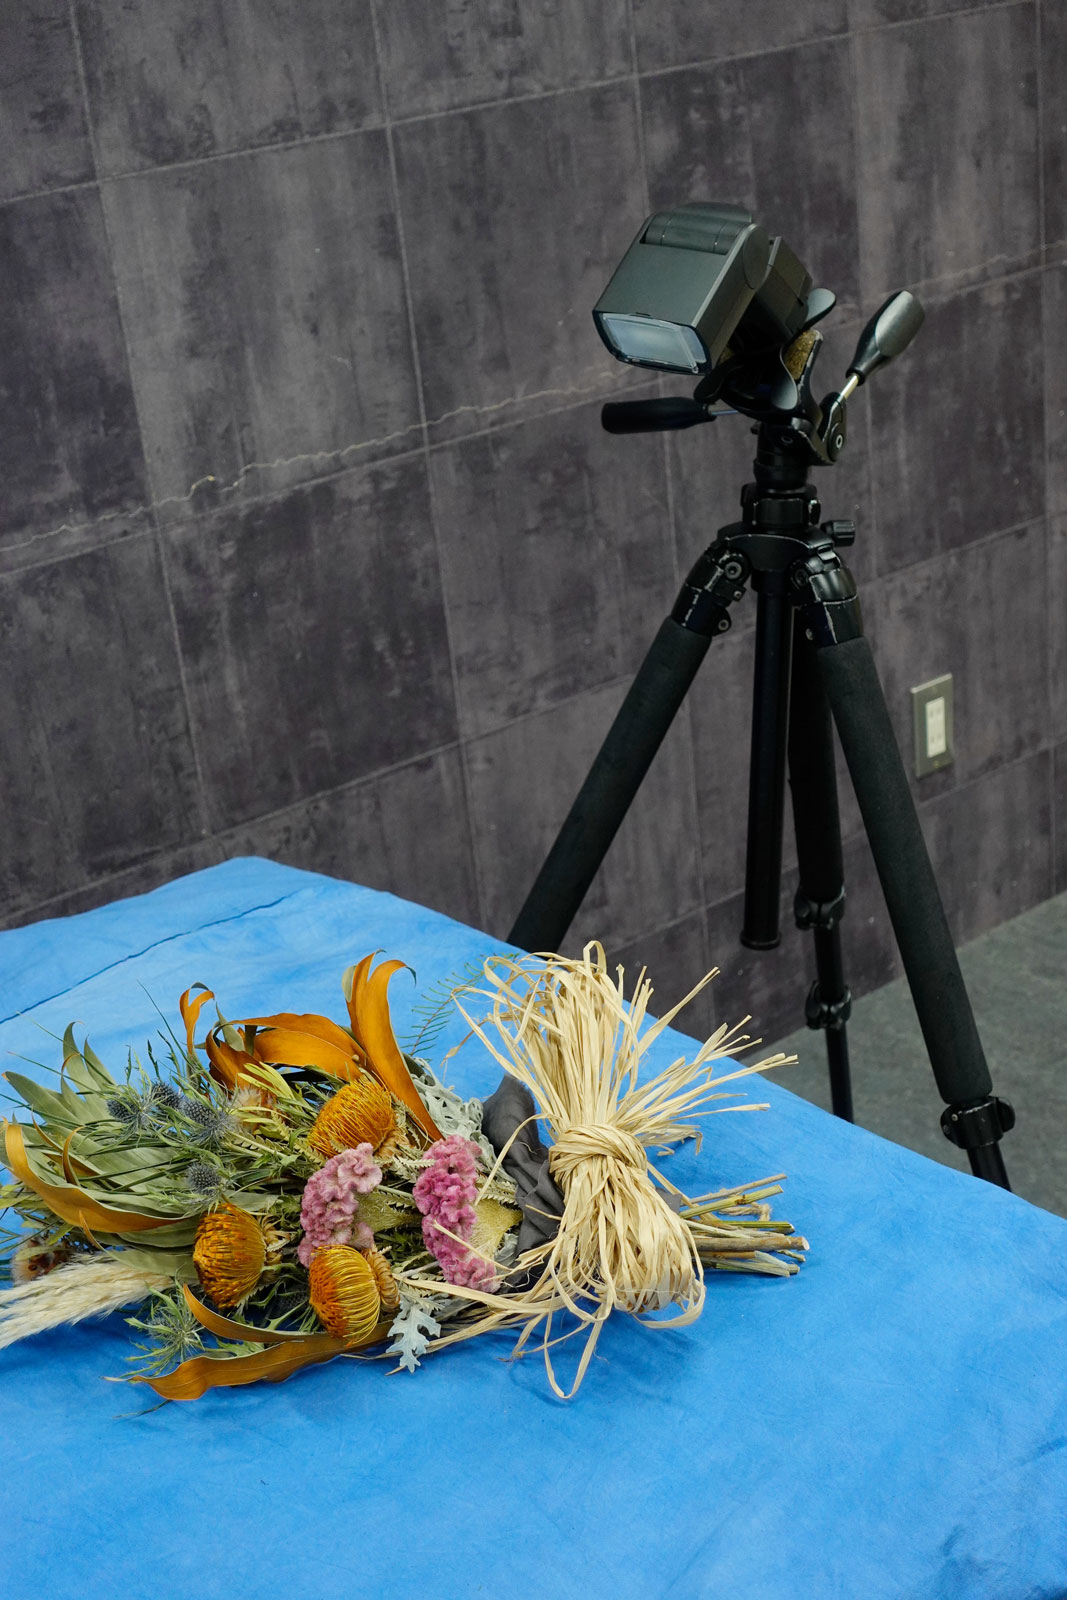
I covered the table with a cloth I had available and set the flash at an angle from a high position. The single flash was the main light for my shots and by connecting a WTR-1 wireless transceiver to the camera, I could emit light wirelessly. This feature to adjust light intensity directly from my camera was considerably convenient. Through the first emission of light, I adjusted light intensity and the flash's position.
This next stage is crucial as one needs to decide what they wish to convey with their photography. Regarding the image, the amount of light, flash position, shadow angles, etc., need to be altered. Please have an ideal image beforehand and then make your changes.
After making adjustments, this was the result:

A "caught in the sun" impression is portrayed. However, the shadows were quite dense so I adjusted with a reflector.
The reflector was white and situated diagonally across from the light source.
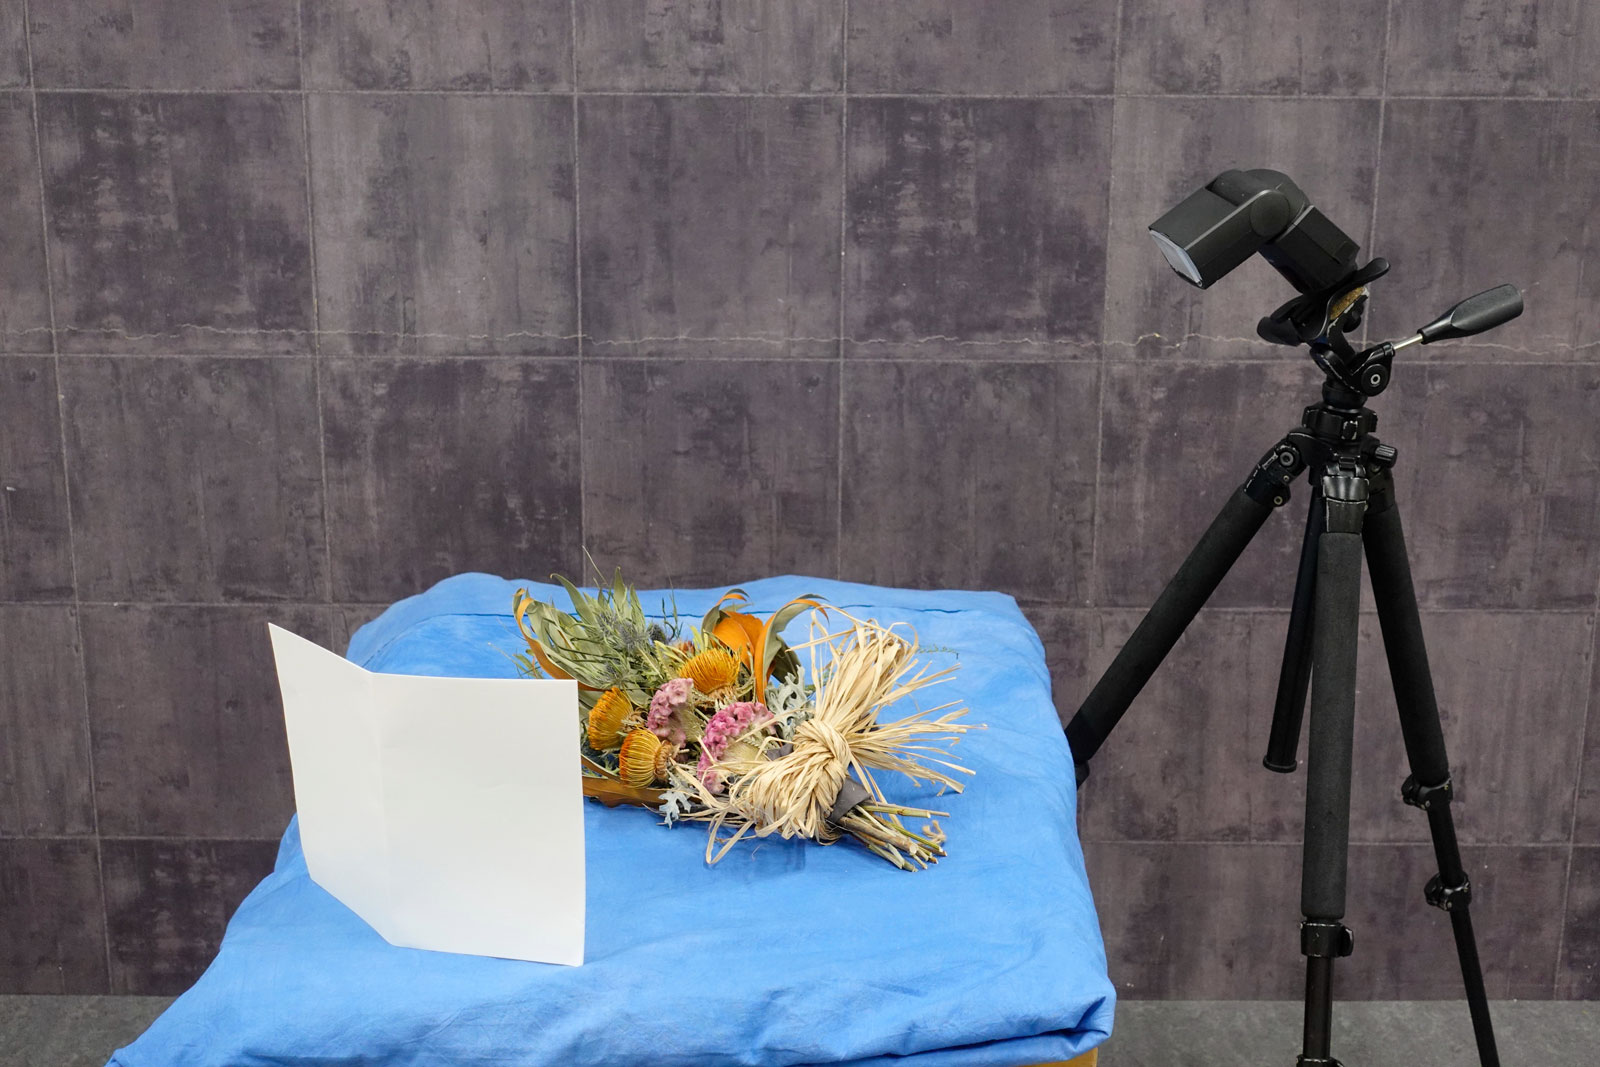
If you are not in possession on an appropriately sized reflector, using a sketch or notebook will suffice. In my cut, I gathered a few sheets of print paper.
It depends on the area to be photographed however, by placing the reflector close to the subject like the image below, the reflected light will strengthen. From here you will be able to adjust your lighting.
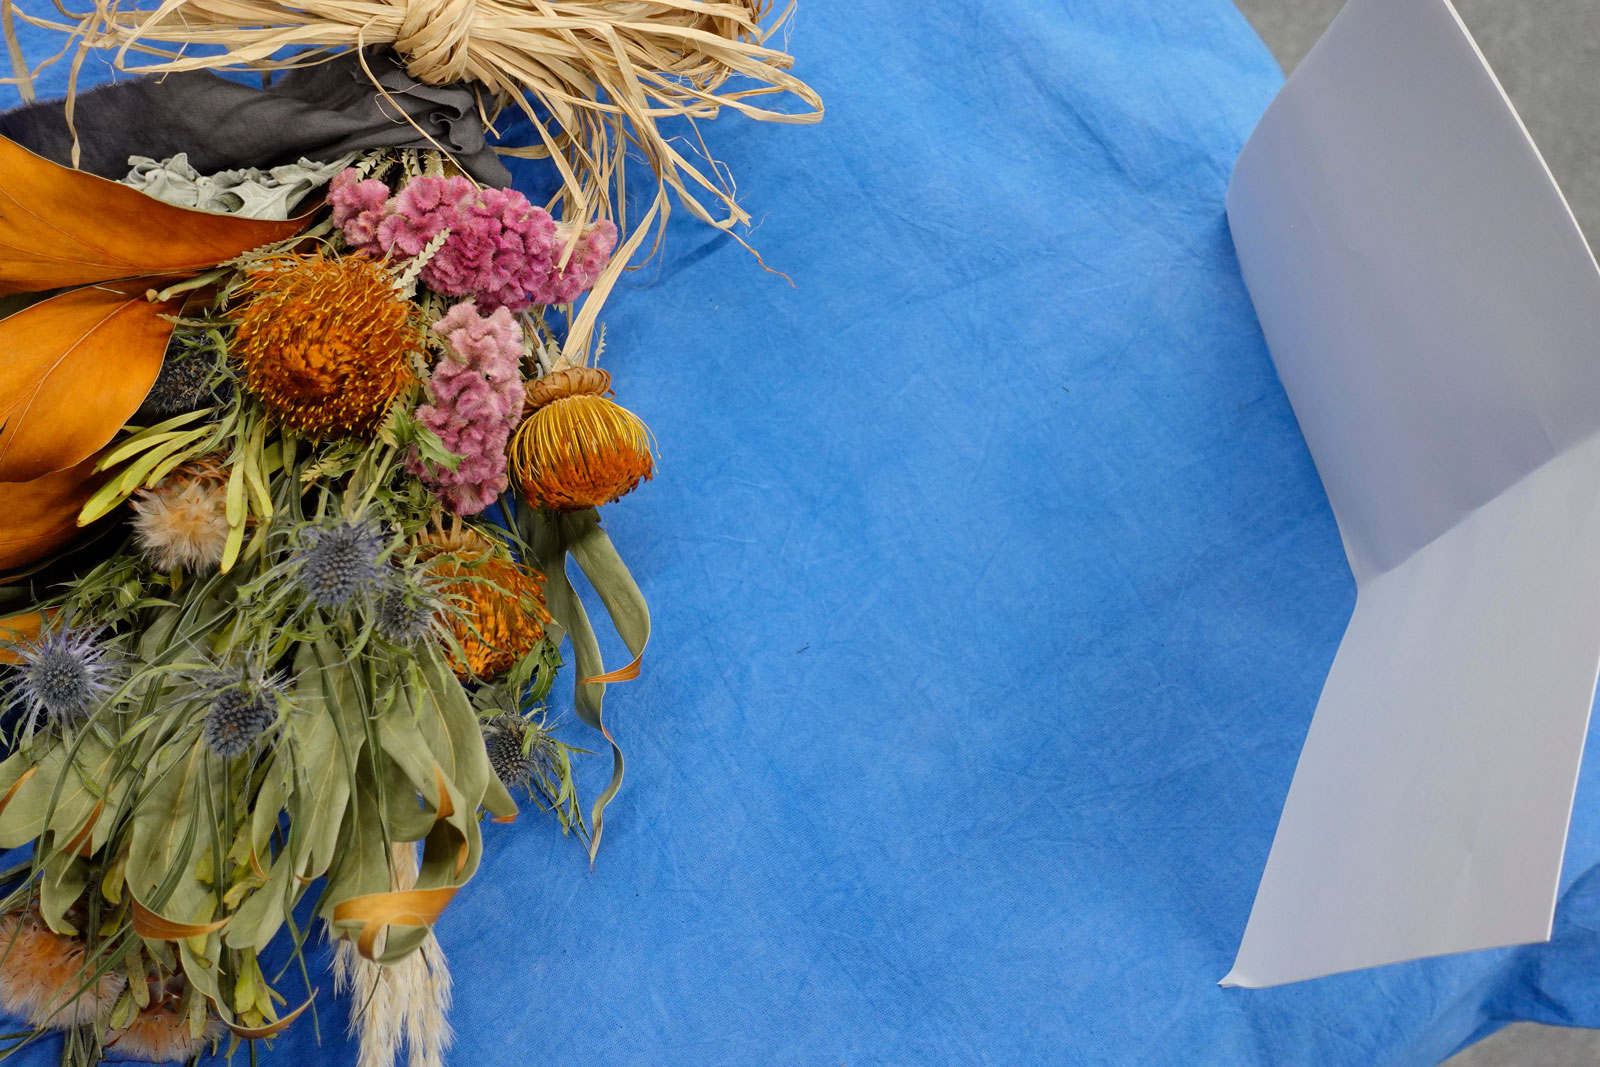
The final shot:

The flash light mimics sunlight, and produced an appropriate amount of highlight while maintaining shadows.
Overview
- To provide a sunlight aesthetic, apply light directly.
- So you don't have highlights everywhere, choose the right light quality.
- Adjust shadows with a reflector.
Give it a try next time you're shooting with a flash! Next time we will be discussing how to wrap soft light around a subject and bring it out in full. Goodbye!