Stay home, shoot at home
Nowadays everybody, photographers included, is understandably recommended to stay safe at home. However, it does not has to be a boring experience, and by all means it does not means you cannot enjoy shooting anymore. On the contrary, why not taking advantage of our indoor environment to try and enjoy some food photography?
Here a few tricks and recommended tools to further enjoy your daily meal even before you eat it!
Close-up lenses: fill the image with even more deliciousness!
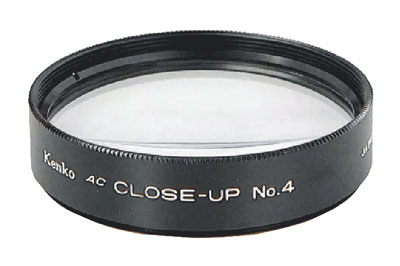 |
| Kenko AC CLOSE-UP No.4 |
One way to make your food look even more delicious is to close-up on its most appetizing parts. To do so, you just need to put on a close-up lens on your lens. This way you will be able to shoot even closer than the shortest shooting distance of your lens.
Have you ever had troubles focusing when you tried to get too close to food, flowers, small items, etc.? Each camera lens has a "shortest shooting distance", and if you try getting closer than that, the lens will go out of focus. A close-up lens will do the trick here. Just attach it in front of your lens and it will allow you to focus closer than the shortest shooting distance of your lens.
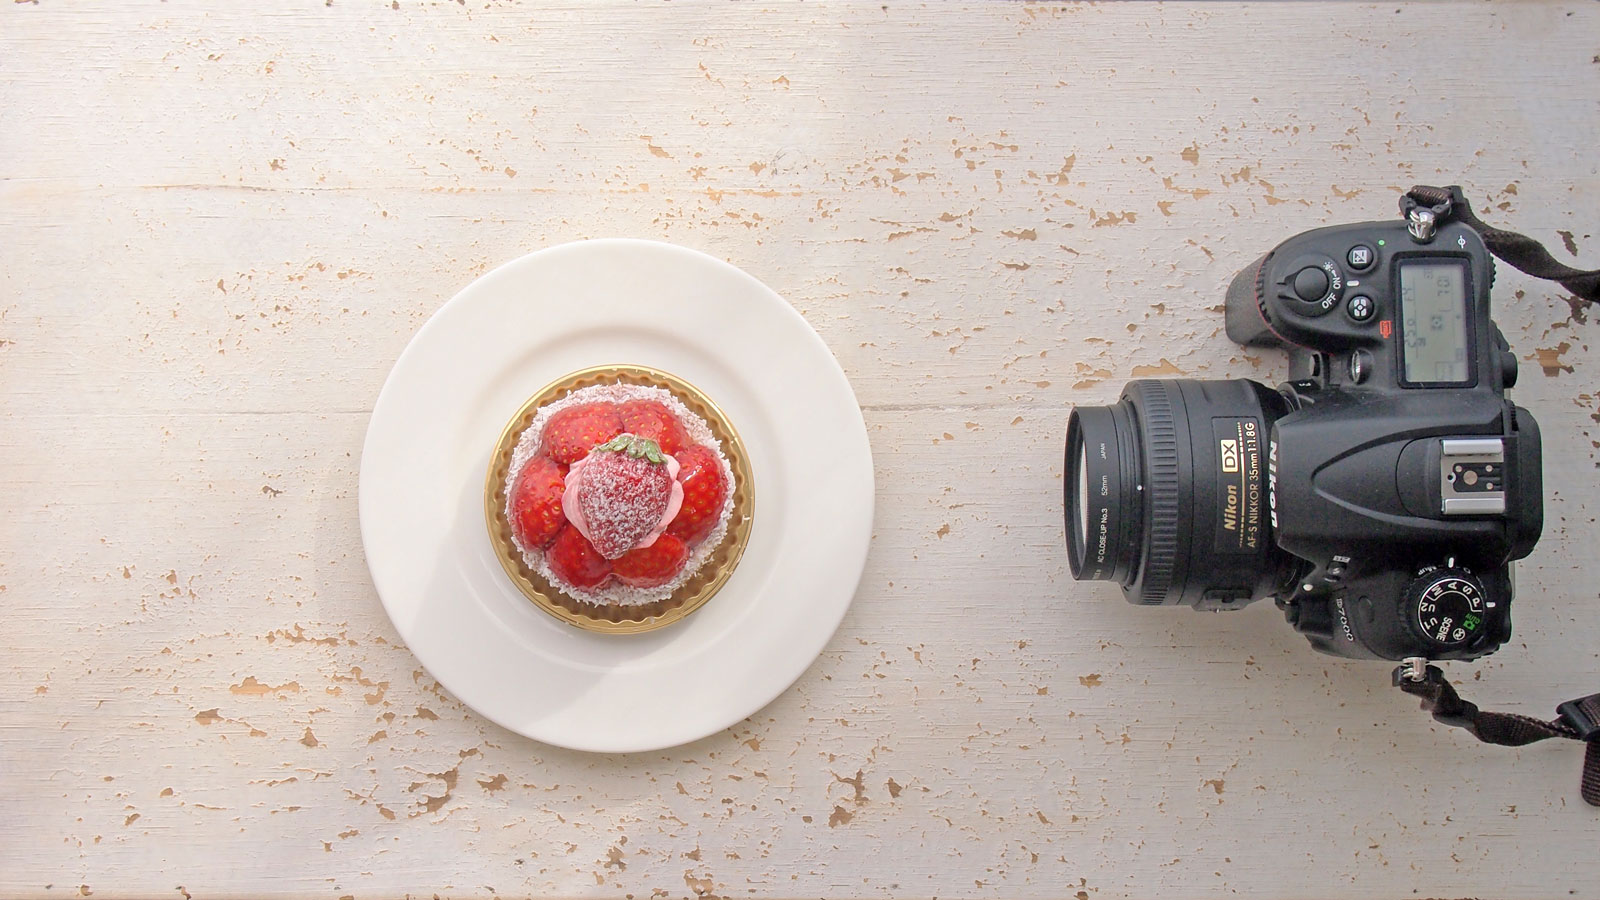
Let's see then the difference with and without a close-up filter:
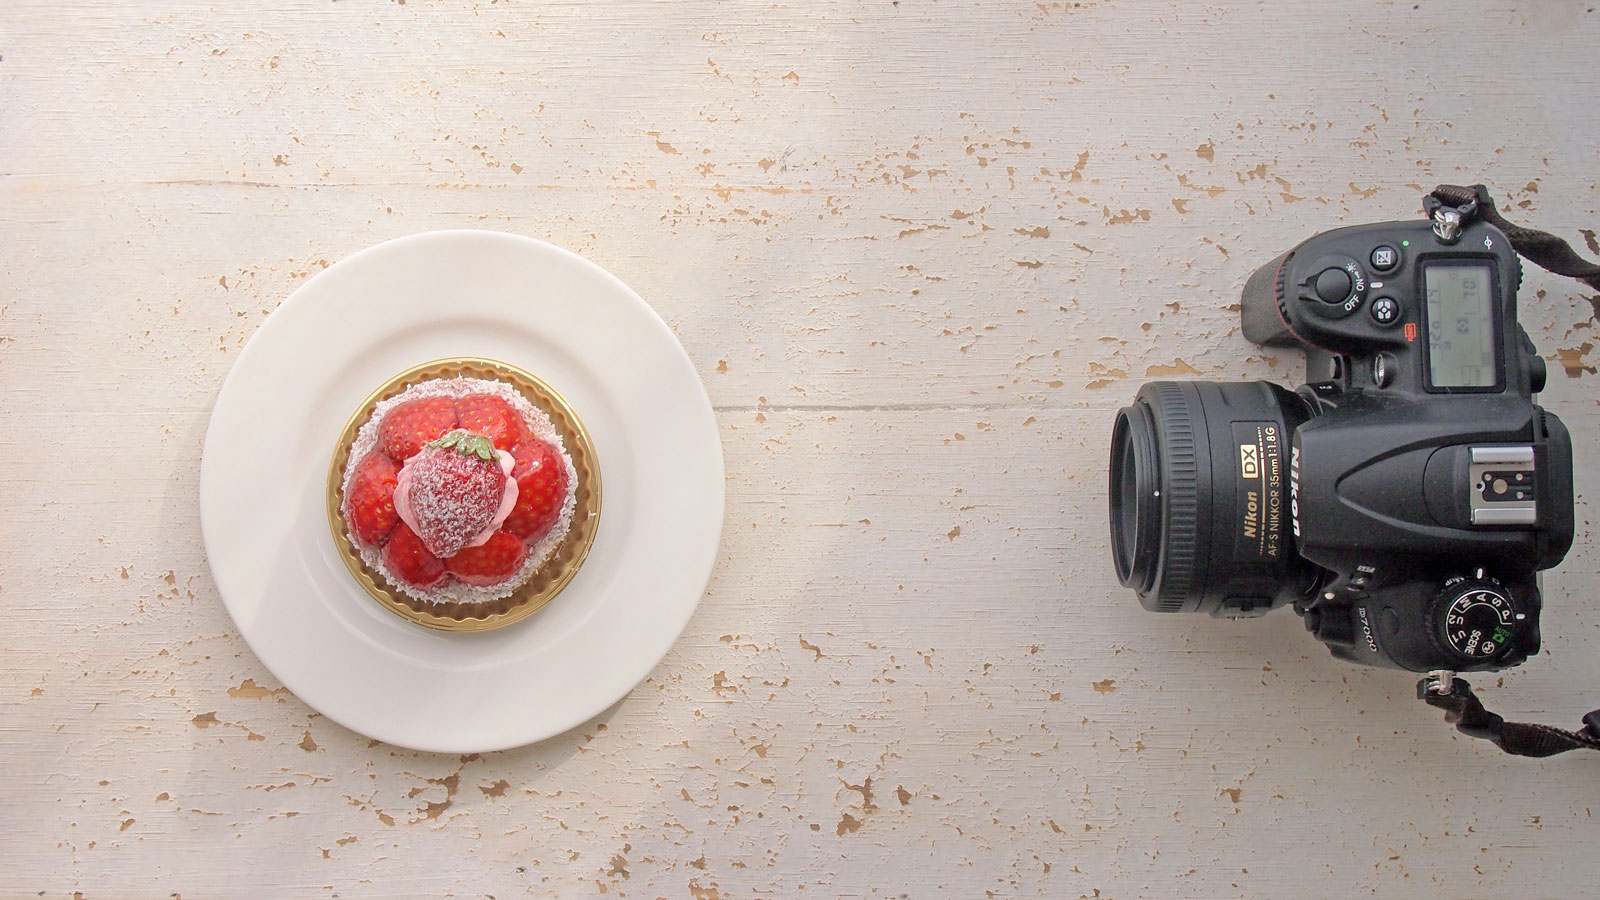
If you get closer than this, you won't be able to focus properly.
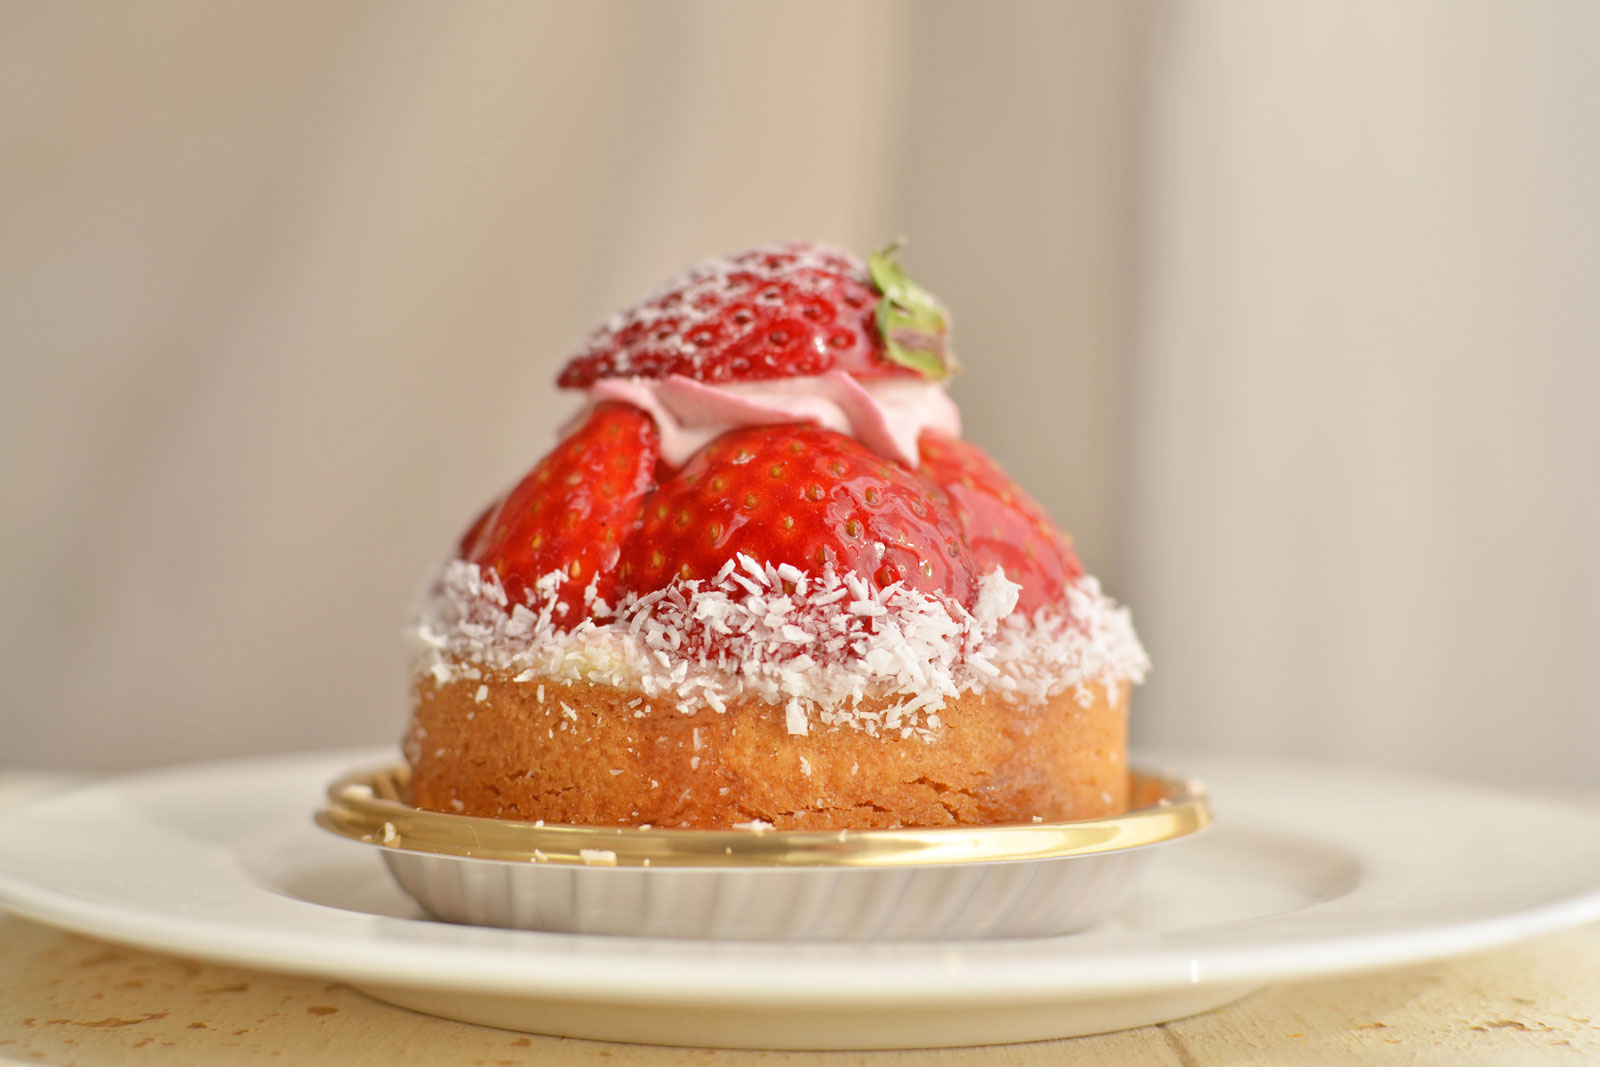
And this is the result: close, but probably you wanted to get closer…
Yes! You can get this closer and still be in focus.
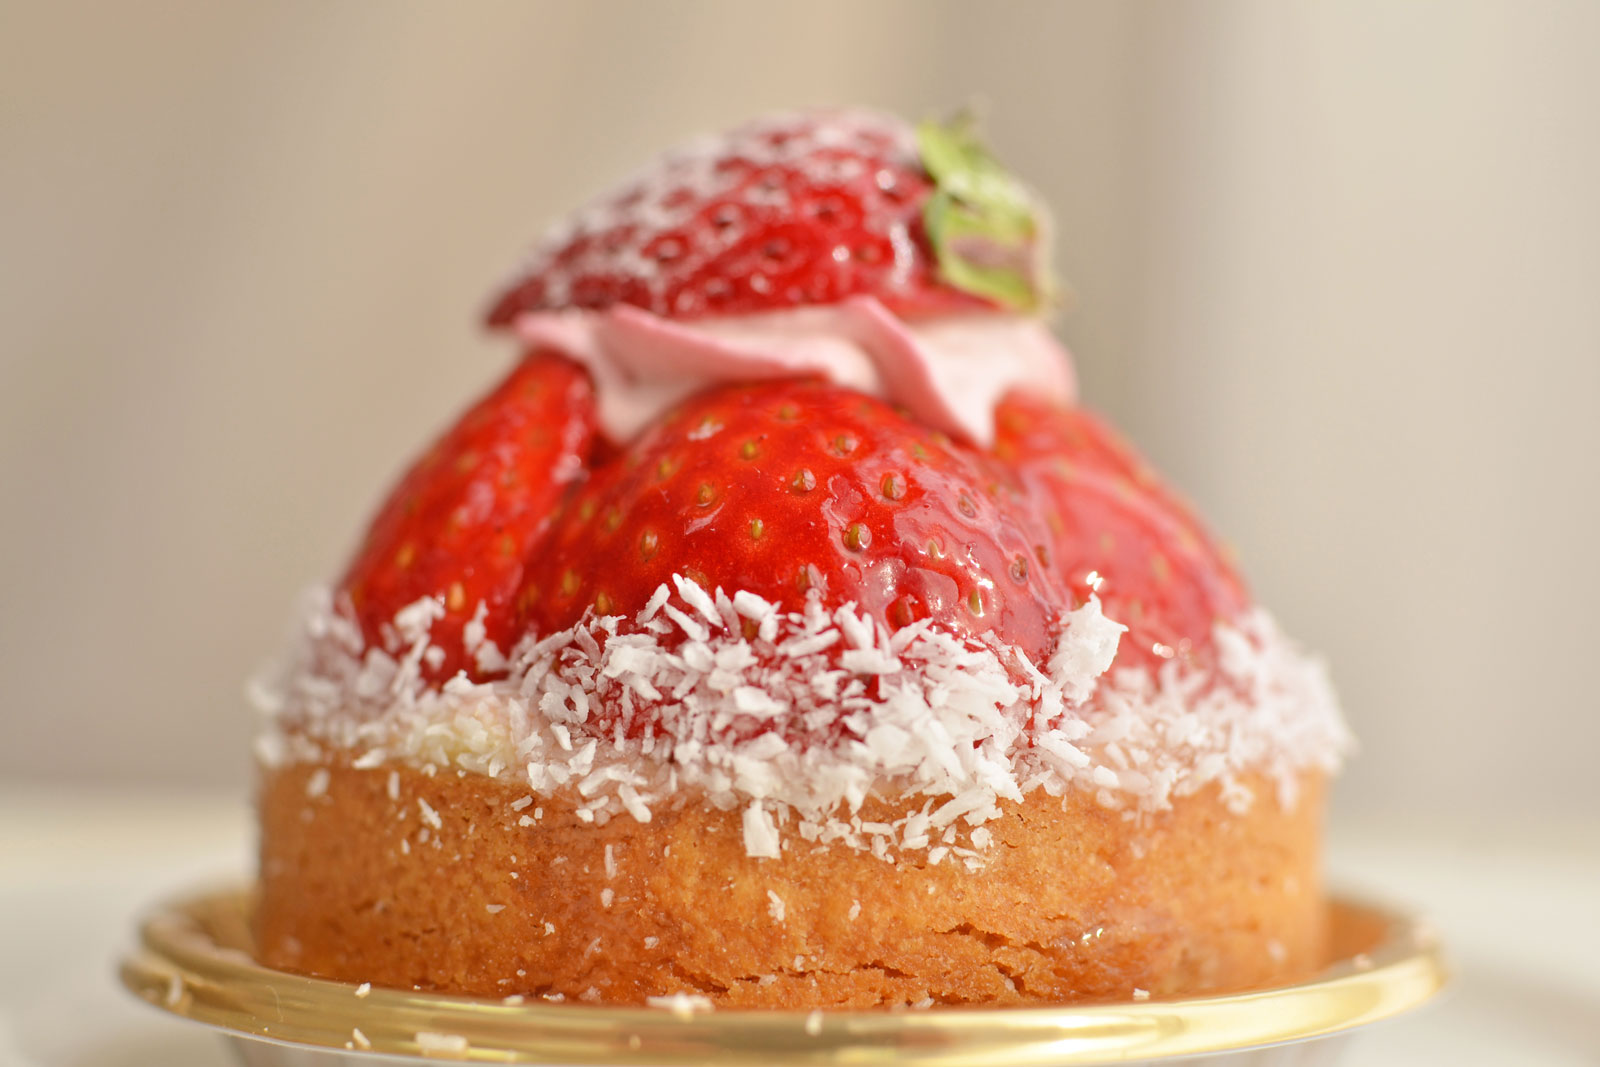
And this is the result. You can get as closer as to fill the entire image with your delicious food!
So, if you use a close-up lens like in the example above, you can focus closer and get a larger image of your food.
* The shooting distance and magnification will vary depending on the focal length of the lens used, the minimum shooting distance, and the type of close-up lens.
Let's see now how a close-up lens can be further used to capture delicious shots.
 |
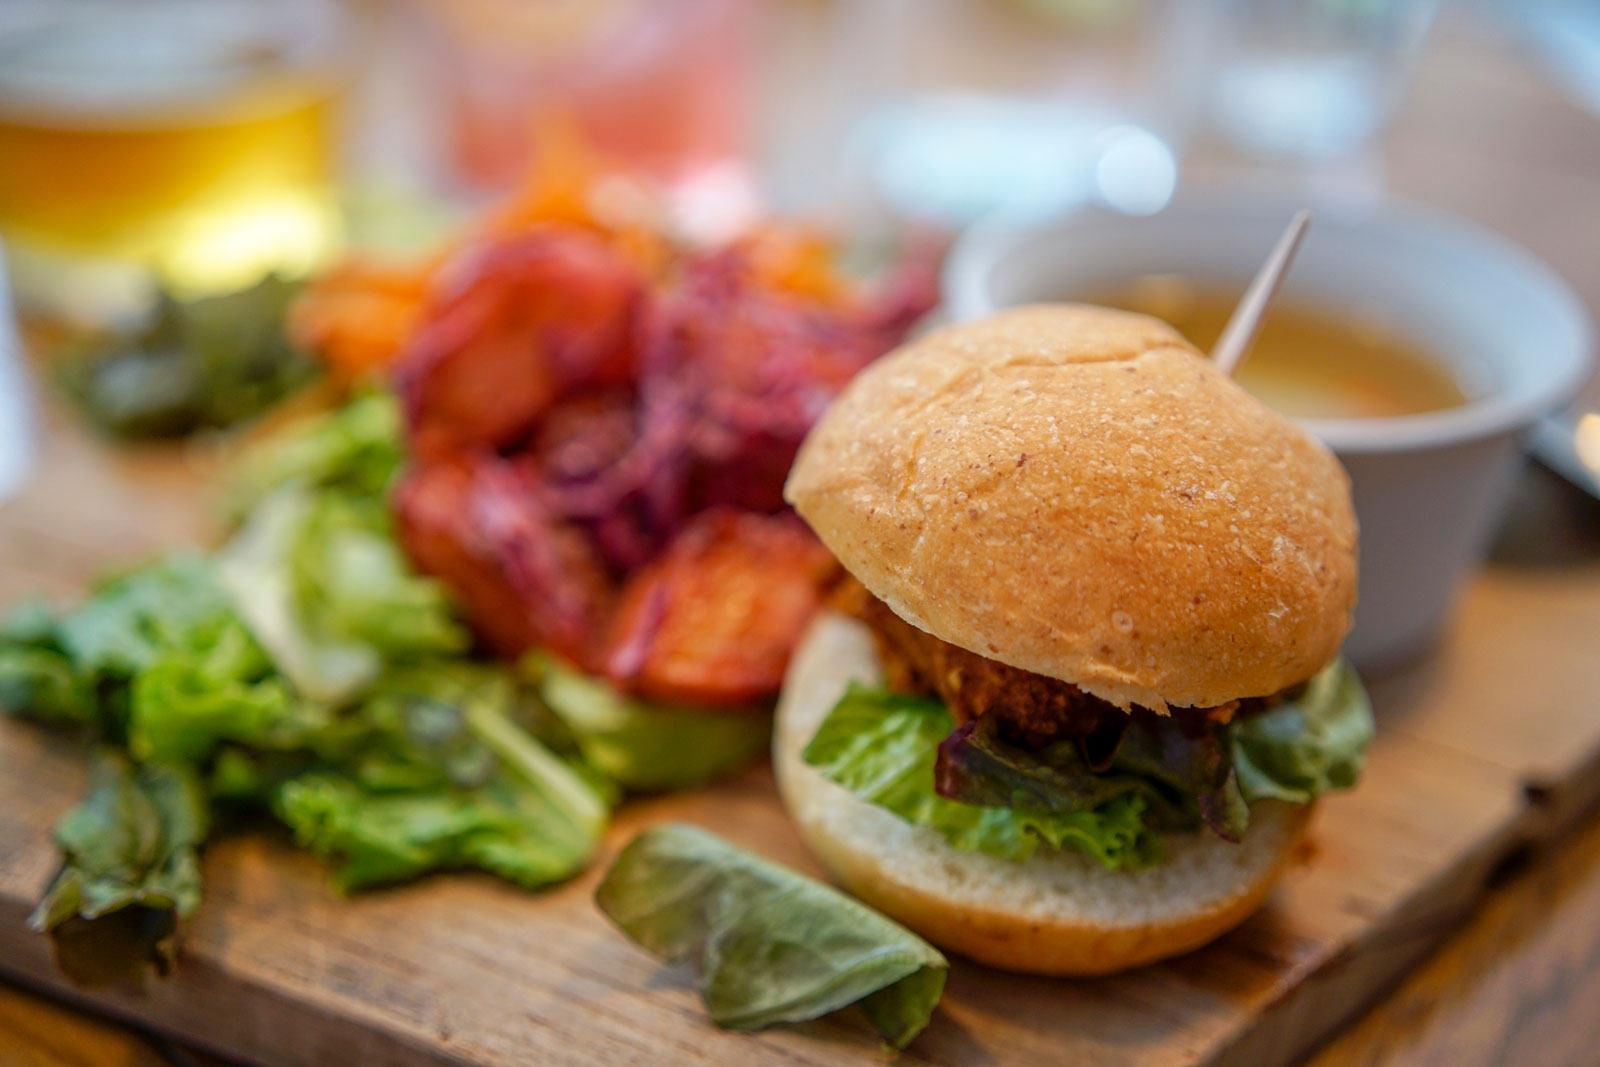 |
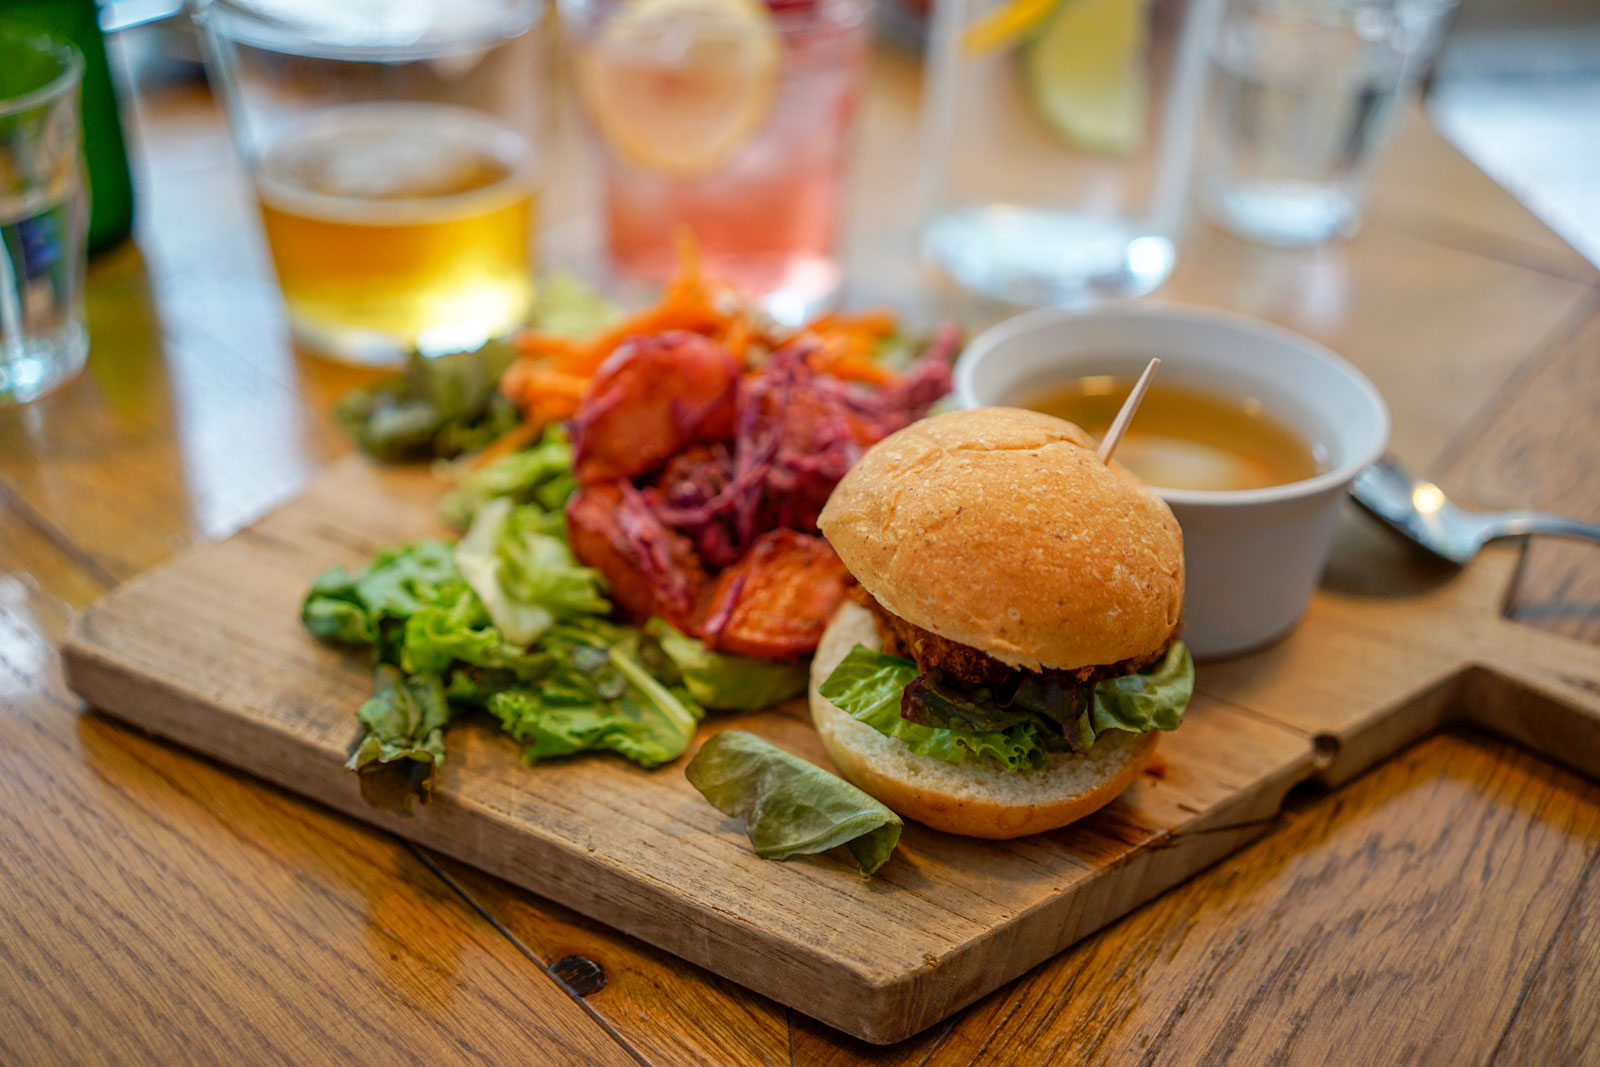
The above is a photo of a delicious mini hamburger taken with a 35mm lens, which is particularly convenient for snap shots.
When not using any filter, the hamburger, which is supposed to be the protagonist of this shot, appears too small and unimpressive. By adding a close-up lens, you can get closer to the hamburger and get a larger image of it. The closer the shooting distance is, the more blurred the background becomes, so by approaching the hamburger, the glasses on the background became blurred, creating a pleasant atmosphere.
In this way, using a close-up lens not only brings you closer, but also has the advantage of blurring the background.
 |
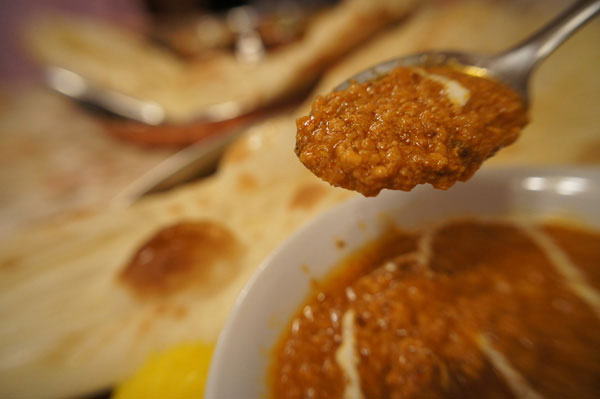 |
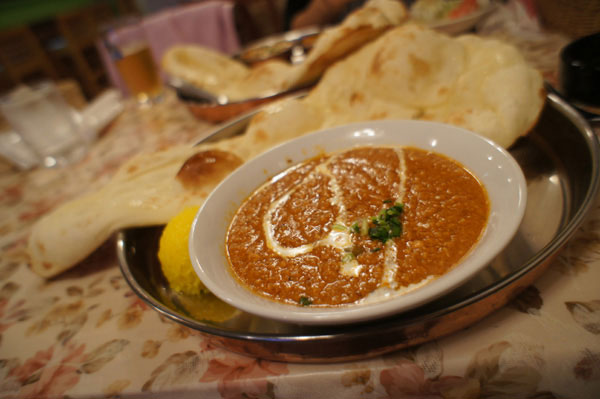
The above photo is an Indian curry shot with a 16mm wide-angle lens. A close-up lens was used to get closer to the portion scooped up with a spoon, and the flowing blur around the edge made this shot even more interesting. If you attach a close-up lens to a wide-angle lens as in this case, you can easily get and enjoy this flowing blur effect.
* When using a close-up lens on a wide-angle lens, the corners of the image may be blackened and vignetting may occur due to the thick filter frame.
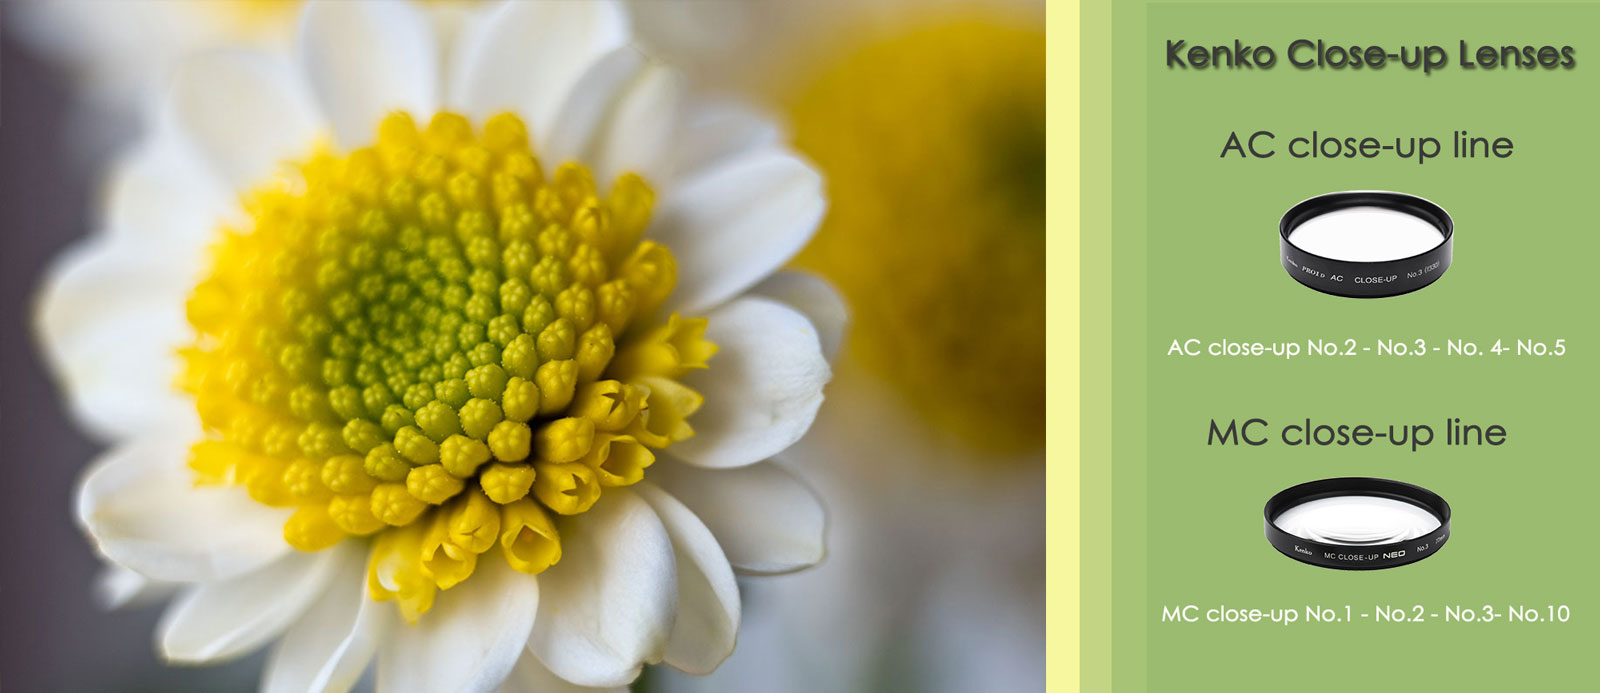
Close-up lenses: different types and how to choose them
Select by shooting distance
There are various types of close-up lenses from No.1 to No.10, and the larger the value, the higher the magnification you can close up to. First, check the "shortest shooting distance" of your lens. Select the close-up lens that allows you to shoot closer than the "shortest shooting distance" of the lens by referring to the guideline below. It is a good idea to imagine how many centimeters you want to approach the subject you want to shoot.
* The "shortest shooting distance" of an interchangeable lens is the distance from the image sensor surface of the camera to the subject. The "shooting distance" in the figure below is the distance from the lens tip to the subject.
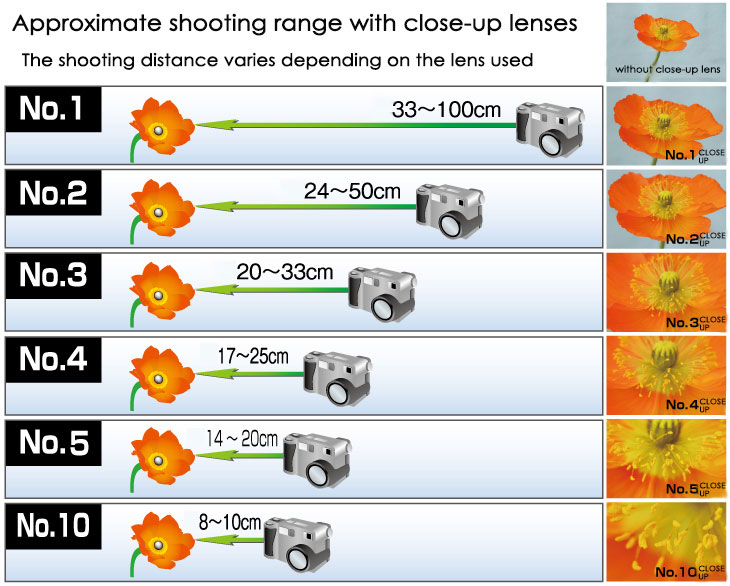
No.1 to No.3 are recommended for telephoto zoom lenses with a minimum shooting distance of approximately 1m, and No.3 to No.5 are recommended for standard zoom lenses with a minimum shooting distance of 30cm or less. There is also No.10 for taking bigger pictures.
In addition, close-up lenses can be stacked and, if you stack for example No.2 and No.3 close-up lenses, you get an equivalent to No.5 close-up lens.
* Stacking too many close-up lenses may reduce image quality.
MC type and AC type
 |
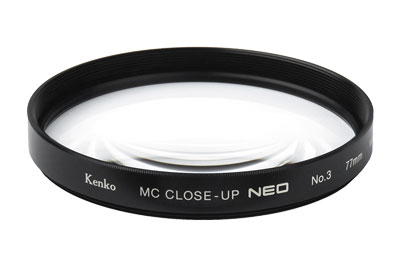 |
| Kenko MC CLOSE-UP NEO No.3 | Kenko AC CLOSE-UP No.3 |
Close-up lenses come in MC and AC types.
The MC type, where MC stands for "multi-coating", is the most common close-up lens and is composed of one single lens.
The AC type, where AC stands for "Achromatic", is a higher-class close-up lens that, being made of a composition of 2 elements in 1 group, can perform correction of chromatic aberration. Although its frame is thicker and slightly heavier, the AC type performs superior photographic descriptive power and a sharper final image. The AC type, too, is multi-coated.
Main Points to master close-up lenses
Here a few tricks and recommendations to keep in mind to make the most out of close-up lenses and take impressive shots.
- Control the blurring effect by changing the aperture value
If you take a close-up shot with a close-up lens attached, the focus range will become narrower. If you want to widen the range in focus, increase the aperture value. - Shoot with manual focus
Autofocus may work, but to ensure that the focus is exactly where you want it, use manual focus. You can focus more accurately by zooming in with the camera live view mode and then focus. - Use a tripod
Using a tripod is recommended in indoor environments, too. Since the focus range is narrow in macro photography, you need a tripod to focus properly at the target object.
A close-up lens is a useful tool for macro photography, as it can be conveniently used by simply attaching it on any of your lenses. The larger the number, the closer you can get to the subject and the larger the image. It's much more affordable than a macro lens, saving you money and space in your bag.
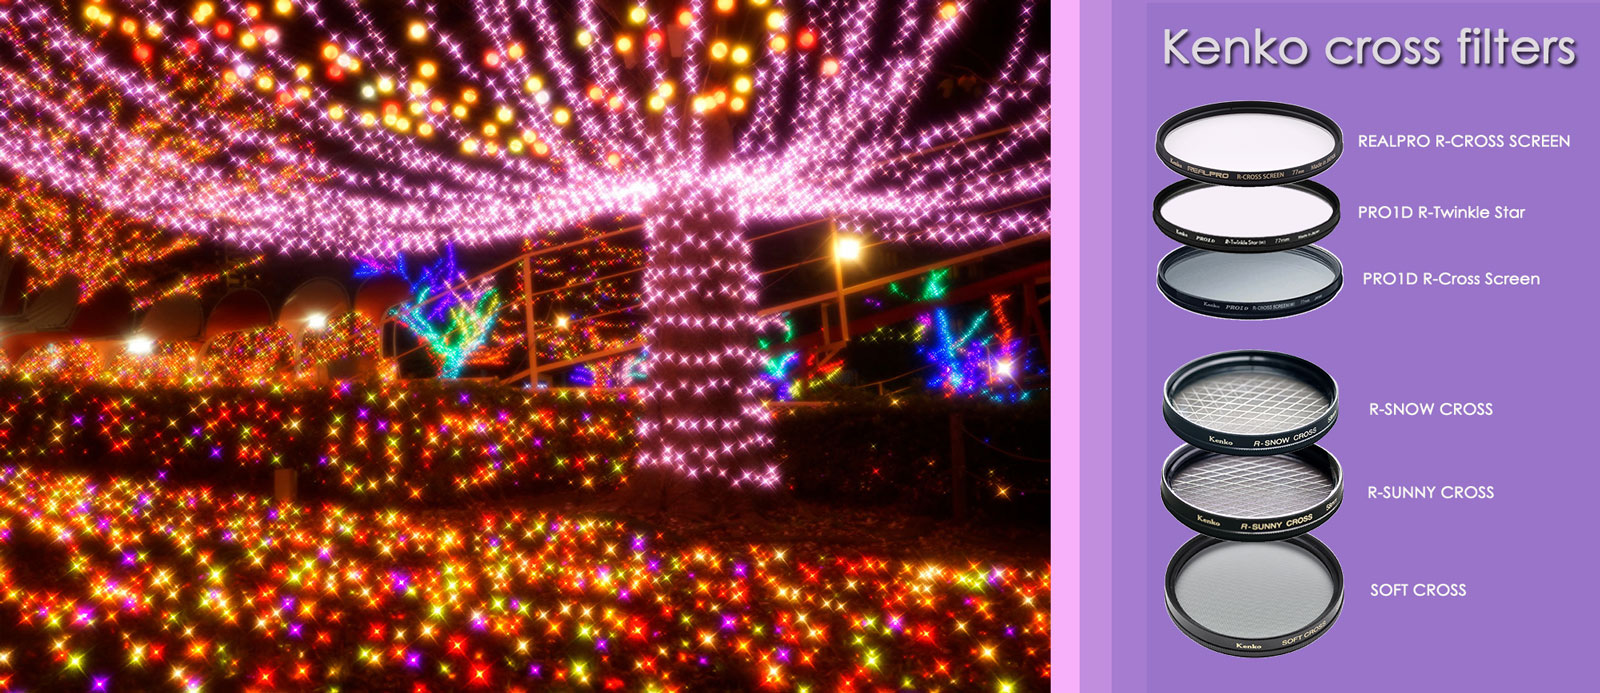
Cross filters: a glittering effect to enhance a sizzling sensation
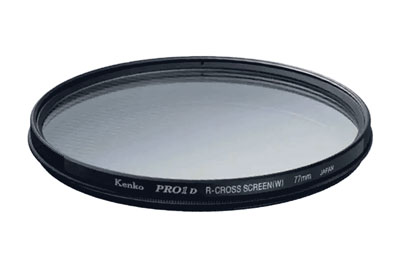 |
| Kenko PRO1D R-CROSS SCREEN (W) |
A cross filter is a filter mainly used for illumination photography, but it can also be effectively used in food photography. With a glittering effect like the one you can see in the below shots, you can make your food look fresh and delicious: a real gourmet dish!
A cross filter can turn a point light source into a light cross, thus emphasizing its glittering. Even in photos of dishes, the cross effect appears in the area where the lighting hits and shines like small crosses.
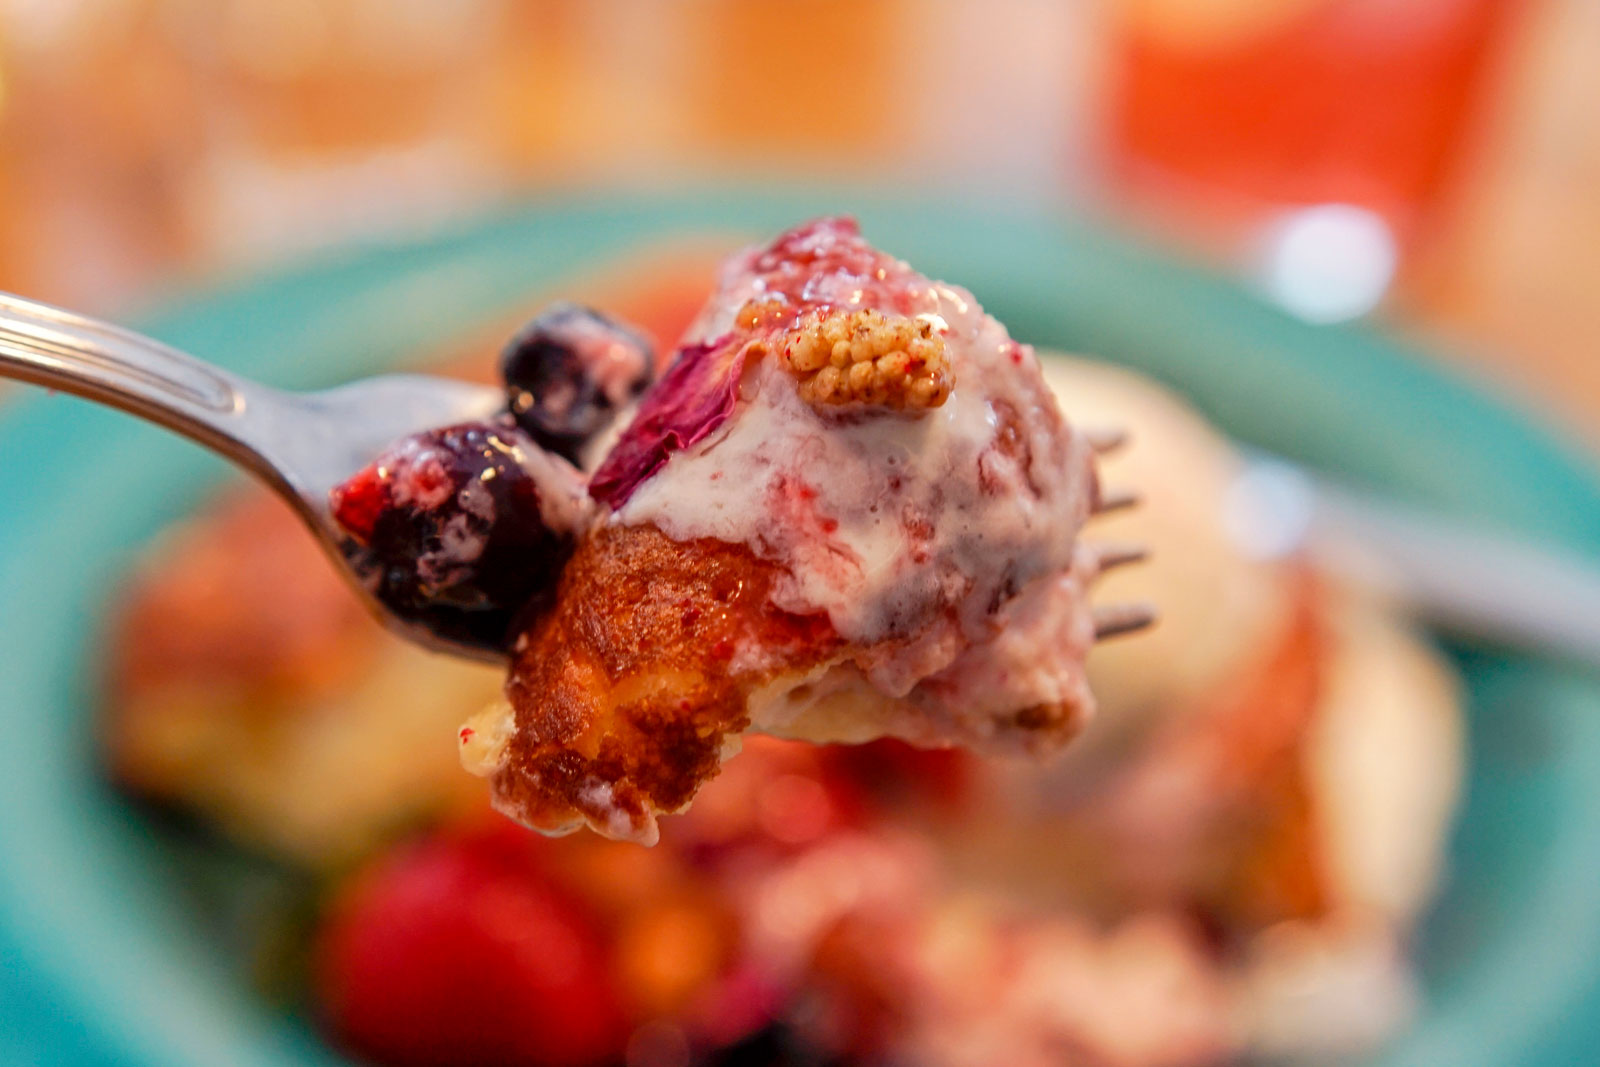
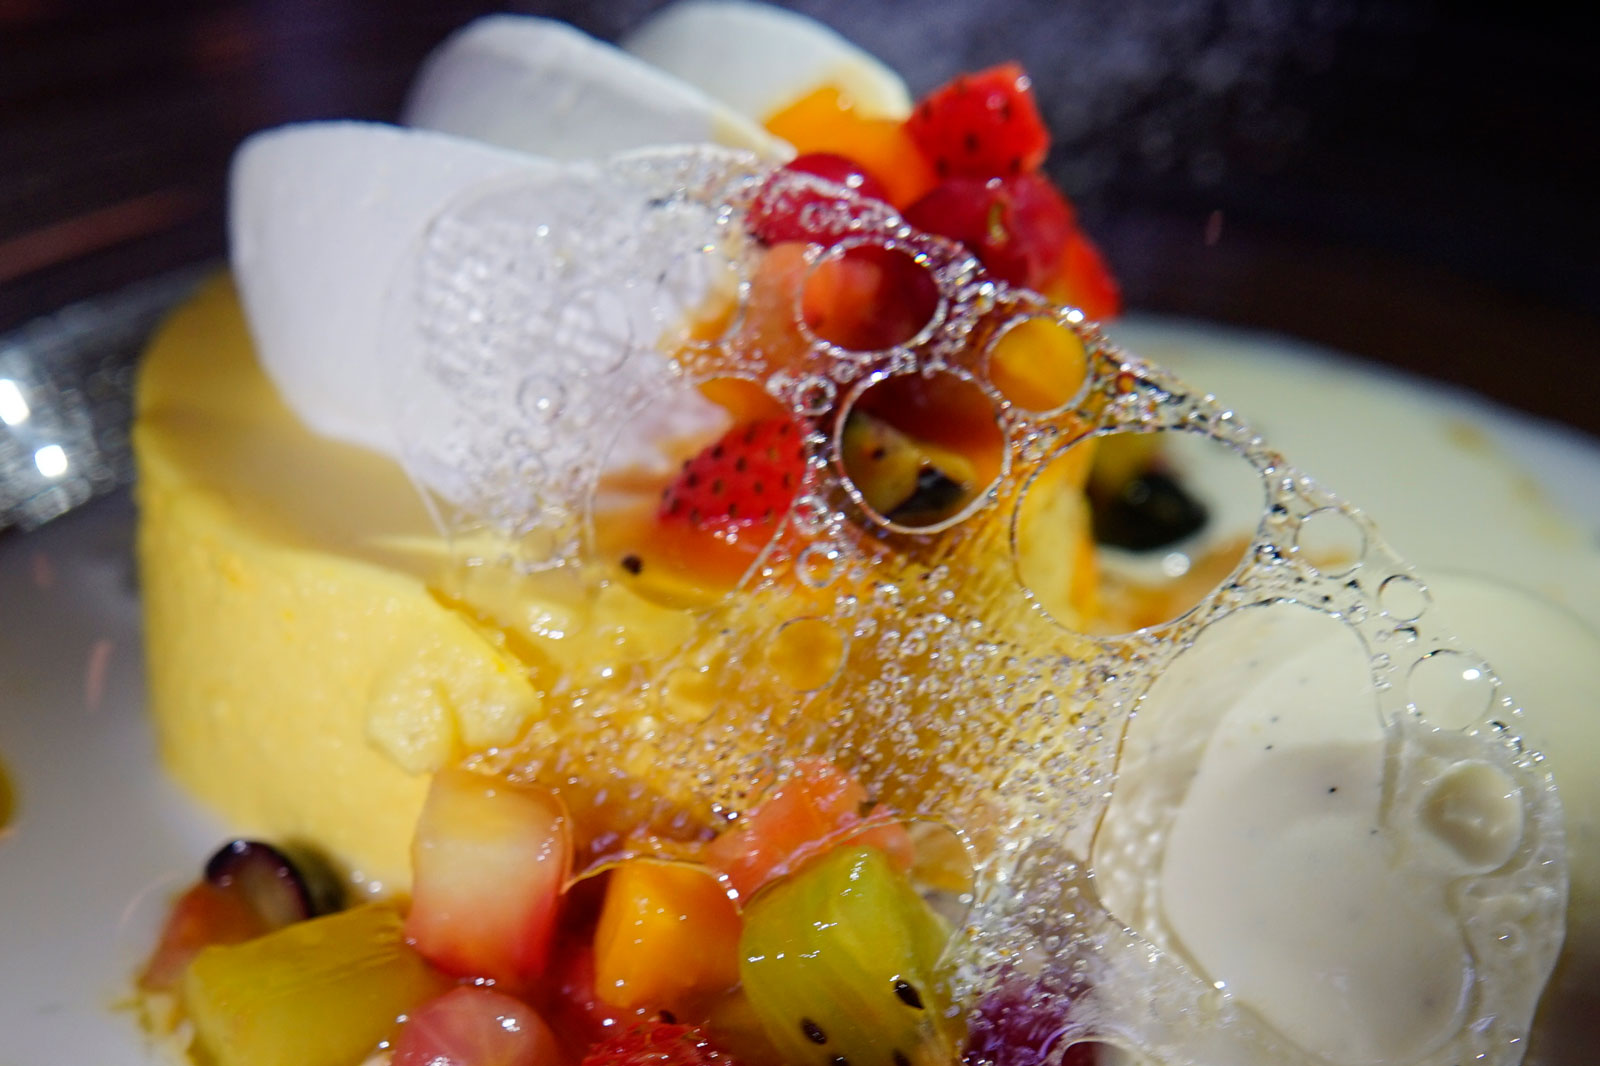 |
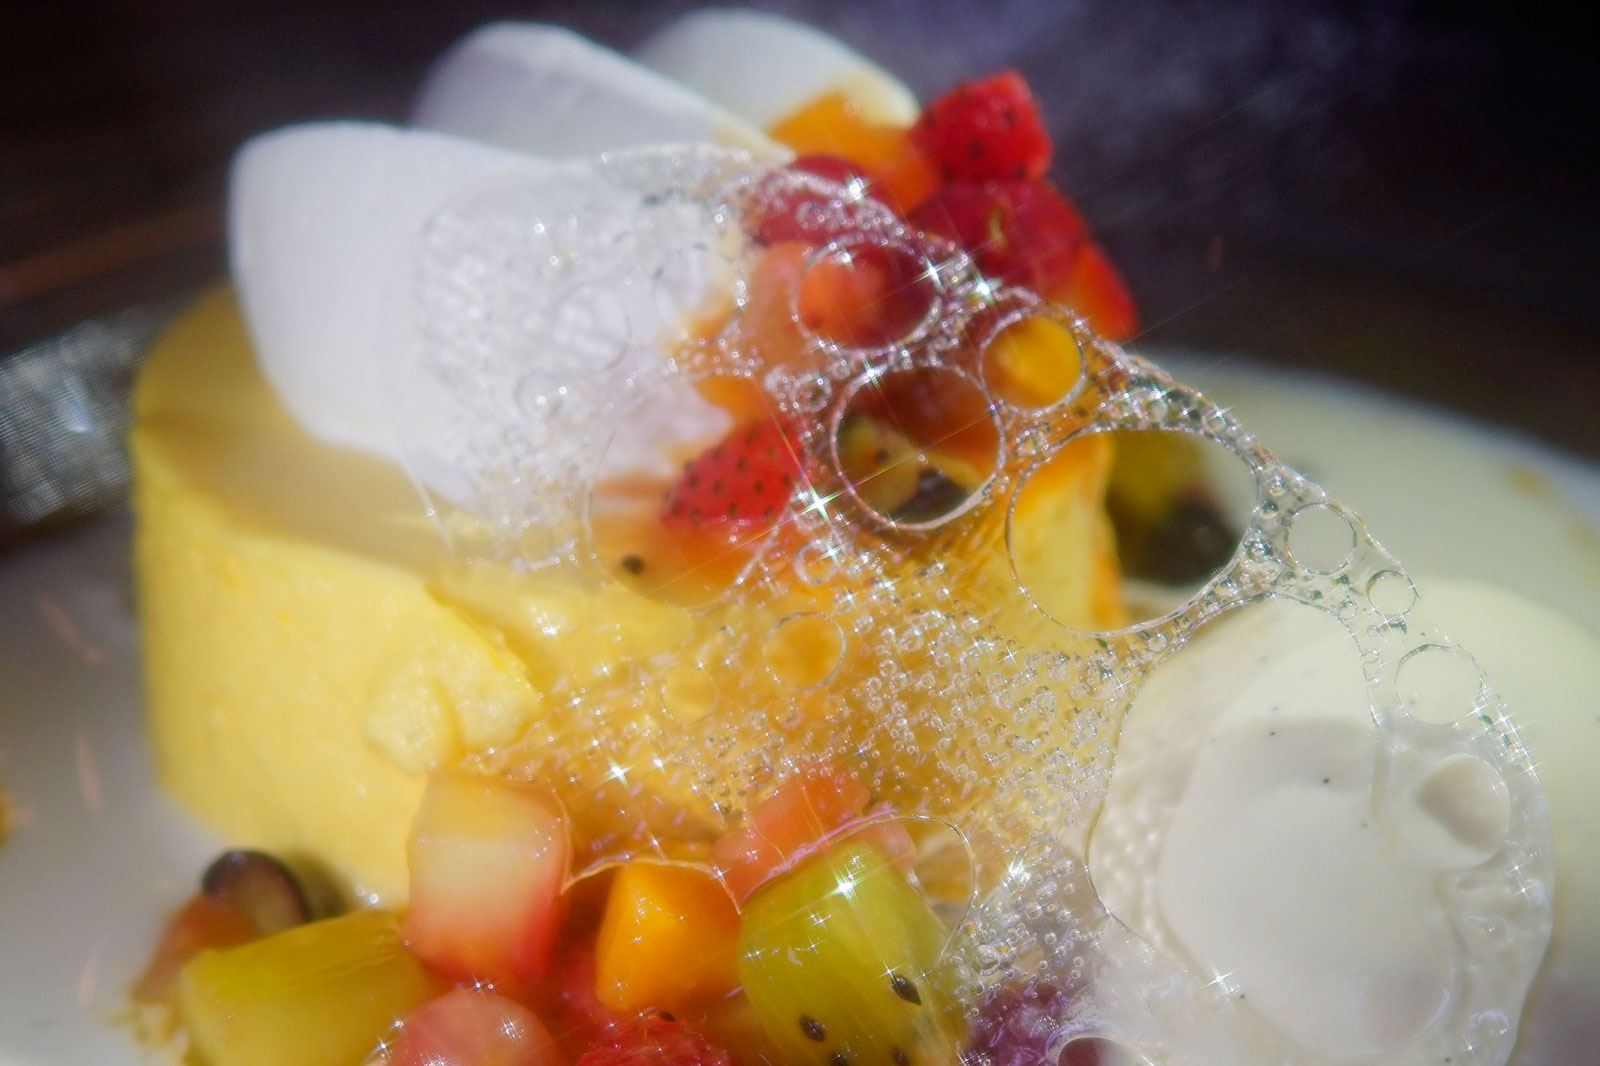 |
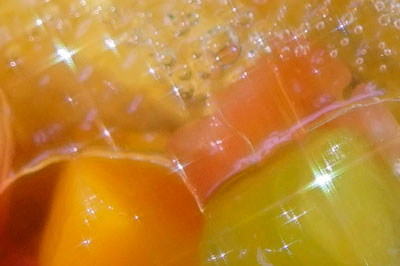 The photo on the right is a partial enlargement of the photo taken using a cross filter. The cut colorful fruits shine brilliantly and look more delicious. The photo on the right is a partial enlargement of the photo taken using a cross filter. The cut colorful fruits shine brilliantly and look more delicious. |
Master point: increase the light source with a LED light
When doing food photography, there may not be a strong point light source such as with illuminations, so the cross effect is less likely to occur, or may come out too subtle. However, you can easily overcome this problem and get a neat cross effect by illuminating your object with LED light or a smartphone LED light.