Practical advices about ND filters
Contents
- How it works
- Types and varieties of ND filters
- Typical situations
- Choosing the ND filter
- Conclusions
If you are passionate about photography and not afraid to experiment, this article is for you! You probably already use UV or polarizing filters. UV filters protect your lens from physical damage, as well as from UV light, which can negatively affect the images.
Polarizing filters are more interesting, because increase contrast and eliminate reflections from the water and glass surface. But now we will talk about much more interesting things - about neutral density filters (ND filters).
ND filters are next popular after the polarized filters. Unfortunately, they are paid much less attention, although it is difficult to overestimate the creative potential they provide the photographer.
Here we will try in a simple but more detailed way to tell about these filters - their varieties and situations in which they can be used.
In the 1st part we will give you general information about ND filters. How they work, what the types are and in what situations they can be used. In the 2nd part we will tell in detail about how to use filters in photography. In the 3nd and 4th parts - the same for time-lapse and videography. And finally in 5th part we will tell about recommendations on how to choose ND filters.
How it works
The main purpose of ND filters is reducing the incoming light in the same proportion across the entire spectrum. In simple terms, the filter reduces the amount of light entering the camera. These filters give possibility to shoot at any time with any exposure settings in over lit conditions.
It should be noted that the over light problem can be solved by changing the aperture. However, first of all this way is limited (there is also risk of diffraction), secondly, it will increase the grip and negatively affect the composition. Thirdly, in terms of extra long exposures this method cannot be used.
Let's look at the types and varieties of ND filters, and then discuss the typical situations in which they can be used.
Please, note that shooting with an ND filter is often associated with long exposures, so you will need a good tripod.
Types and varieties of ND filters
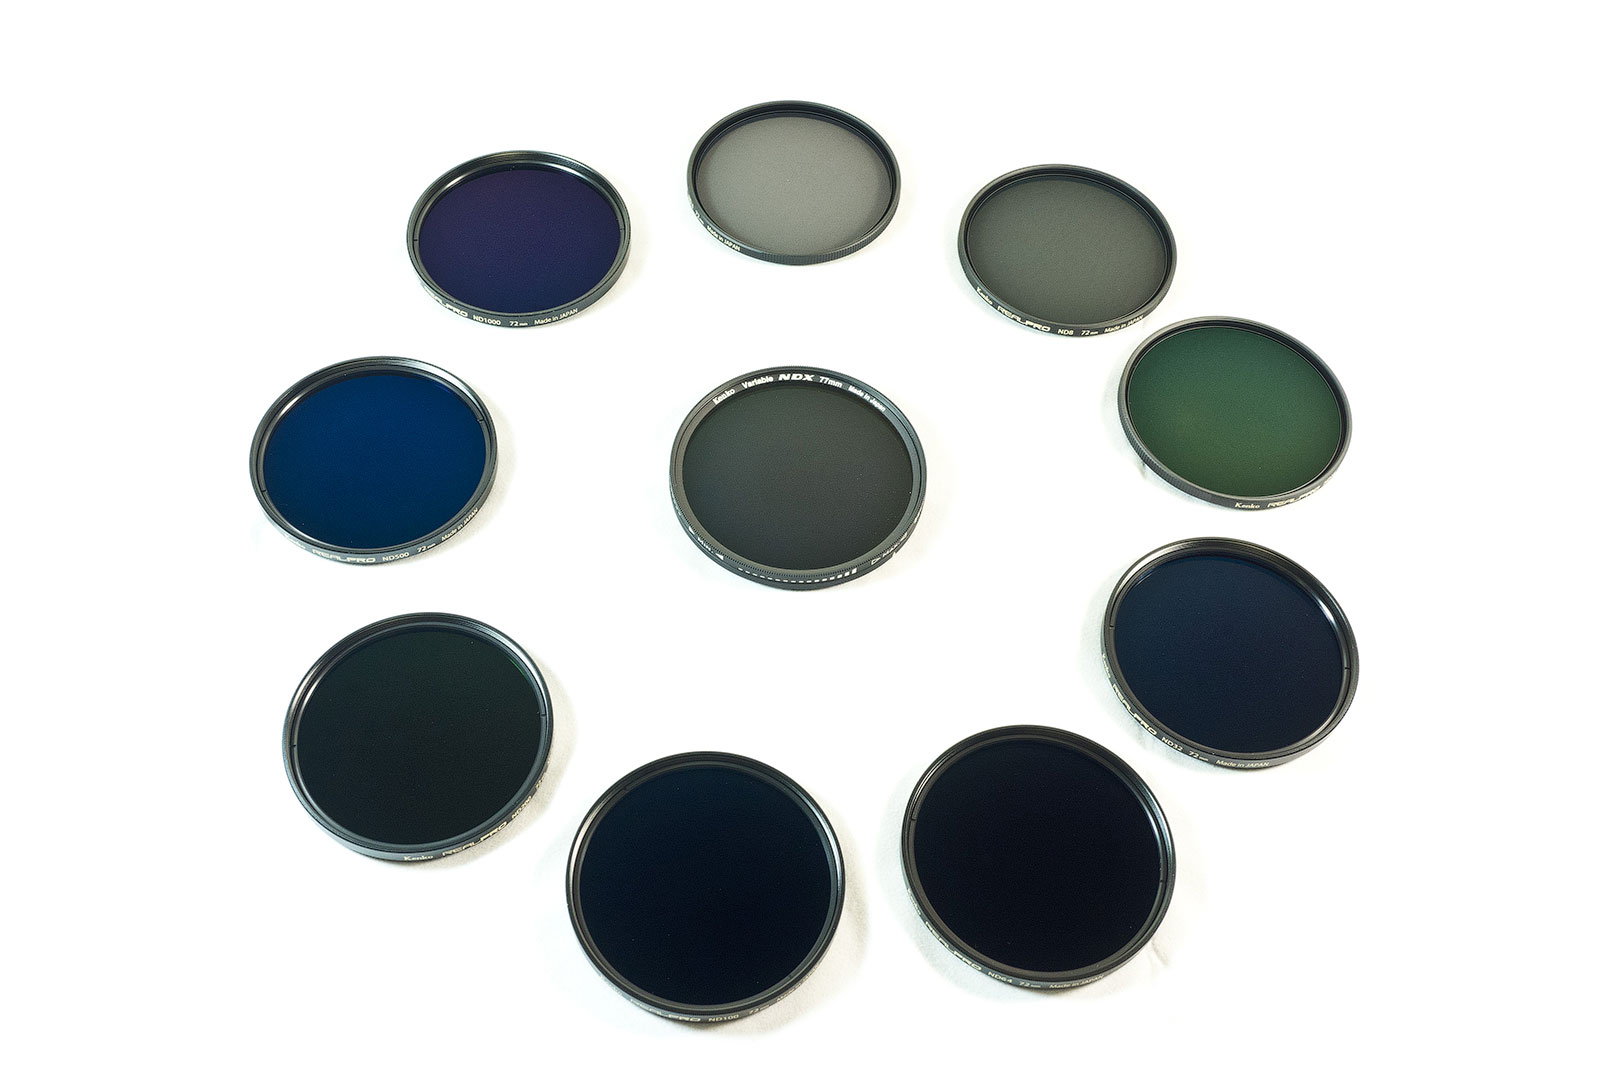
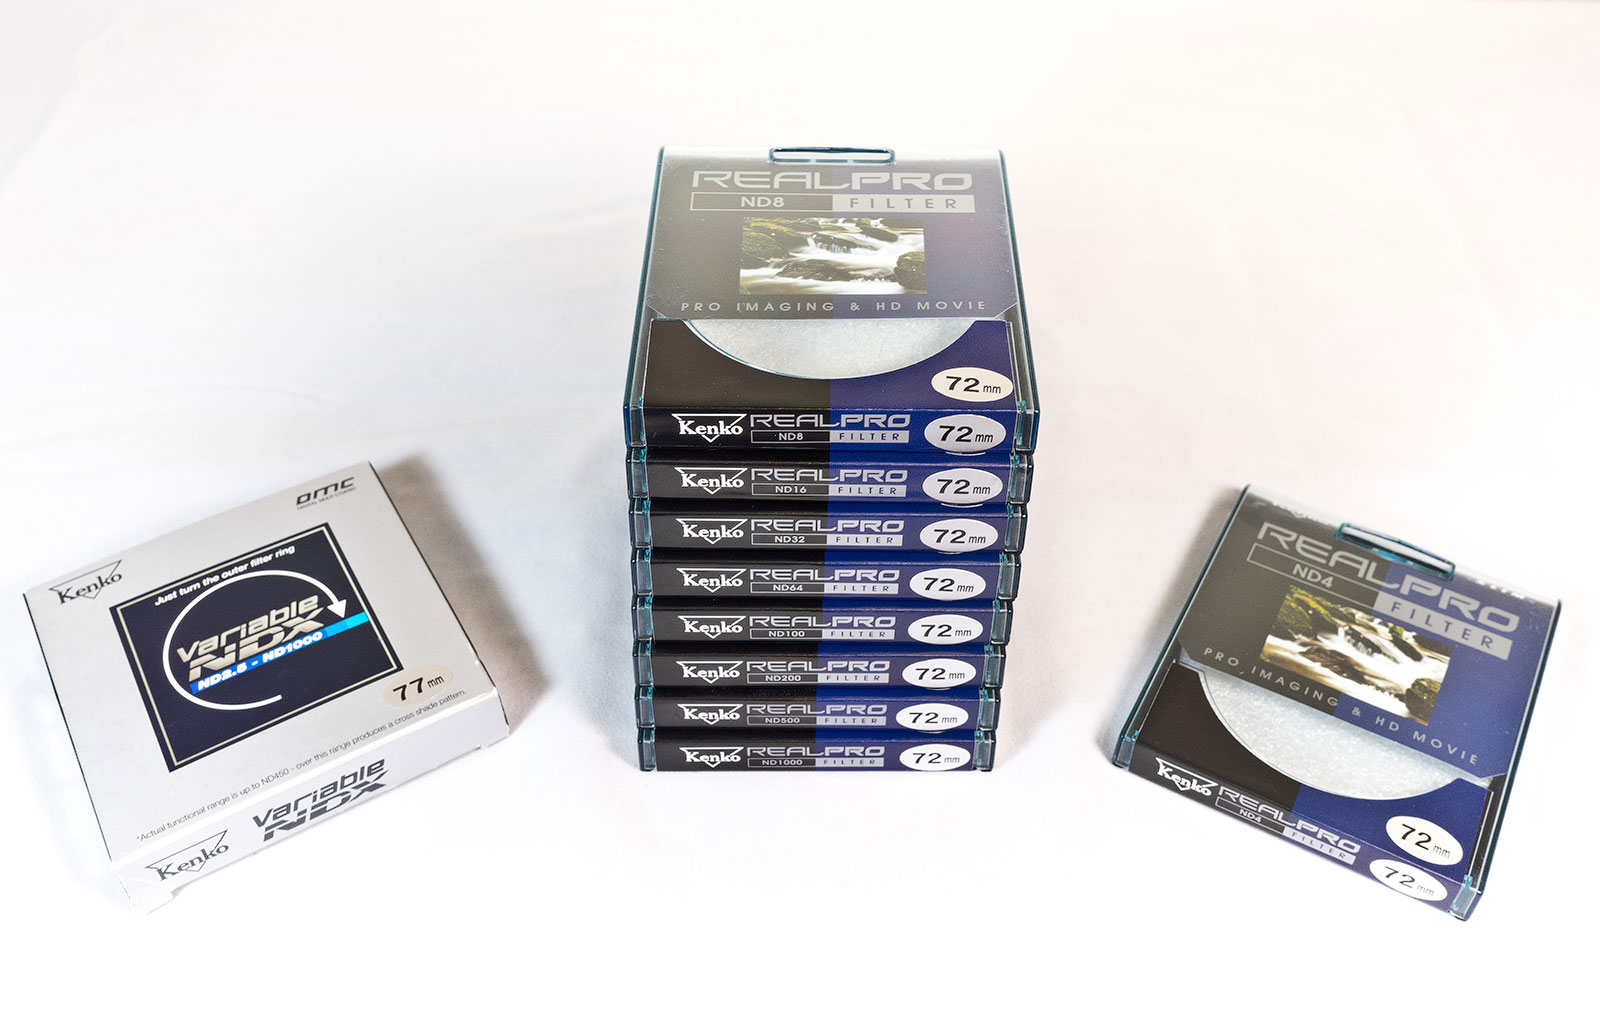
ND filters are included in the product lines of almost all filter manufacturers. In terms of quality there might be serious differences, but in classification of ND filters all of them are identical. In this review we will use as an example Kenko REALPRO ND filters and Kenko Variable NDX filters, therefore, we will use classification and markings according to this manufacturer.
So ND filters can be classified by density level (the amount of decreased light) and by construction.
Difference by density
ND filters are classified by density. In other words by the degree of reduced light (fading).
The ND letters in the name of the filter will definitely tell you that it is neutral density filter. After the letters there is numeric designation of the degree of light to be reduced. Actually, if you look at ND filters you will notice that filters with different density level differ from each other (one darker than other).
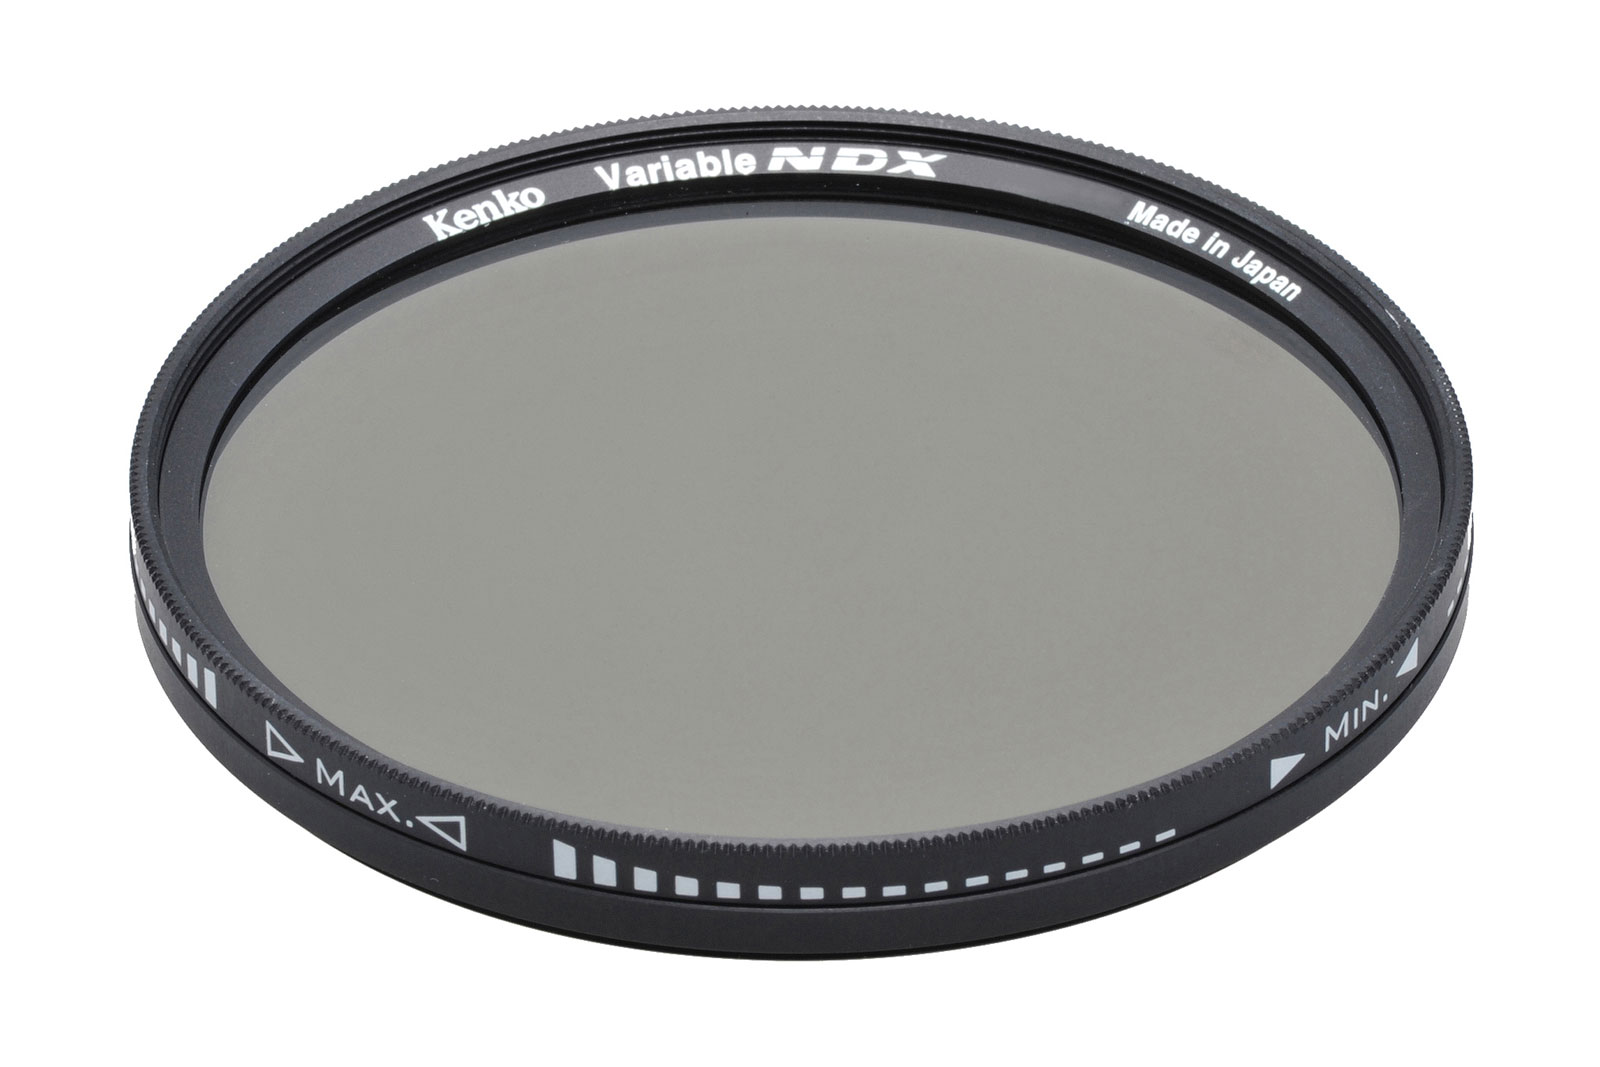
Variable ND filters are limited by the practical density range between ND2-ND400, due to the technological limitations (we will explain it below). The density of such filters is changed by rotating one of the frame towards another.
Kenko REALPRO ND filters with fixed ND level present a wide range of models from ND4 to ND1000, which covers almost all the photographic situations. So the only thing you need is to read the mark correctly and choose the appropriate model.
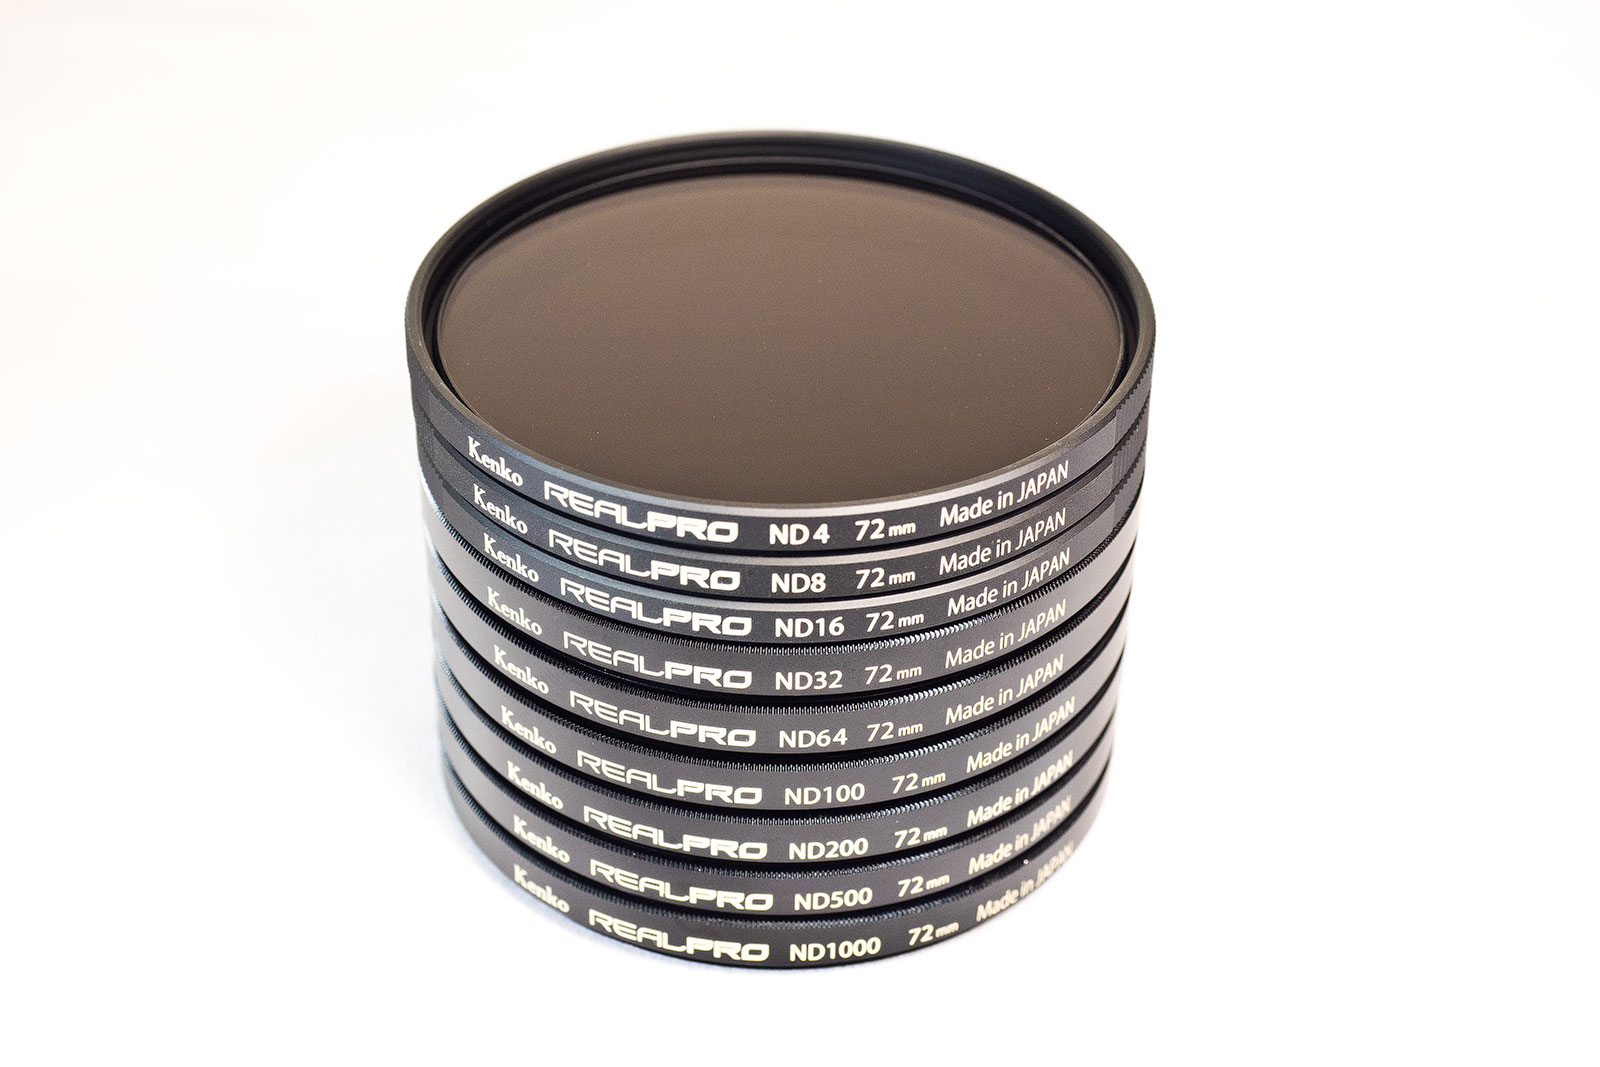
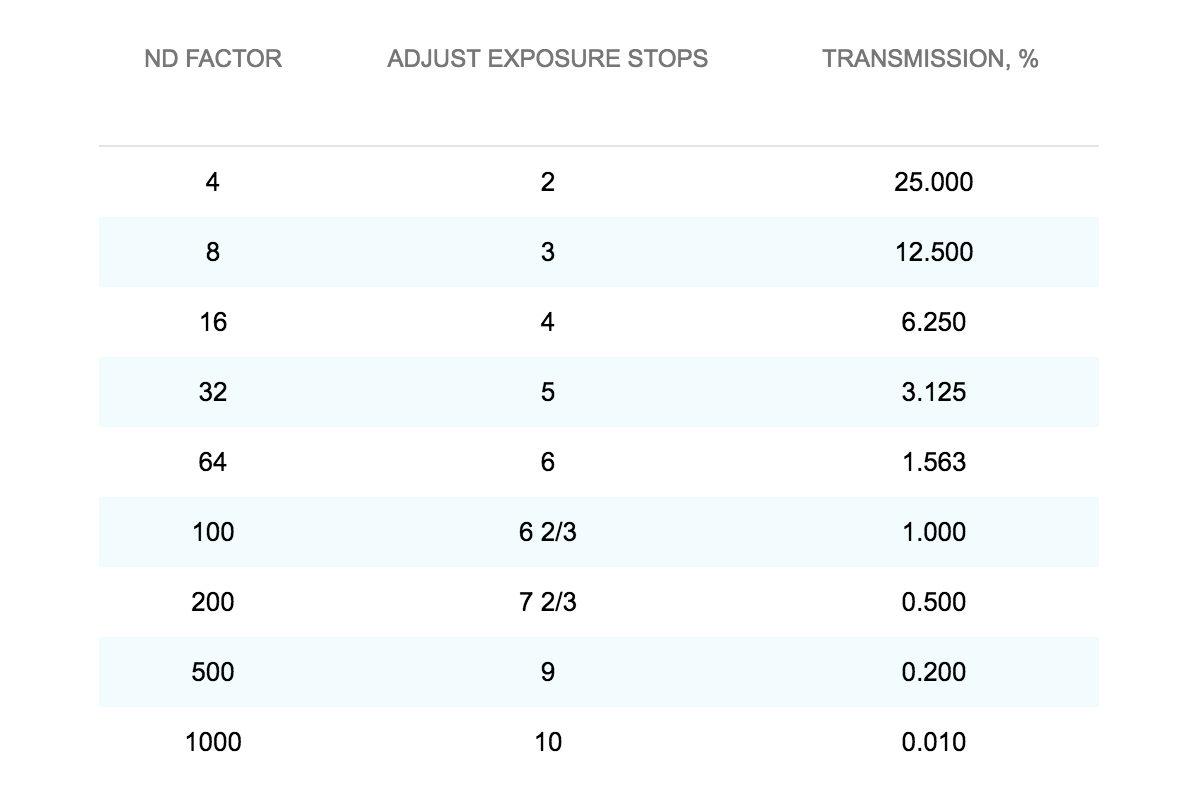
The most light filter with fixed ND level is Kenko REALPRO ND4 which transmits forth part of the light that is 25%. But in photography it is not accepted to measure the light in that way so we usually use exposure value (EV) or f-stops. For example, ND4 filter will lower the light by 2 f-stops.
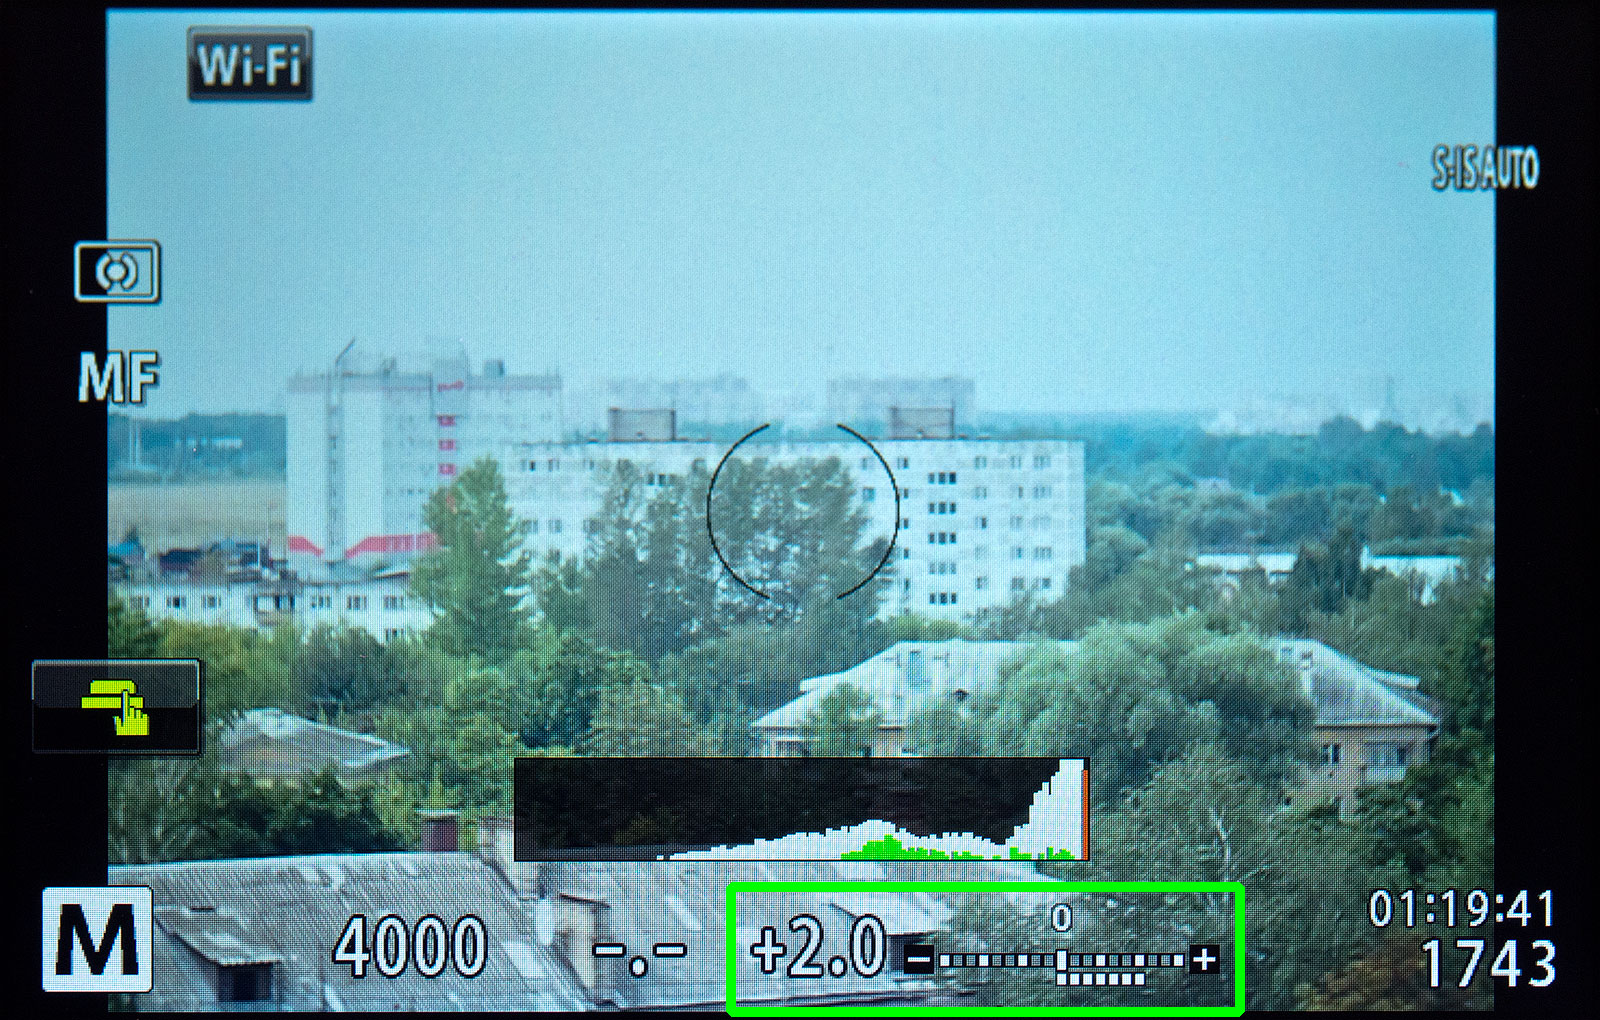
On the camera screen the exposure state is shown by the digital scale, where over- and underexposure is indicated with "+" and "-" numbers. For example, overexposure on 2 f-stops shown as "+2EV" or simply "+2".

Here's a handy table for easier understanding. It could be used for choosing the ND filter of any manufacturer.
Also check wonderful application "Long Exp" by Ilya Genkin. It is a set of different calculators for long exposure. For example, there is a "Stacking ND Filters" section where one can calculate the exposure for multiple ND filters. Also, it has a table above and many other useful calculators. Unfortunately, this app is available only for iOS in both free and paid version, but we would recommend to purchase the paid one, because it is a really useful app.
For the amateur photographer, all these marks and f-stops may seem somewhat confusing. So let's look at a simple example.
Let's say we have a very sunny weather, camera with the maximum shutter speed 1/4000 sec., minimum sensitivity ISO200 and fast portrait lens with aperture of f/1.3.
We need to shoot at maximum aperture to get a beautiful background blur. In that case, the maximum possible exposure of the picture will be: 1/4000 sec. ISO200, f/1.3. Even with such settings because of the bright weather the photo is overexposed on 2 f-stops (camera menu shows +2EV).
The only thing we can do with the camera is to close the aperture on 2 f-stops up to f/2.8. In this case the exposure will be correct, but you will lose depth of field, which is critical in portrait photography.
So here ND filters will come in handy. Returning to the top table, we can easily define that ND4 filter is just we need, because it is reducing the light on 2 f-stops. Using the filter we will get correctly exposed shot with desired depth of field.


This very simple example shows the principle of operation with ND filters and hope it will help you to select the most suitable model. But the reality is somewhat different. Therefore, if you shoot in RAW-files, a slight overexposure is not so terrible. On the other hand, if we are talking about the creative potential, there may be situations when you need to reduce the light up to 1000 and more times (i.e. 10 or more EV steps). Later we will consider all the most typical situations of using such filters.
Difference by construction
Also ND filters are divided into fixed and variable. Fixed one consists of a glass with a specified density level. Kenko REALPRO ND are fixed ND filters. Variable filters allow to dynamically control the density level from ND2 to ND400. In fact it is 2 combined linear polarizing filters and the density can be changed by rotating the upper frame. Kenko presents two models of variable ND filters - Variable NDX and PL FADER.
The disadvantage of fixed ND filters is that for each shooting situation you need to use certain filter with desired density or combination of several filters. However, this approach is more correct, because guarantees higher quality in terms of resolution, color and allows to use extra-long exposures. Other disadvantages are high price and low quality of budget models (low resolution and color shift).
A great advantage of variable ND filters is that they allow to dynamically change the level of density. You don't need to change or attach filters with different density. Just simply rotate the upper frame to achieve the desired effect within the operating range of the filter.
Typical situations
Before we proceed to the practical side, it must be said that the scope of ND filters is very extensive.
First and foremost, ND filters are used in classic photography. For example, in portraits, for more depth of field or in landscape photography for very long exposures.
Also, ND filters are often used in time-lapse. In this technique hundreds of serial shots are combined into the video with accelerated effect.
In the professional videography it is also difficult to manage without ND filters. Next, we will consider the most typical situations.
Photography
Now let's discuss typical situations in photography where ND filters are in need.
Strong light flux
We have already considered exactly the same situation in the example above. ND is necessary if you have a fast lens, camera with limited shutter speed and want to shoot with maximum aperture (for example, to get deep depth of field). In such conditions, shooting without a filter may cause overexposure.
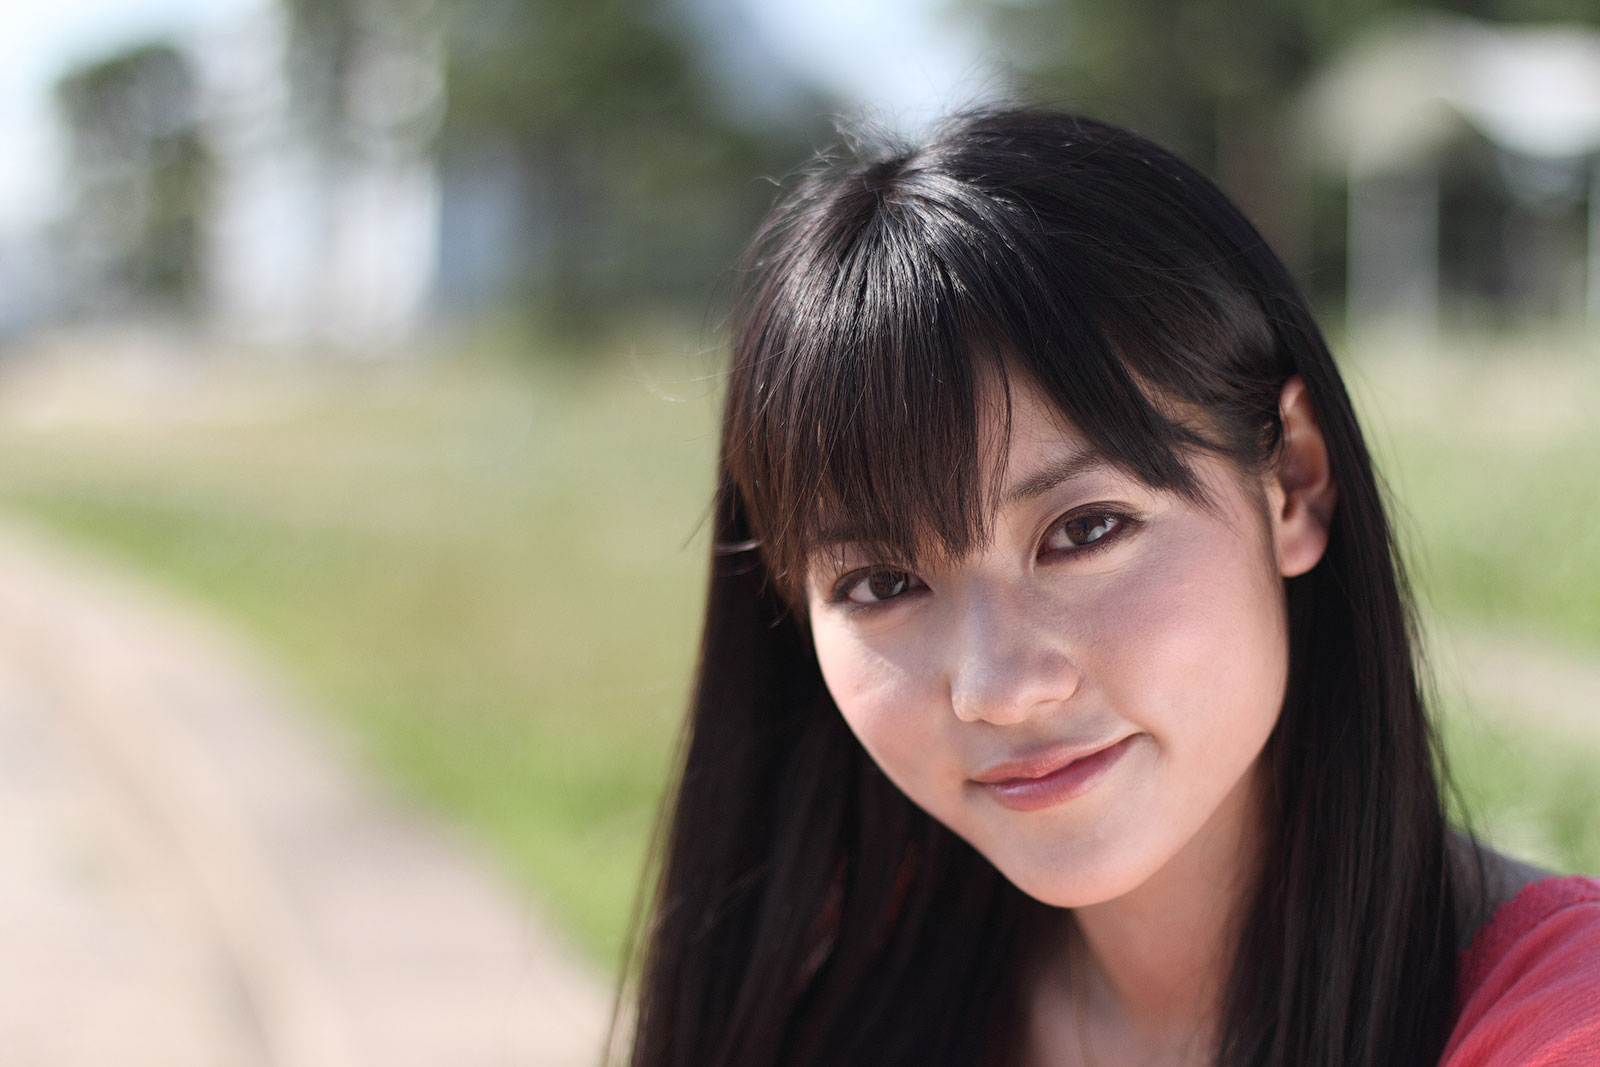
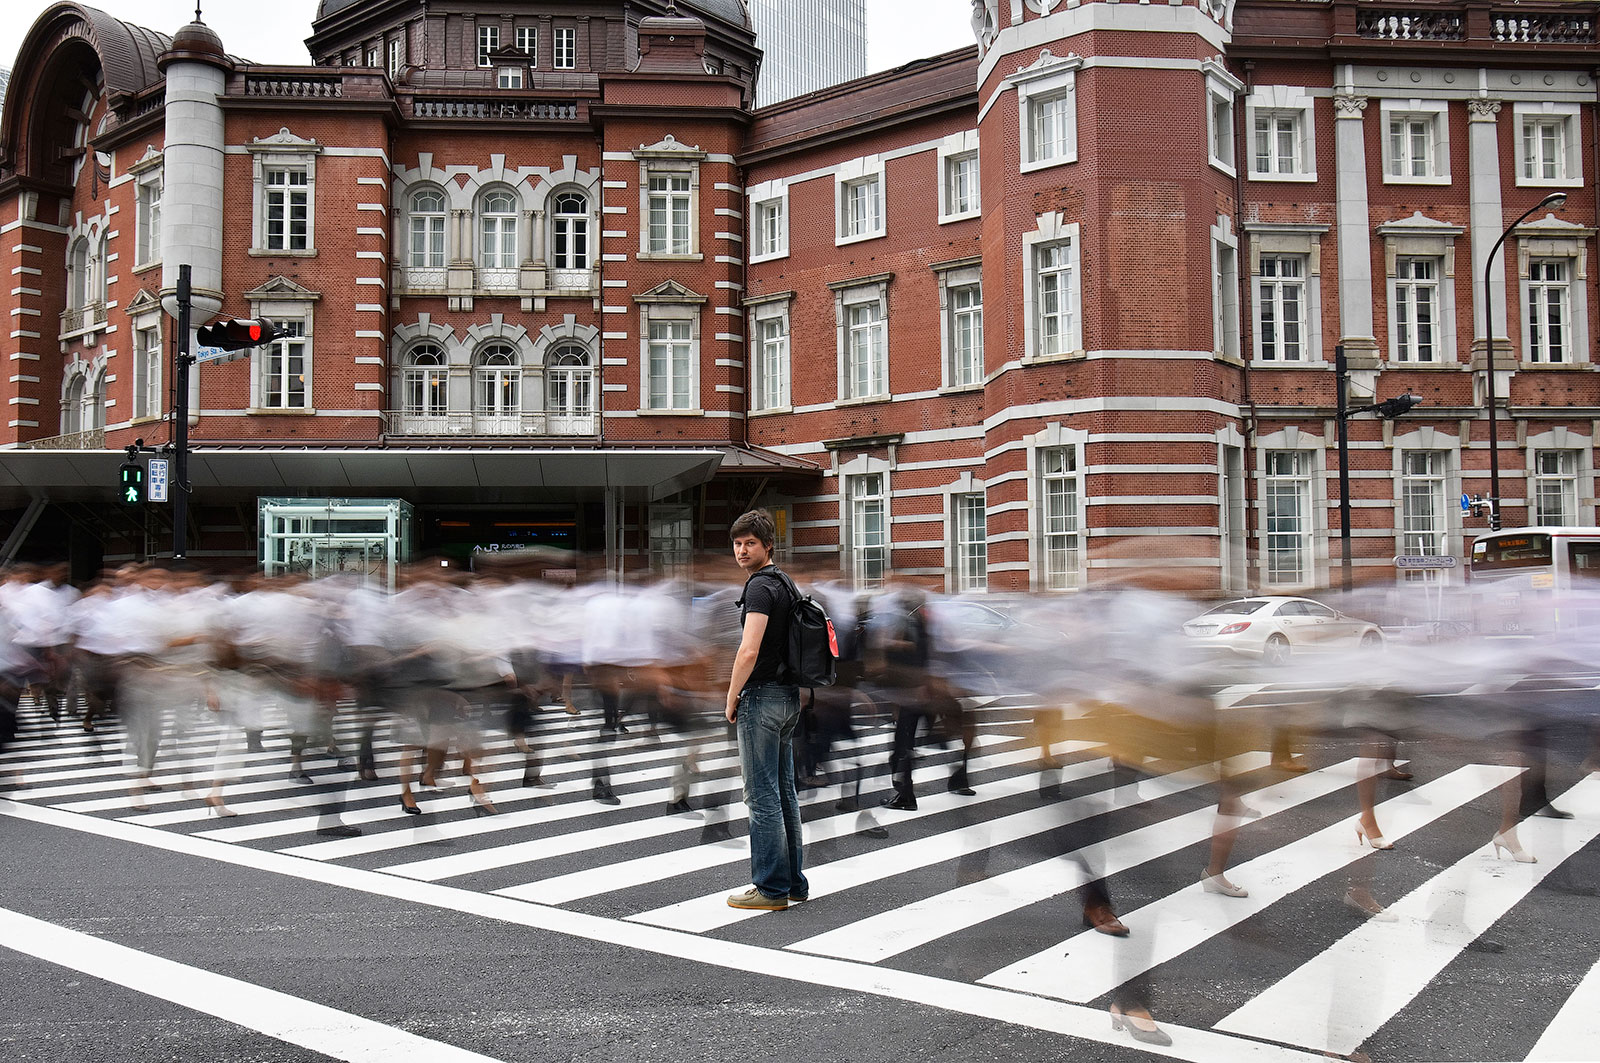
Accent on the subject of shooting
This technique is required when there is a motionless subject and moving objects around them. With a slow shutter speed all moving objects will become blurred or even blurry, while the subject will remain sharp. Shooting without ND filters will give you extra light flux with overexposure.
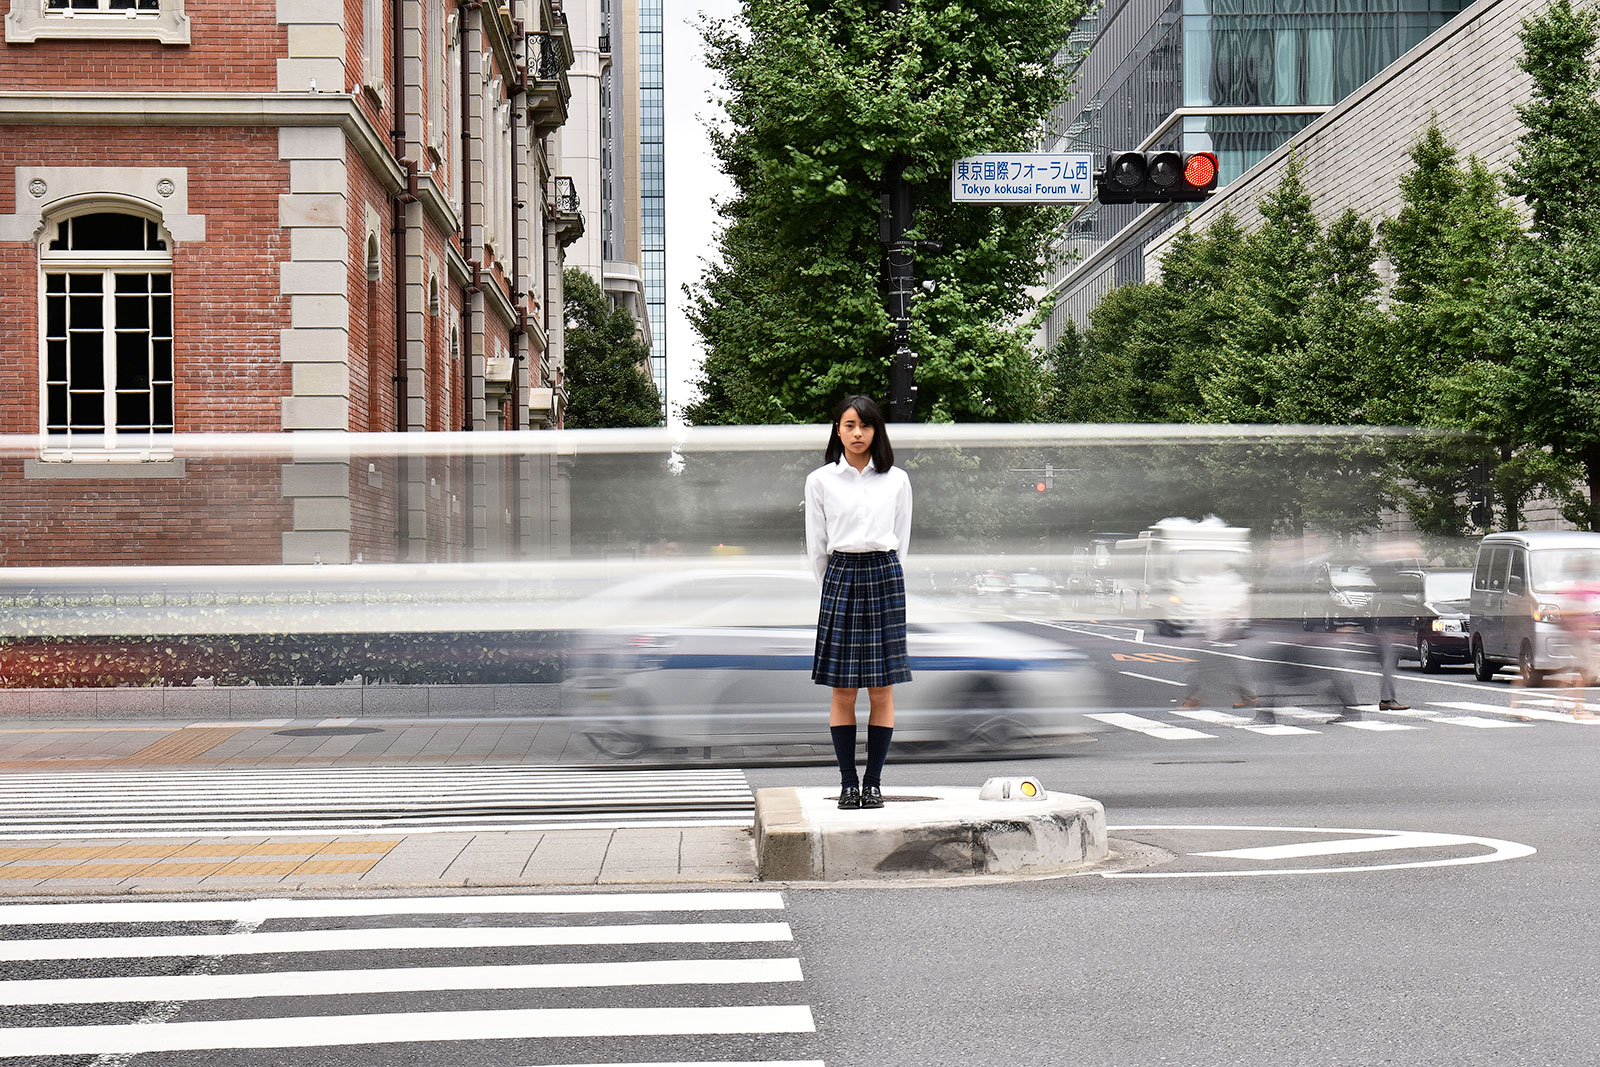
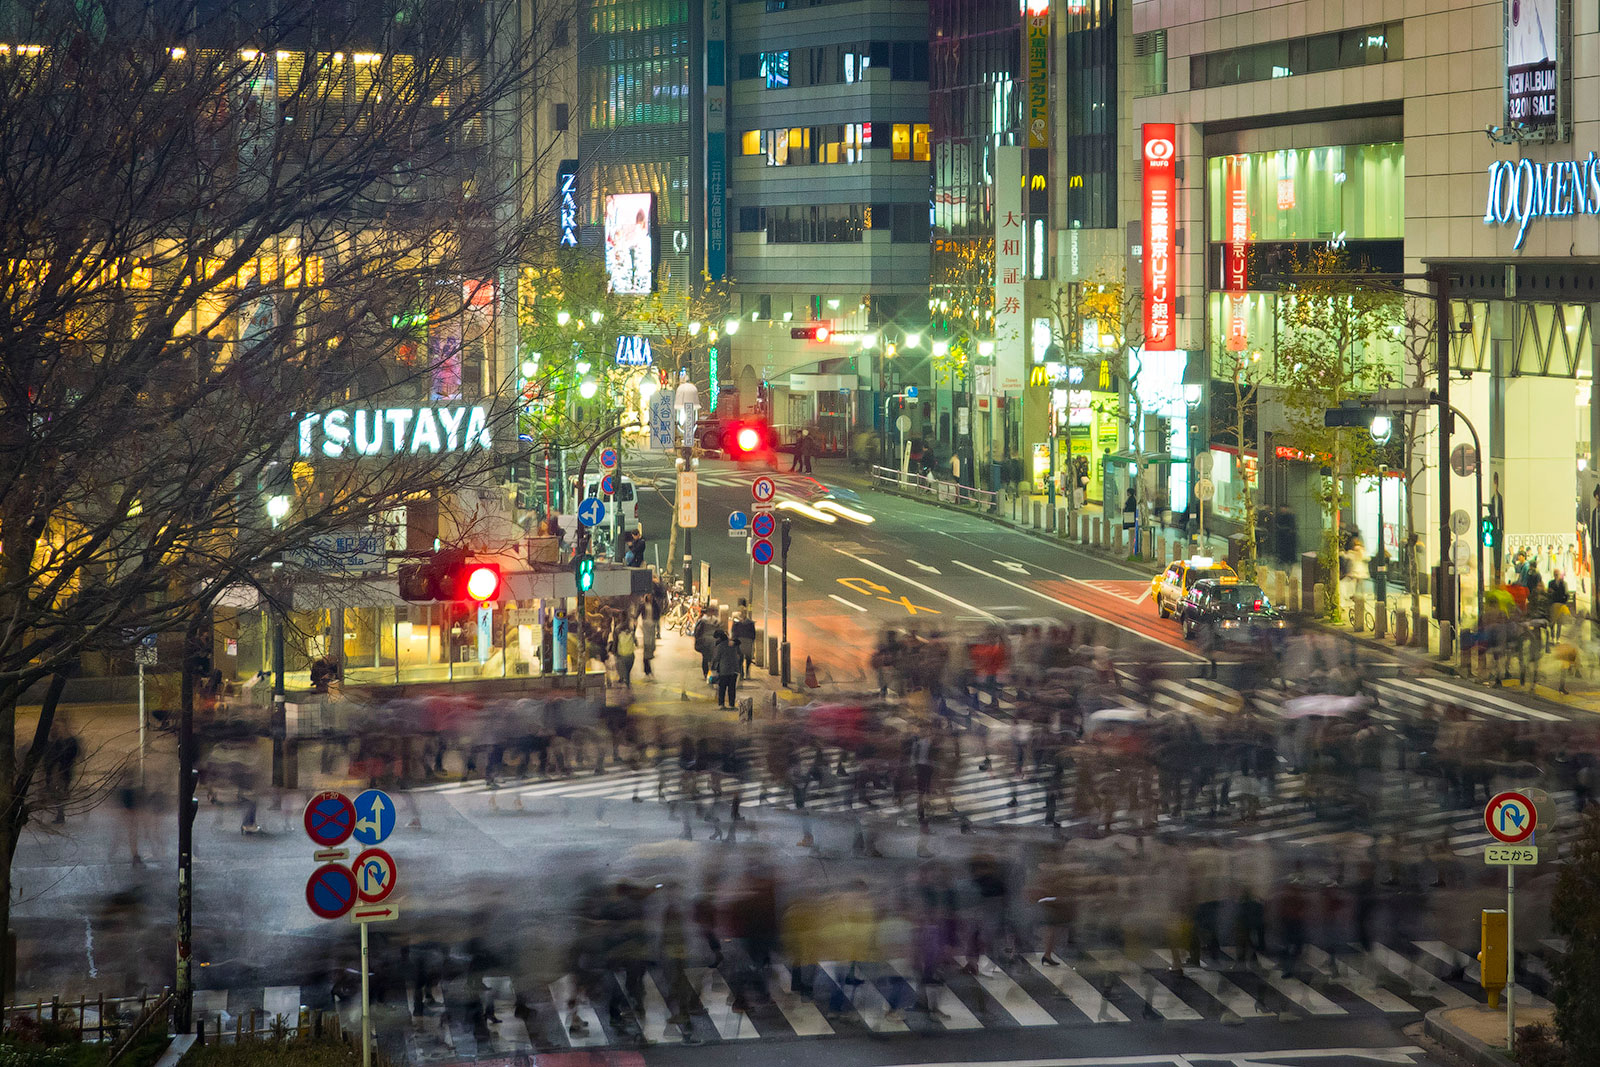
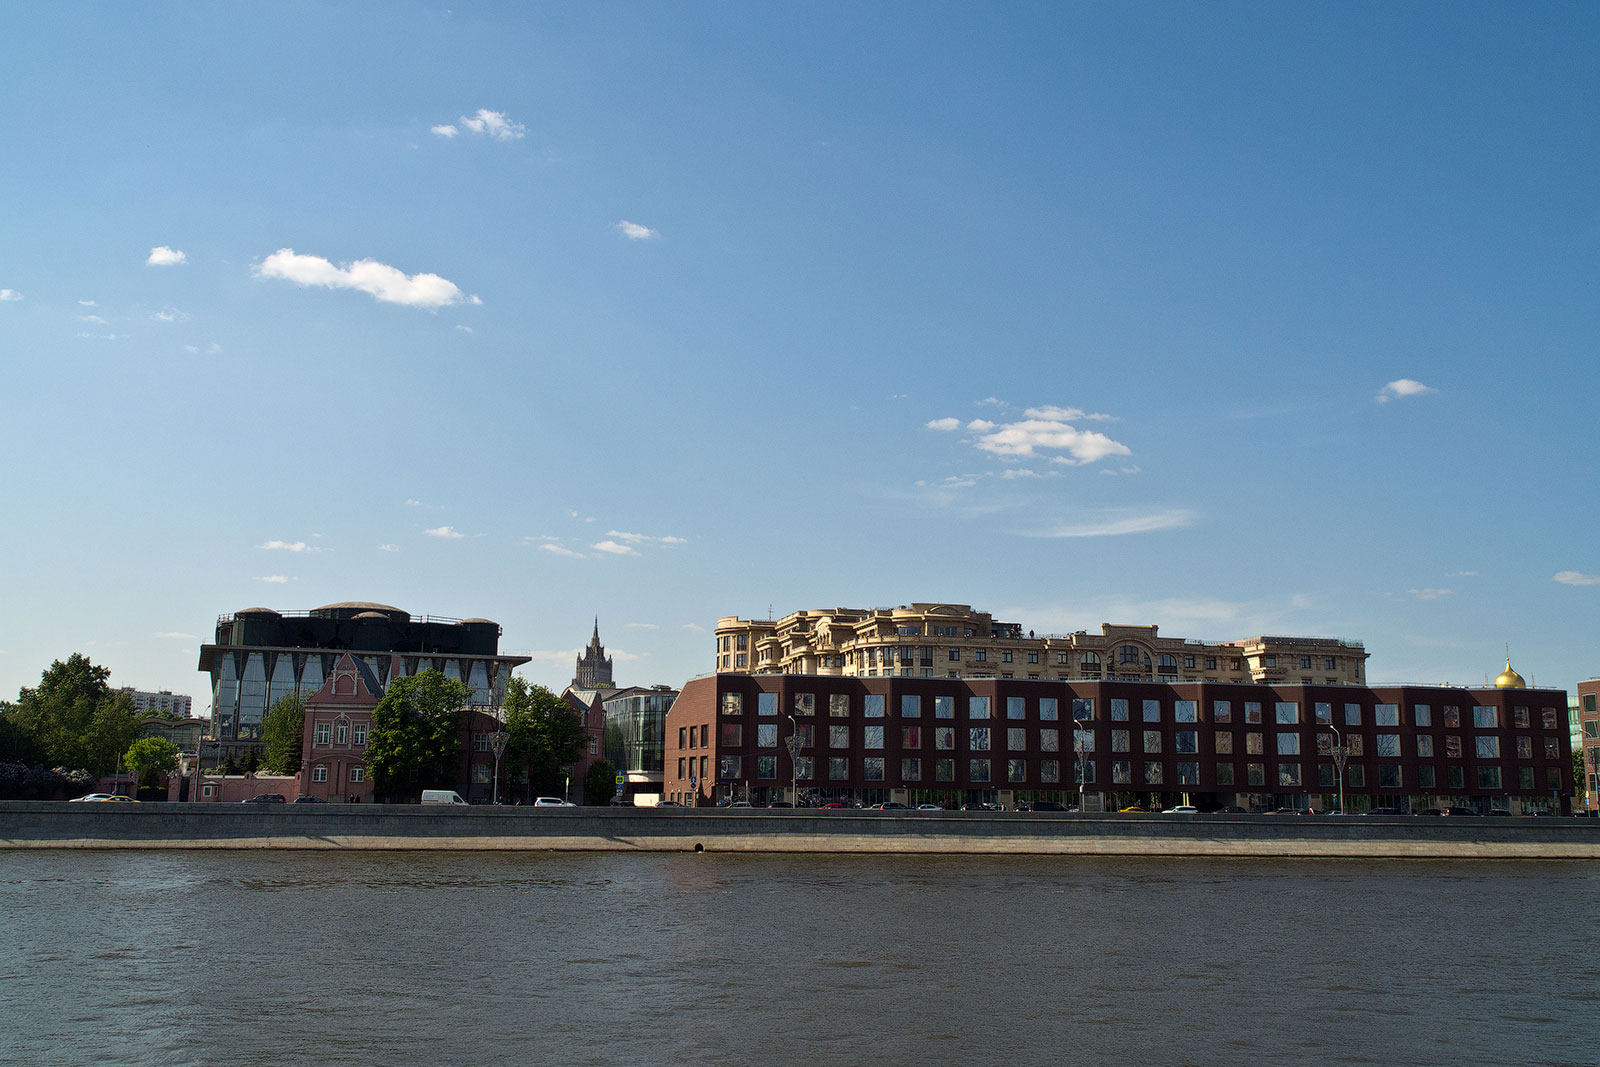
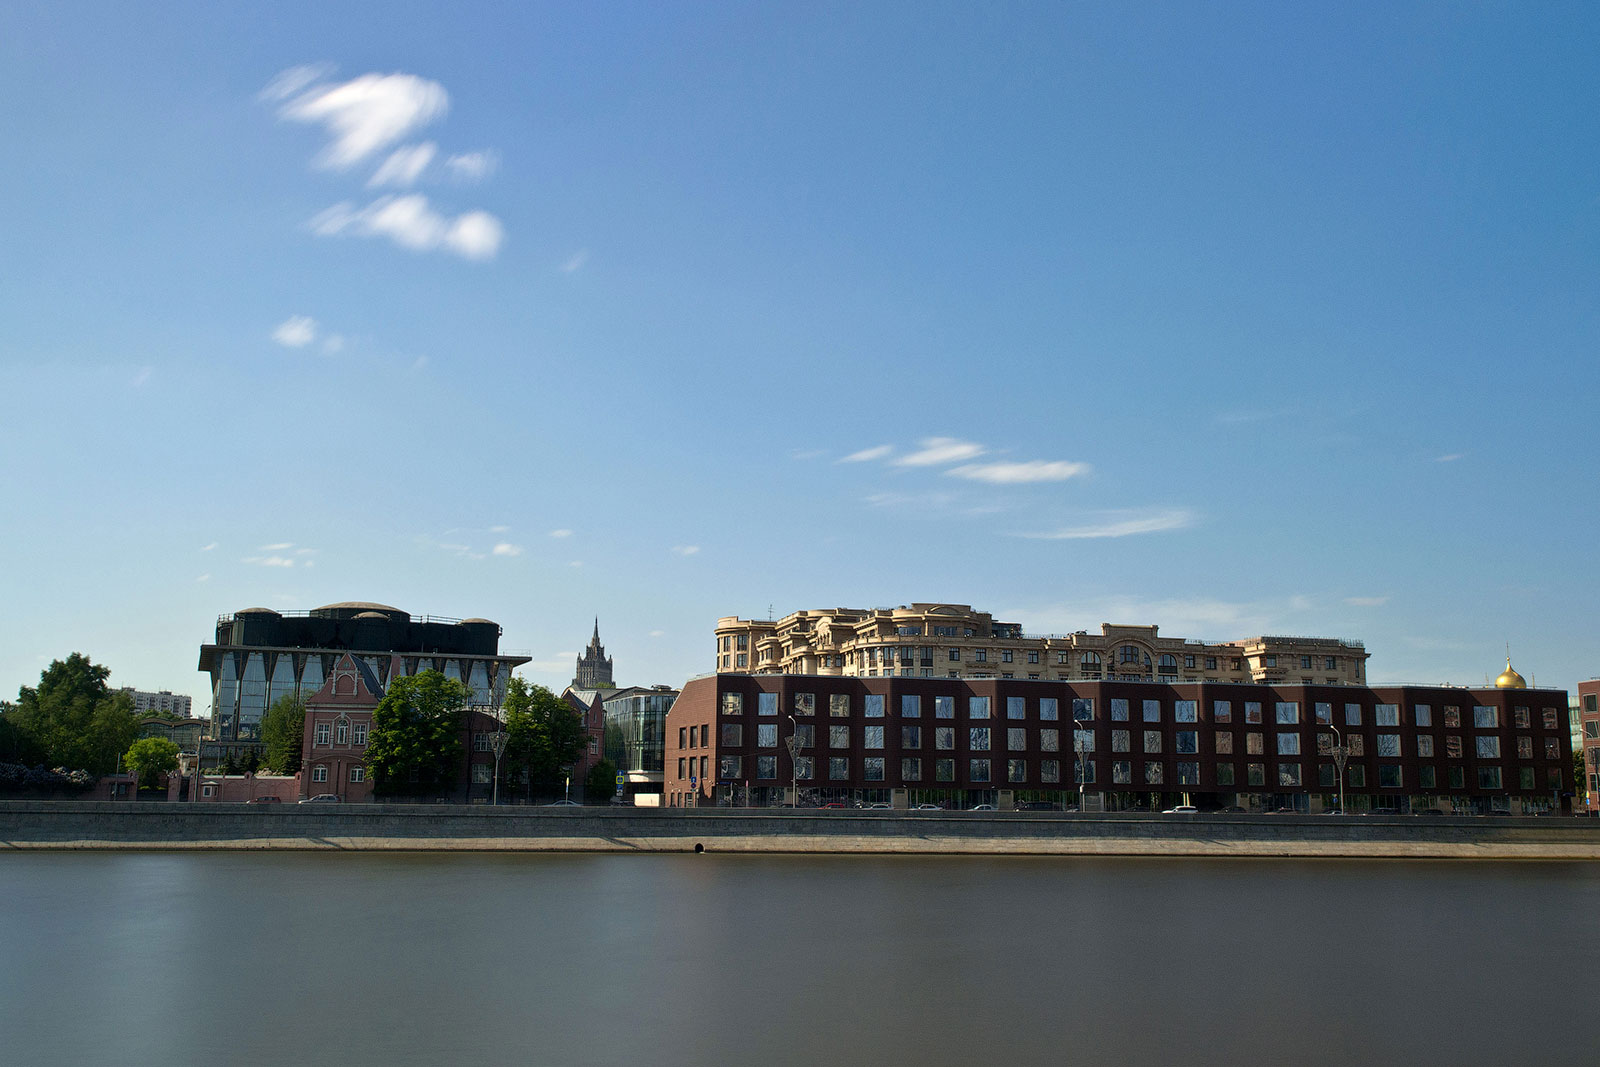
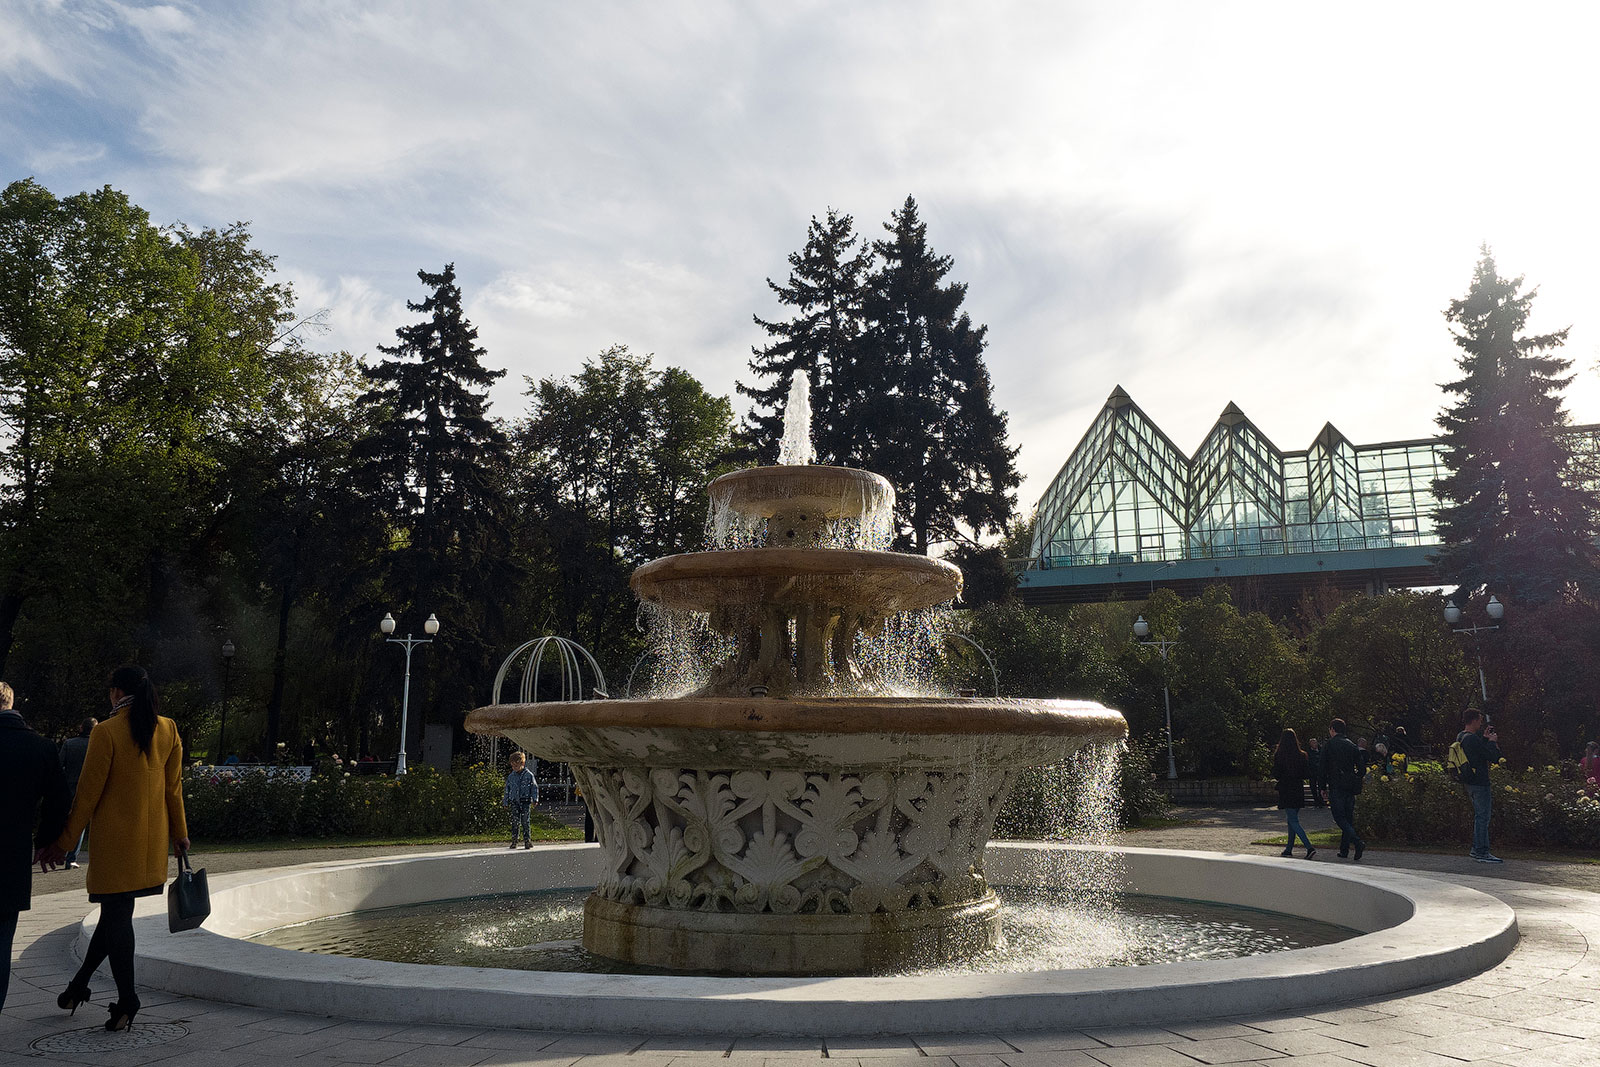
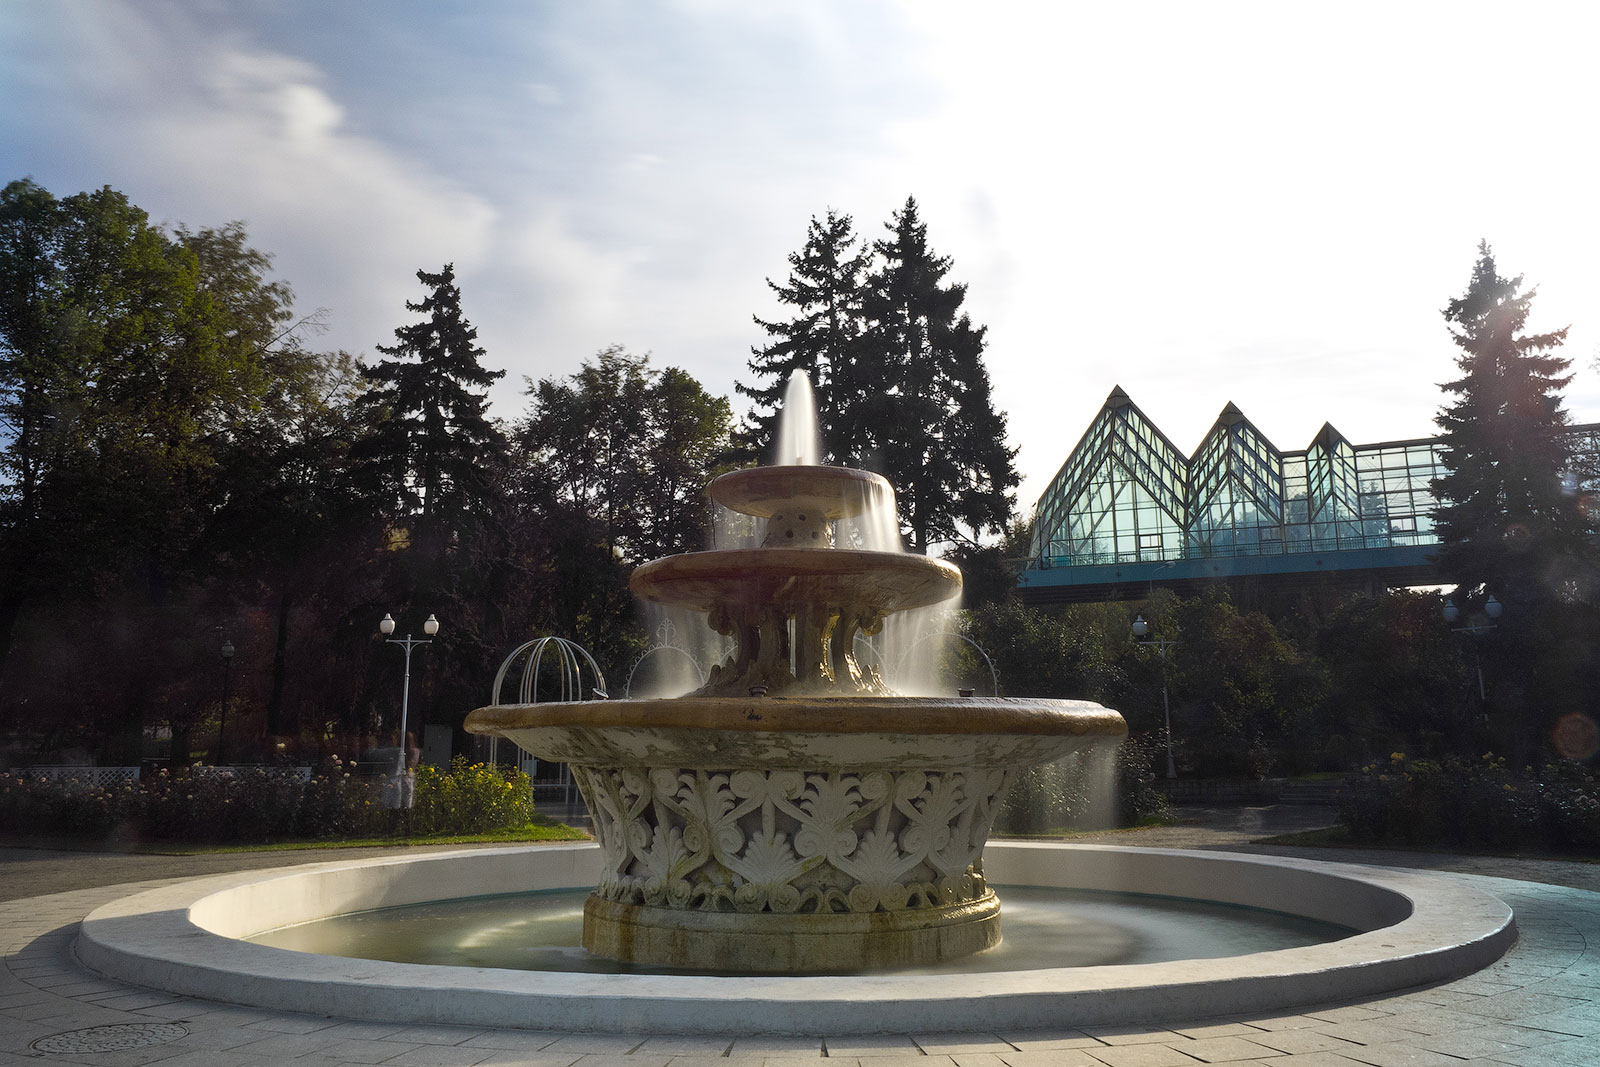
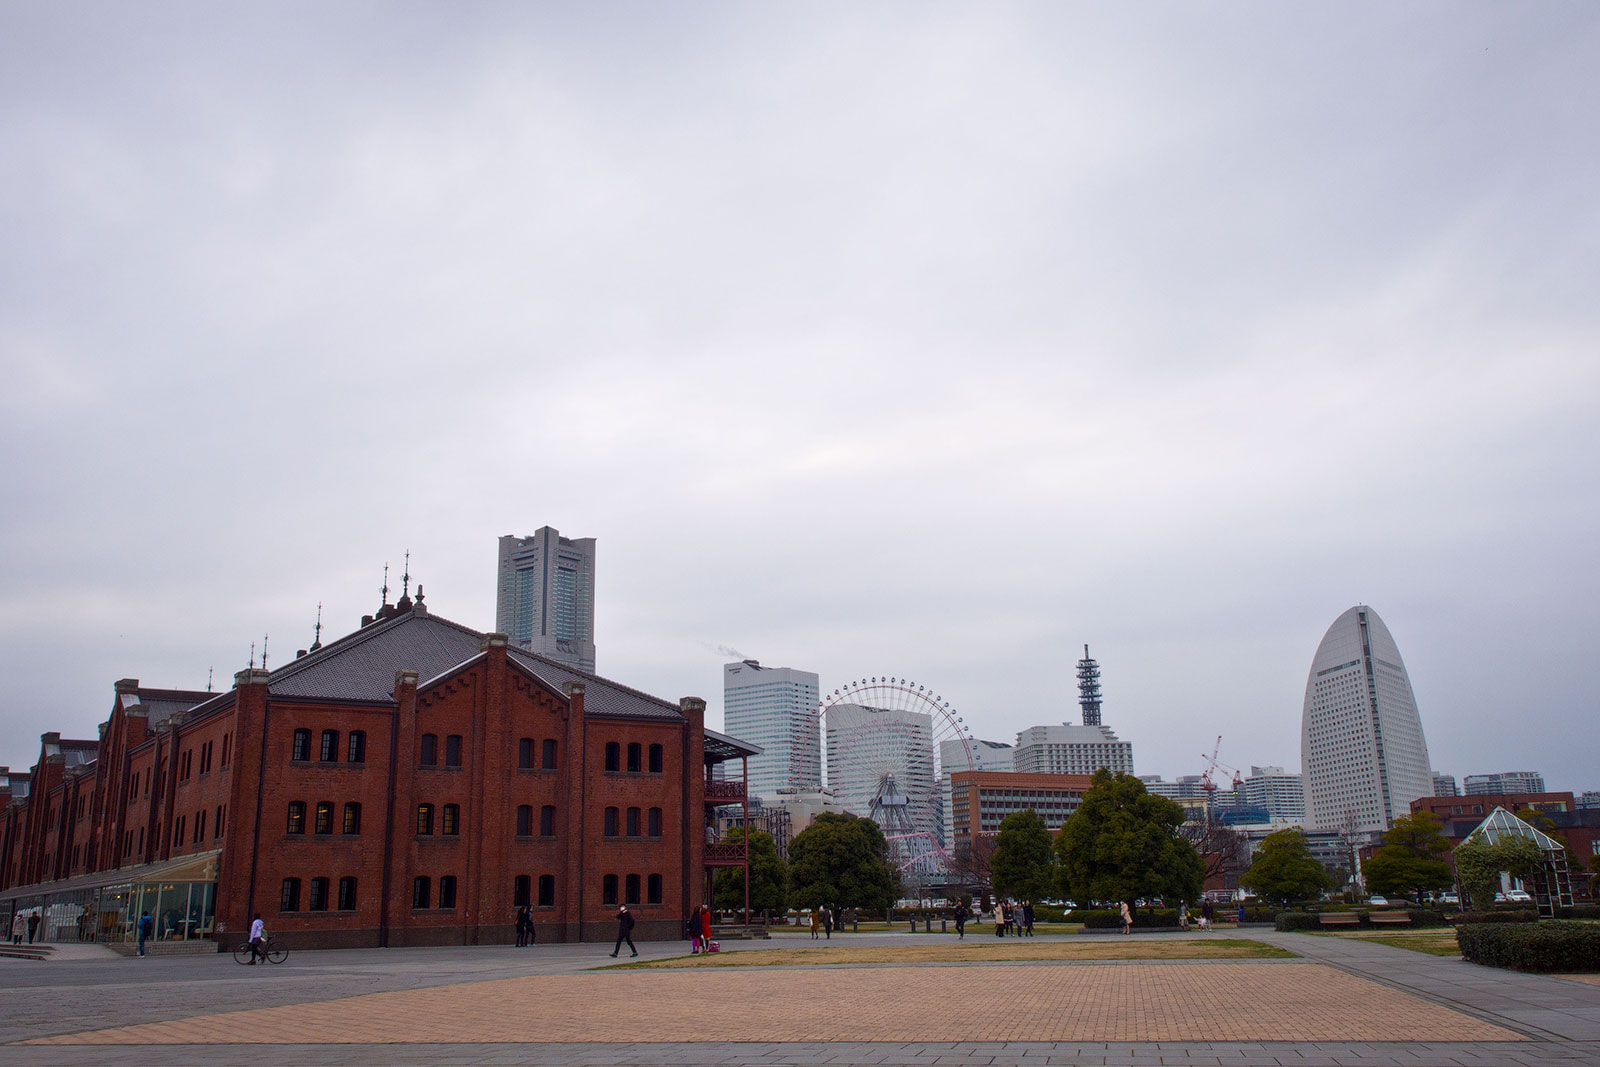
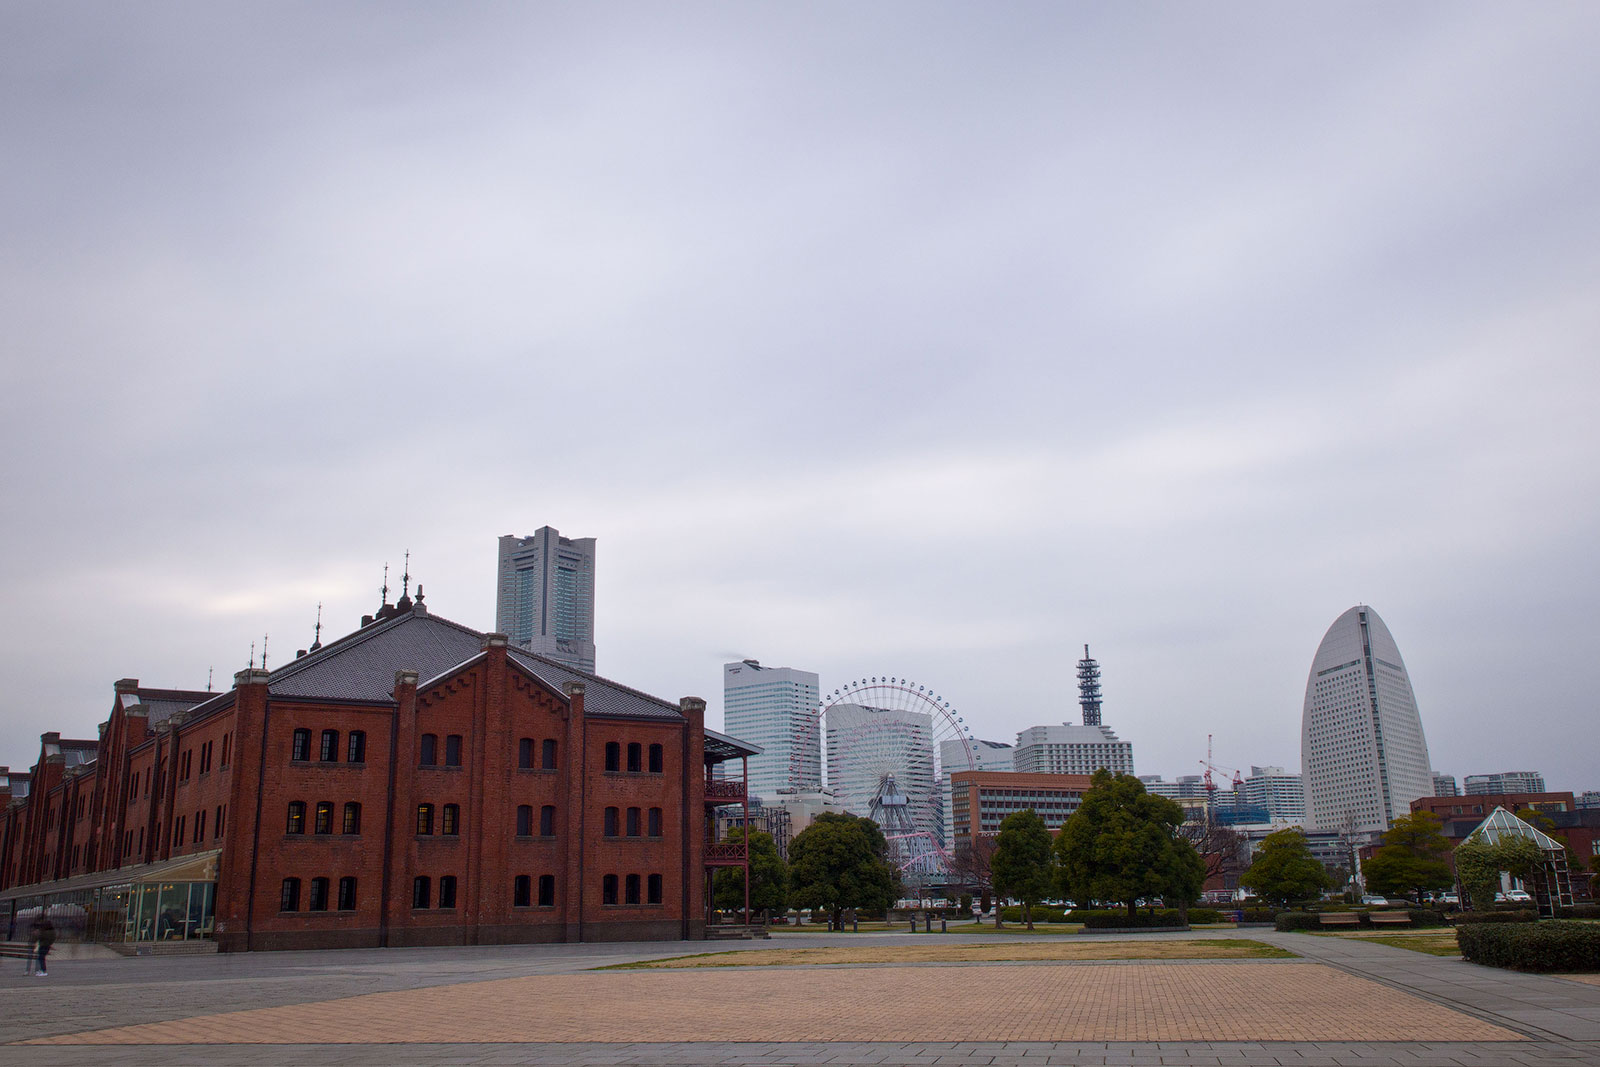
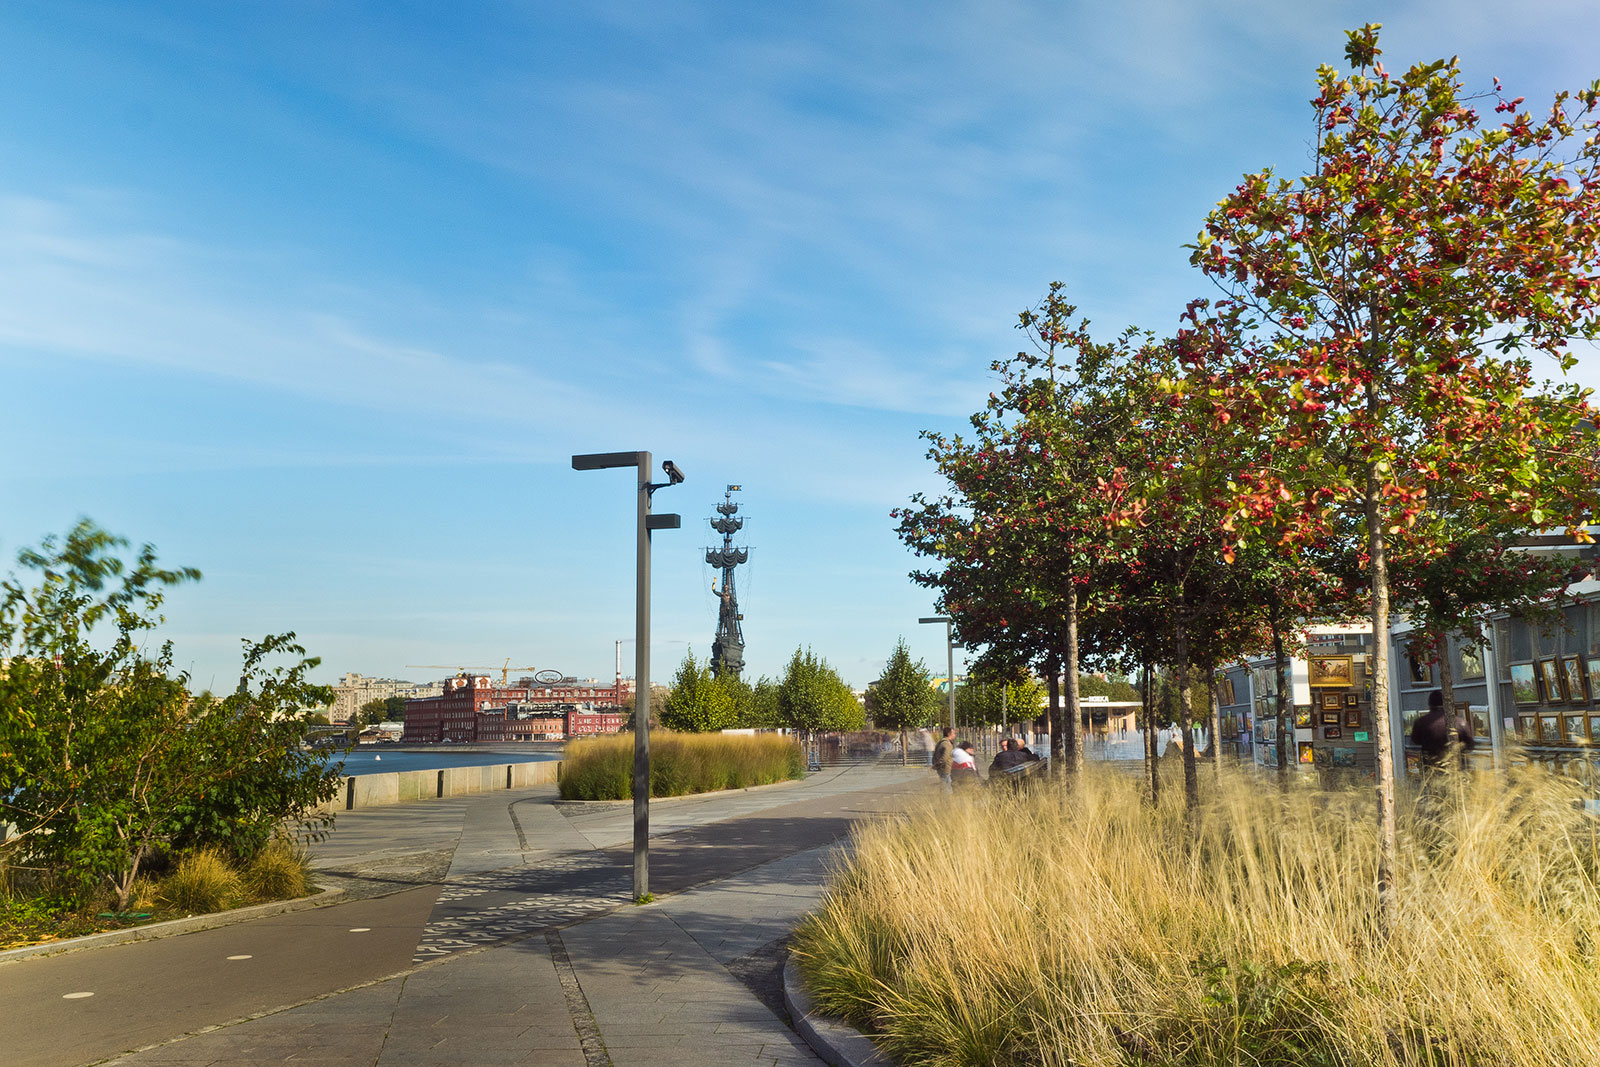
Landscapes and cityscapes
ND filters are often used in the landscape or cityscapes photography. Long exposure allows blurring the fast moving clouds, ripples on water, a fountain or a waterfall, making shots quite different.
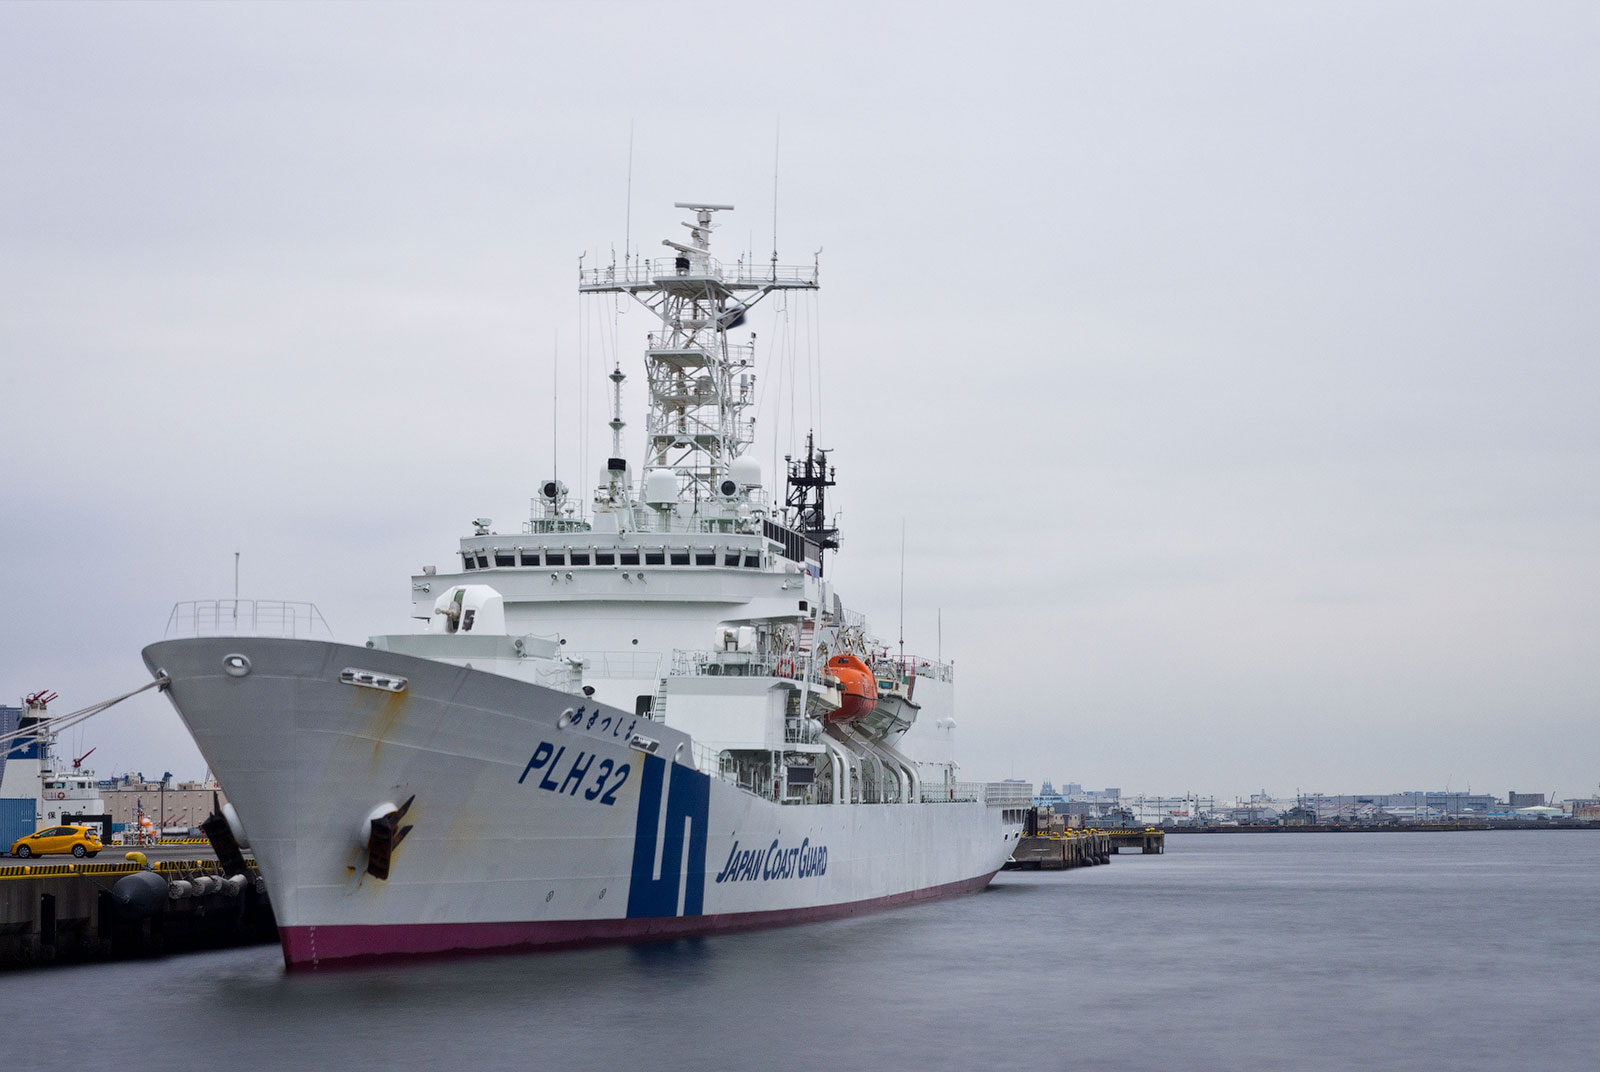
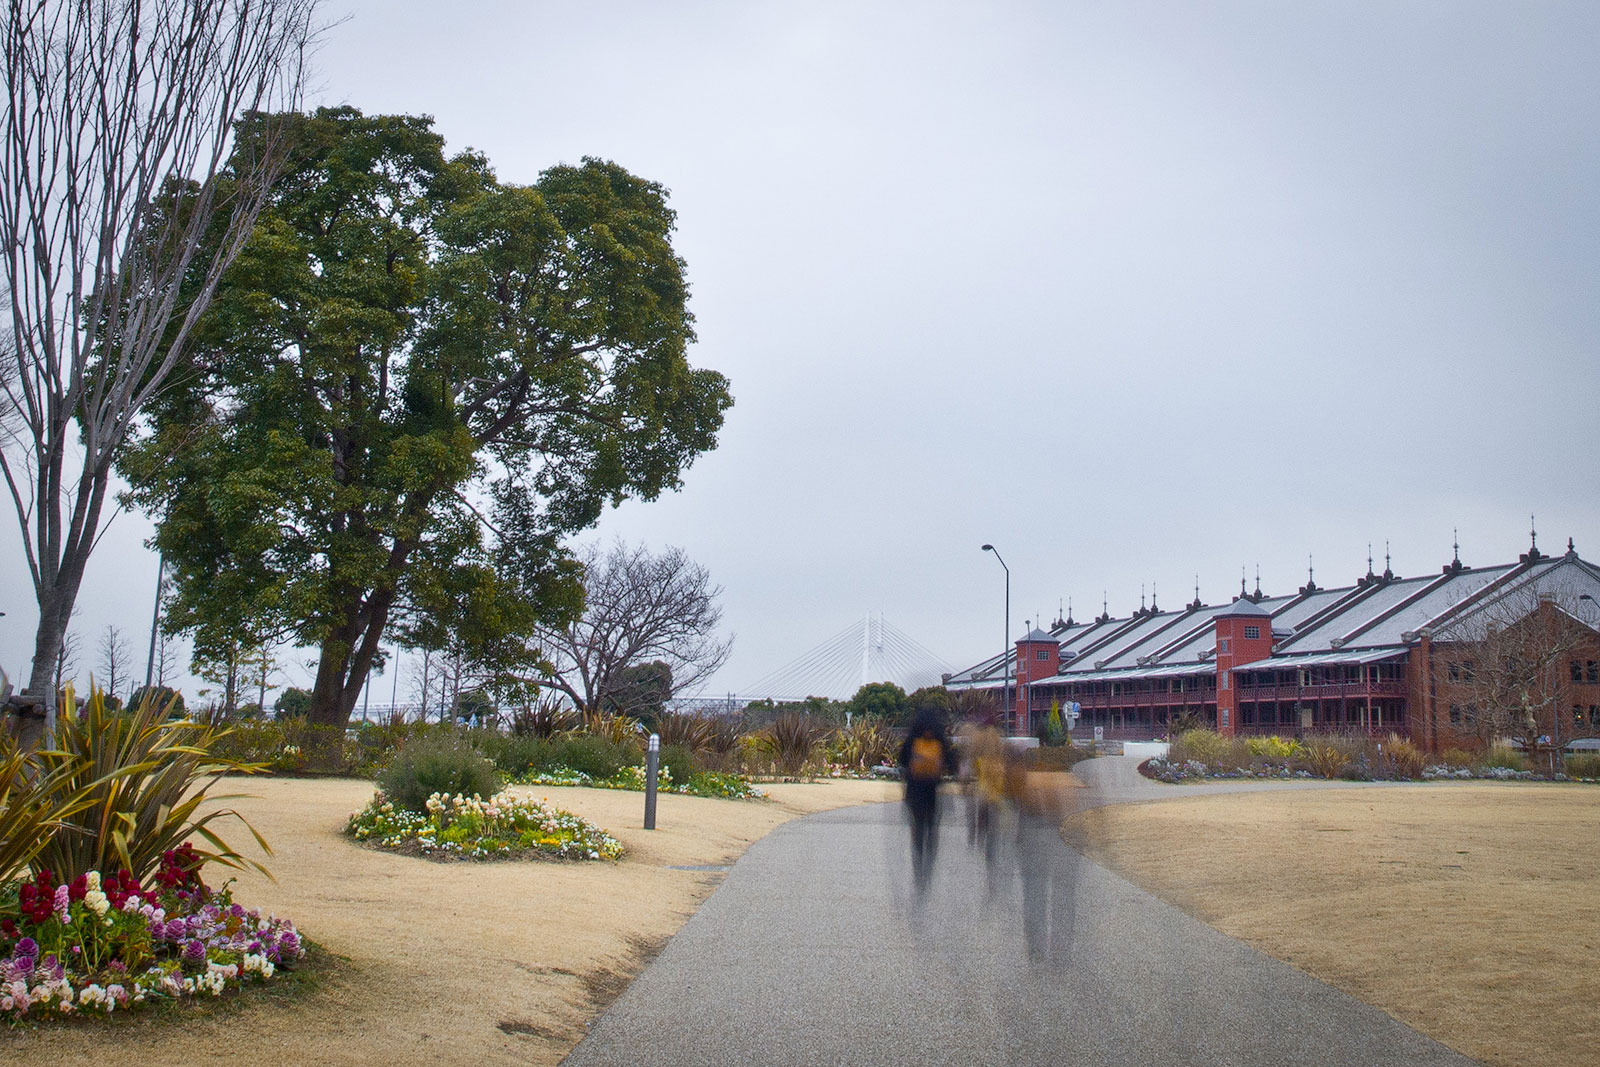
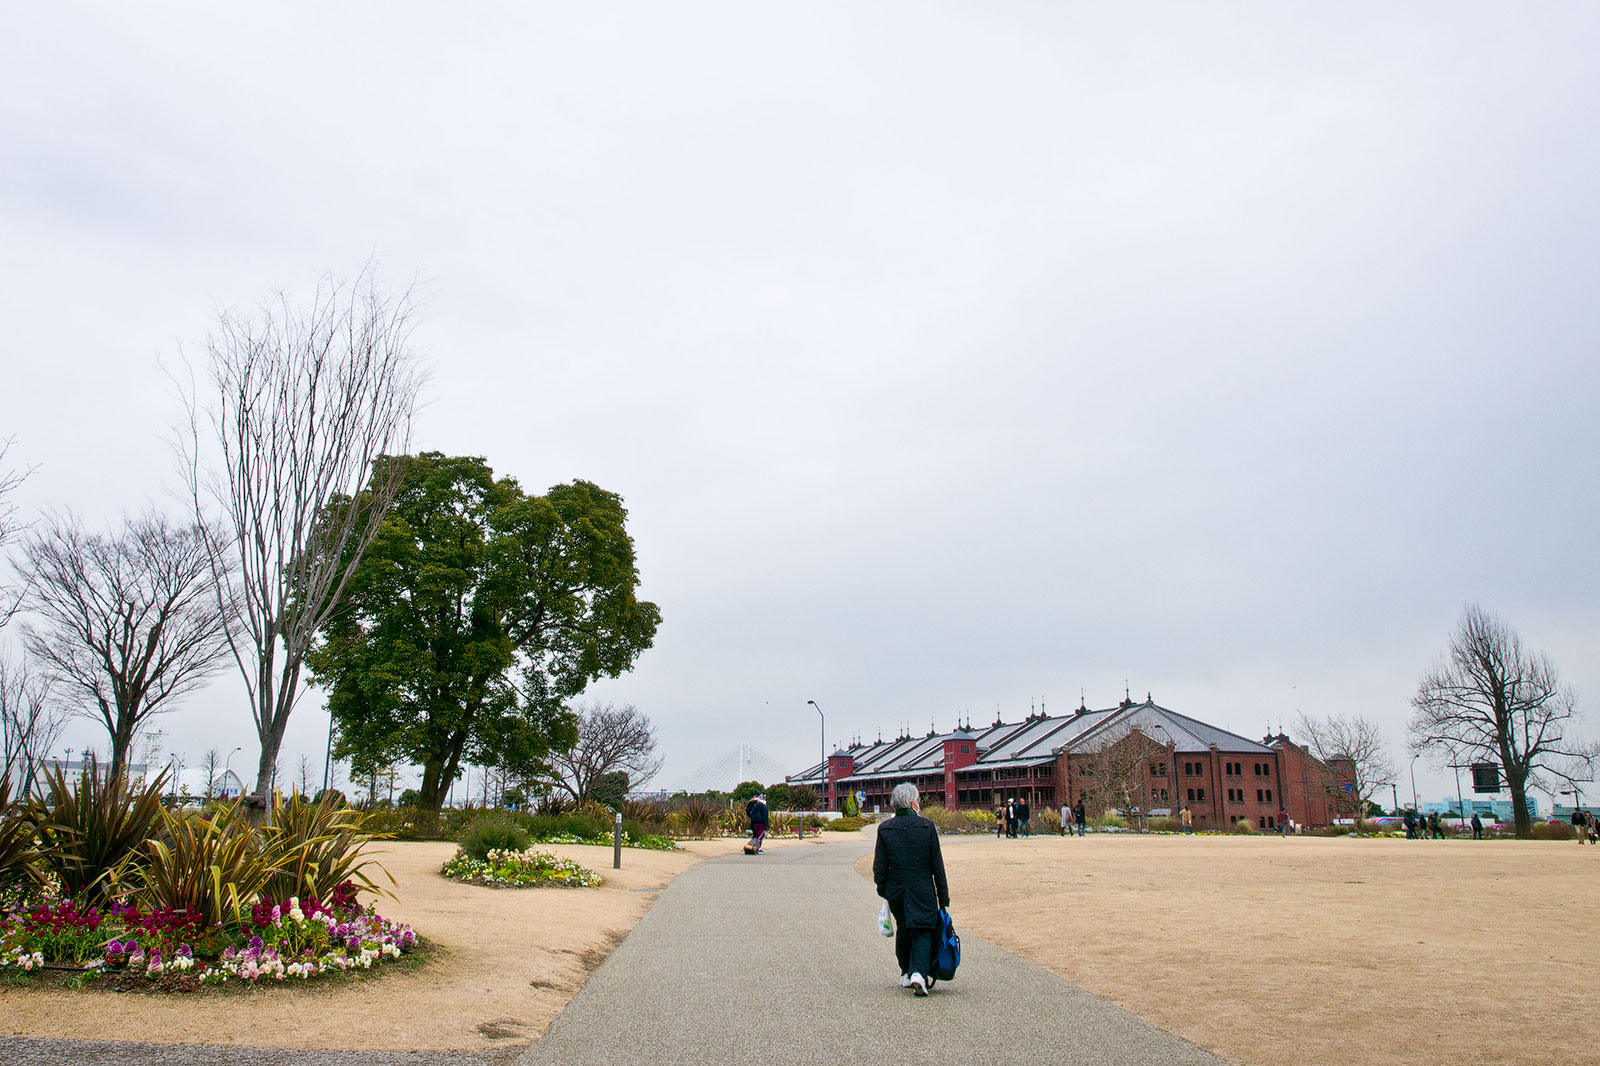
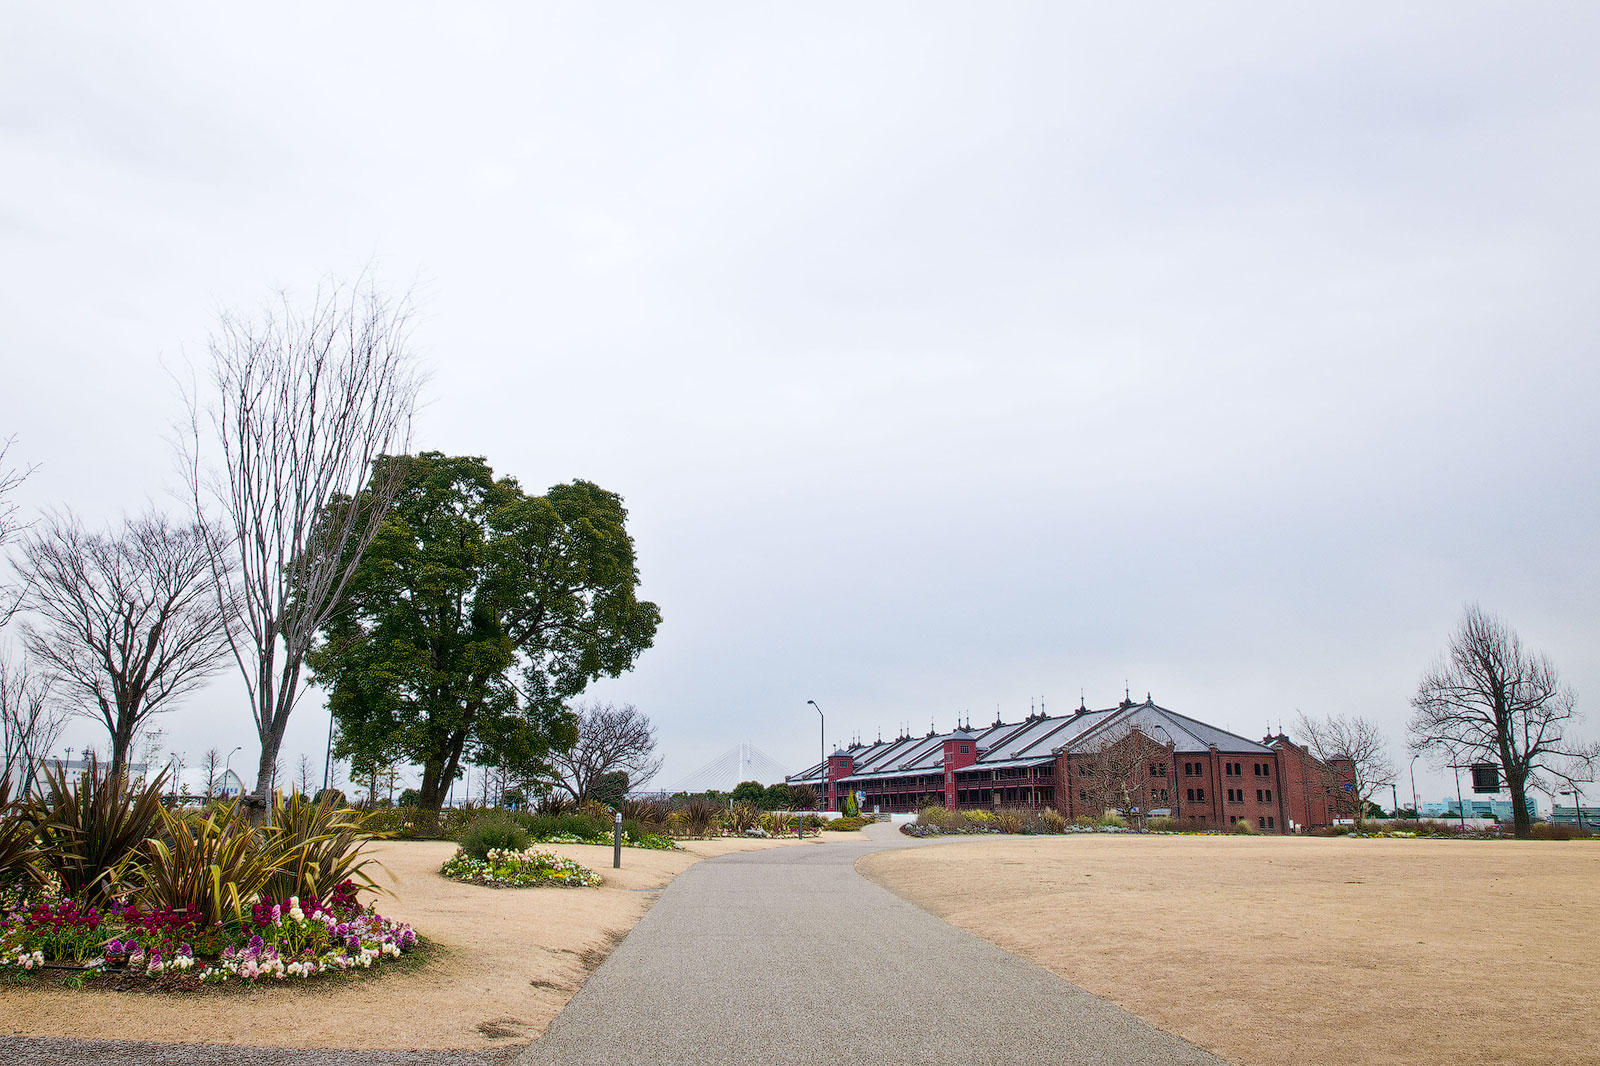
Shooting of architecture
If you significantly increase the exposure (15-20 sec.), all moving objects will become invisible.

Blurred motion
Car lights shot at slow shutter speed are also look very impressive. Basically this technique is used in night photography when lights are visible, however, light flux can be still strong and ND filter would be required.

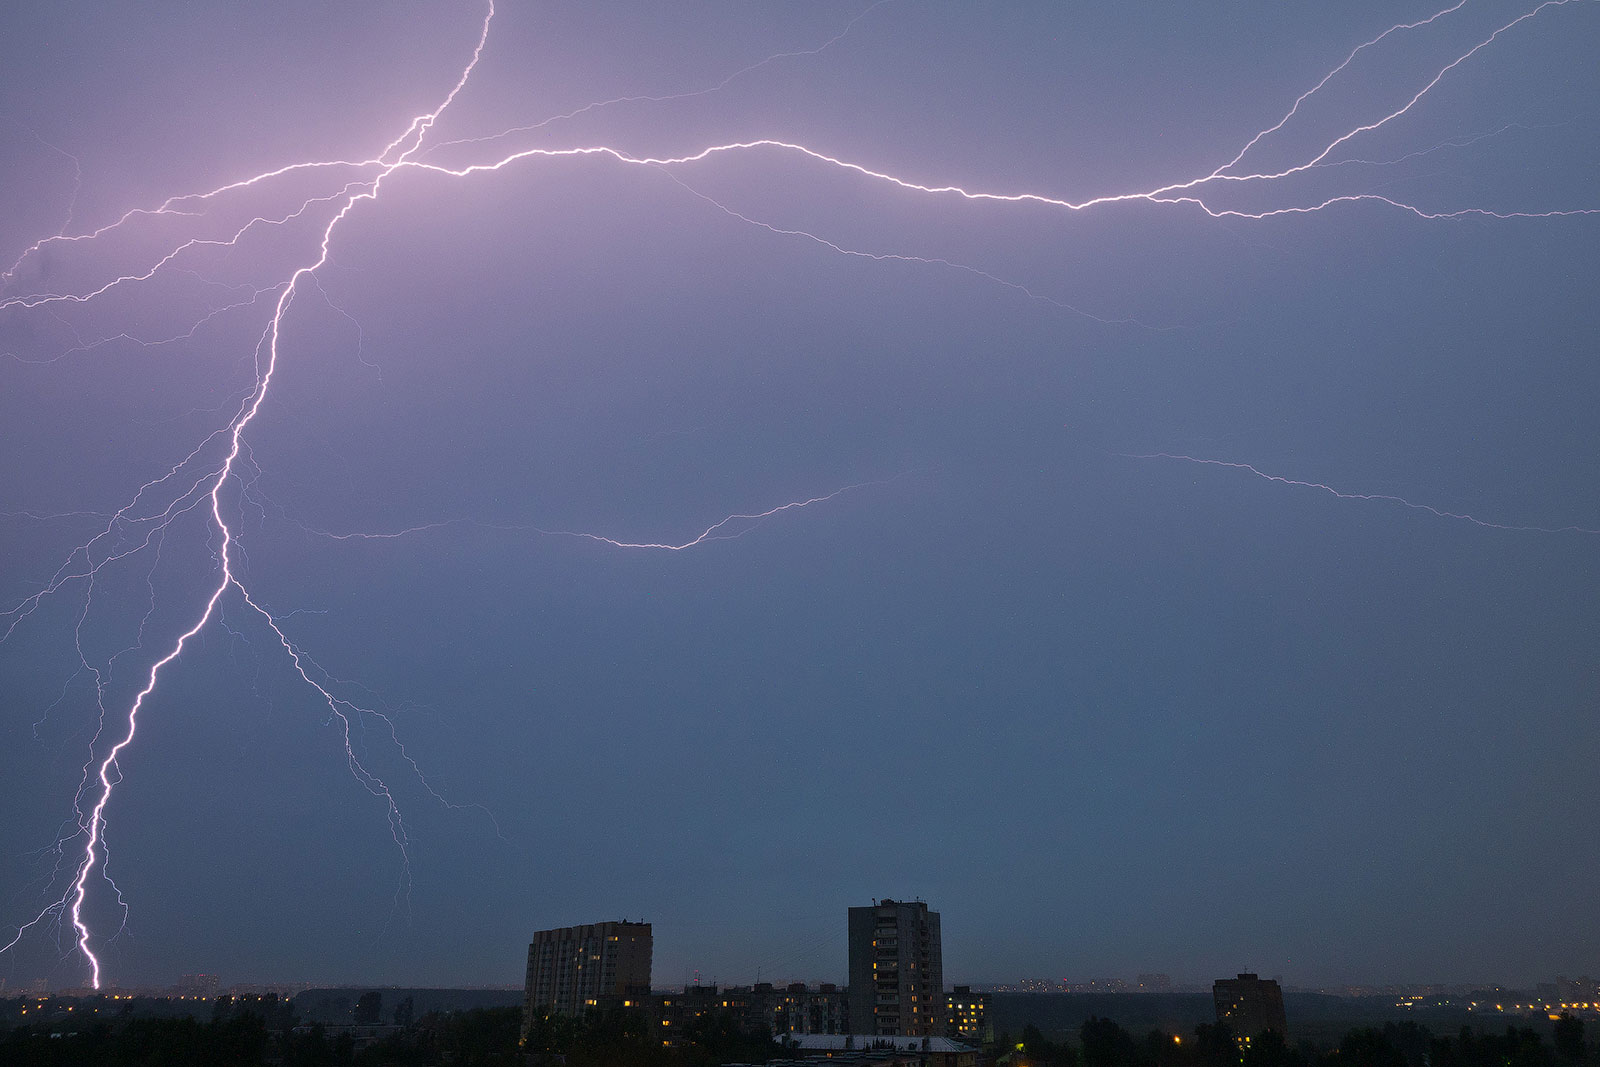
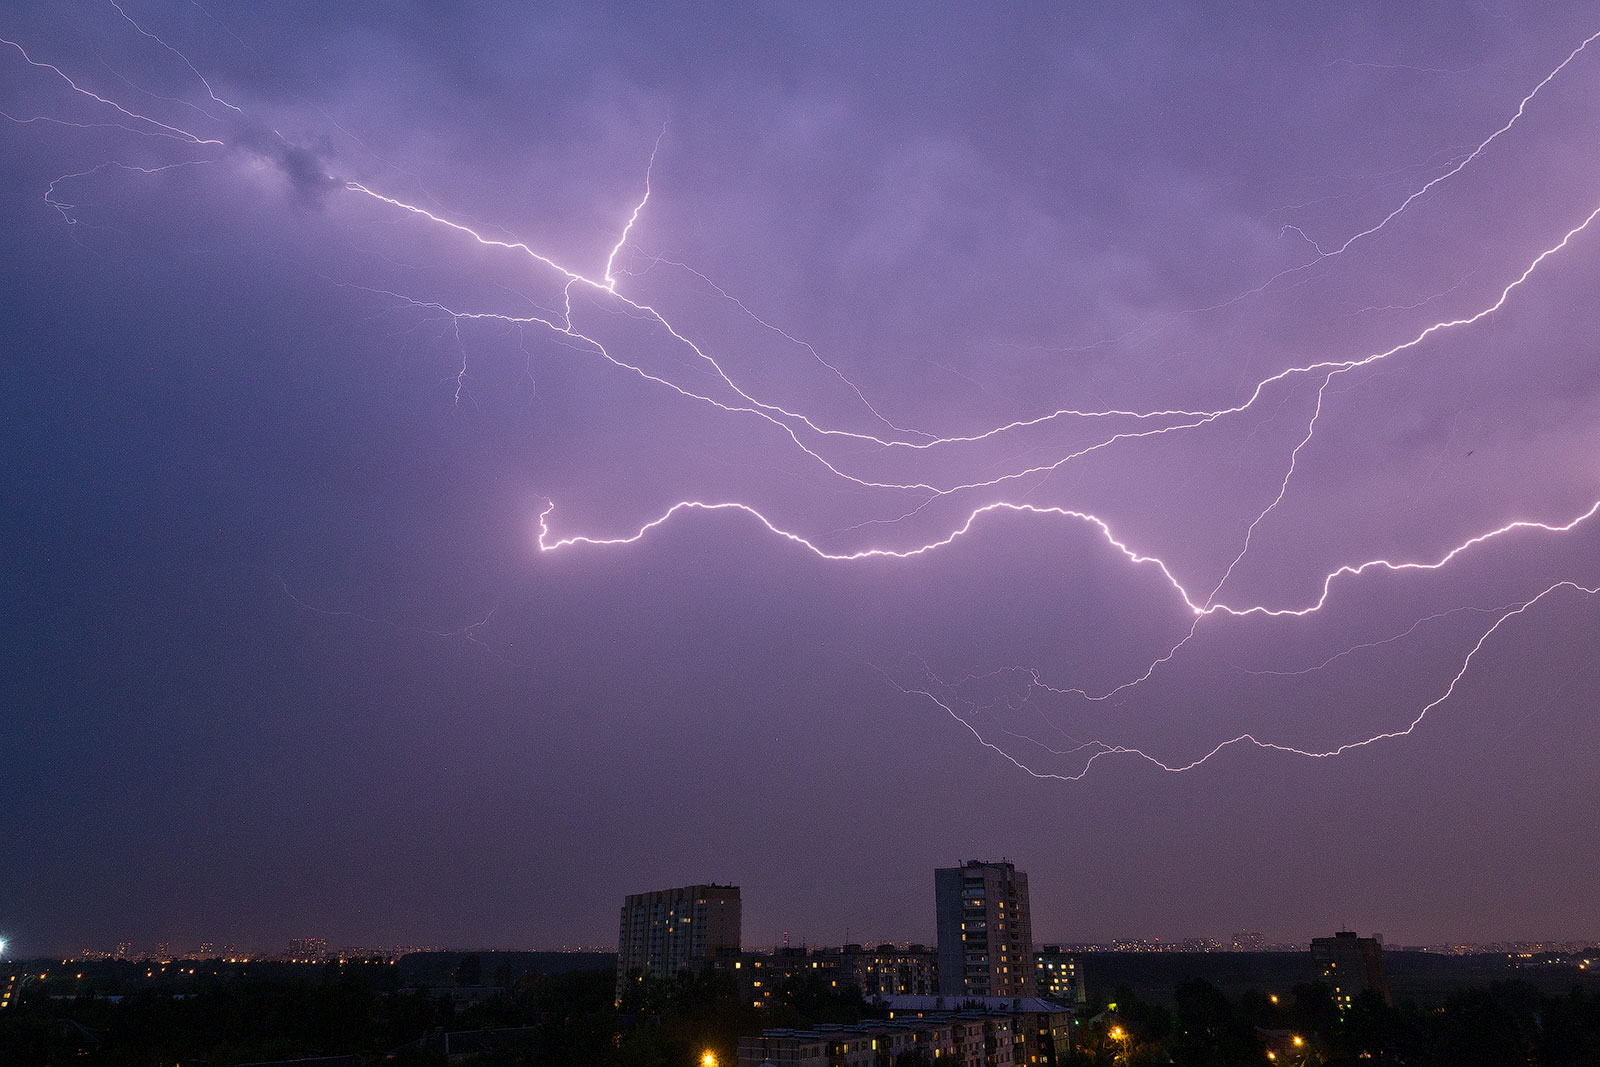
Lightnings
It is not easy to shoot lightnings. And the main problem is in difficulty to catch the moment of lightning with a short exposure. ND filters will significantly increase the exposure time and therefore increase the probability of a successful shot. If you're lucky, can get even a few lightnings in one shot.
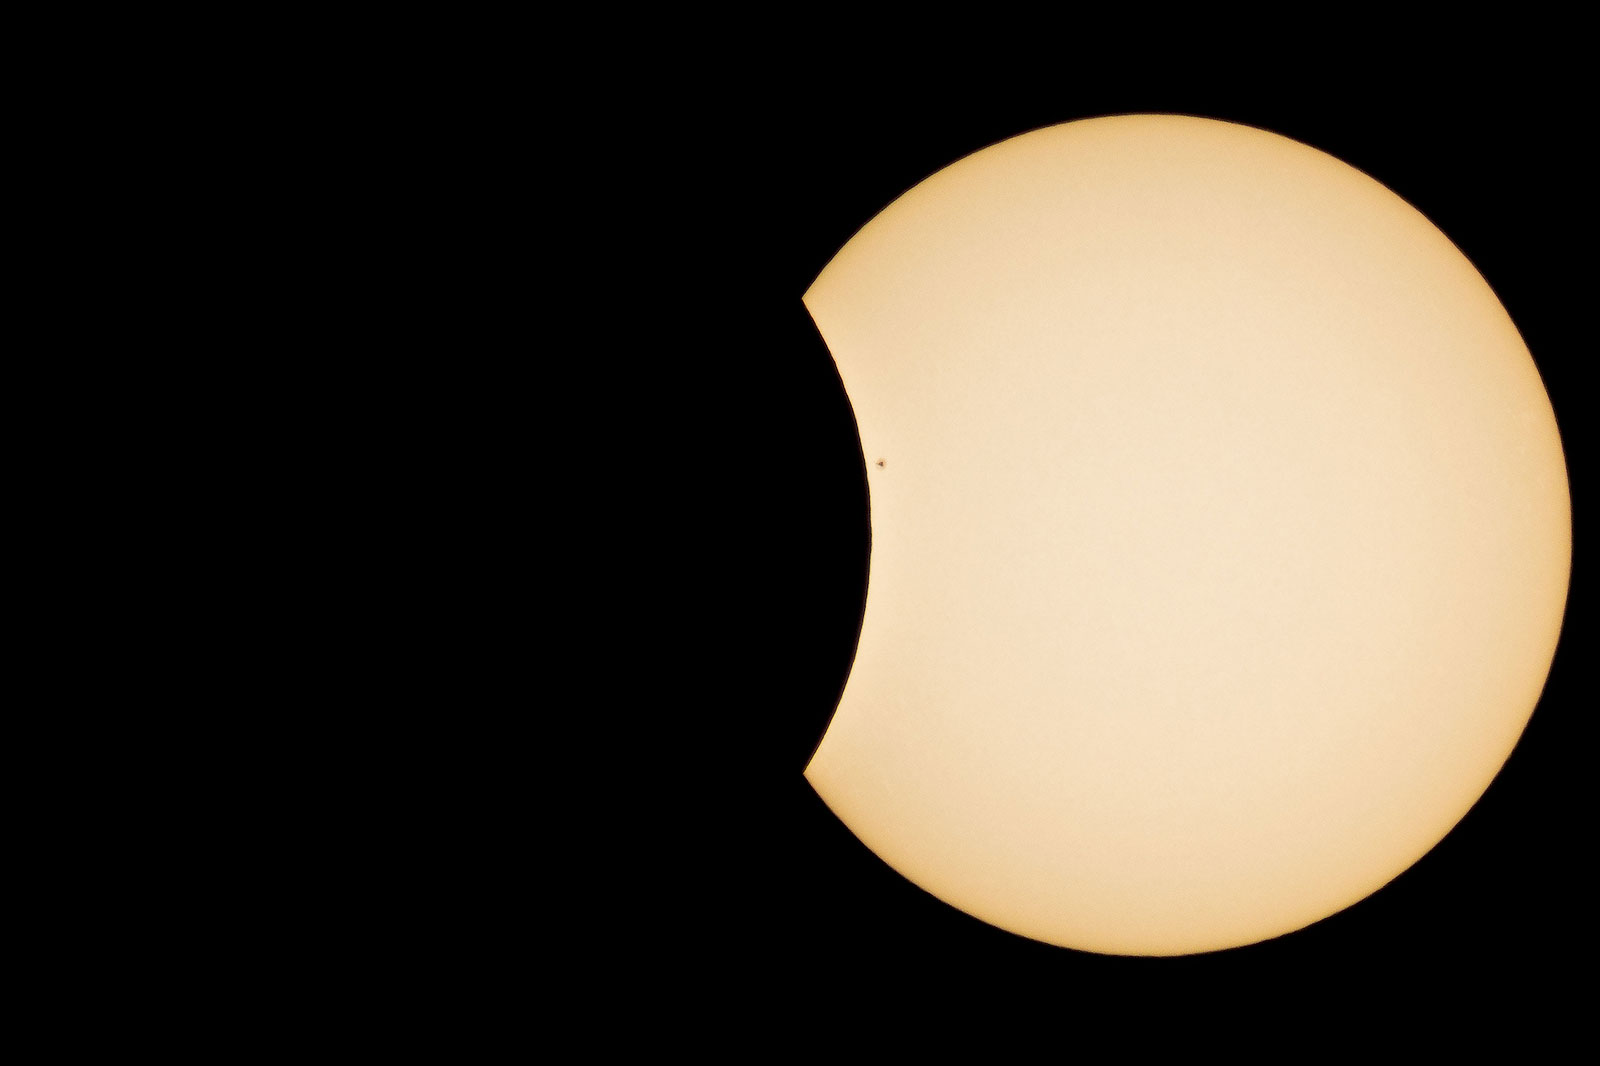
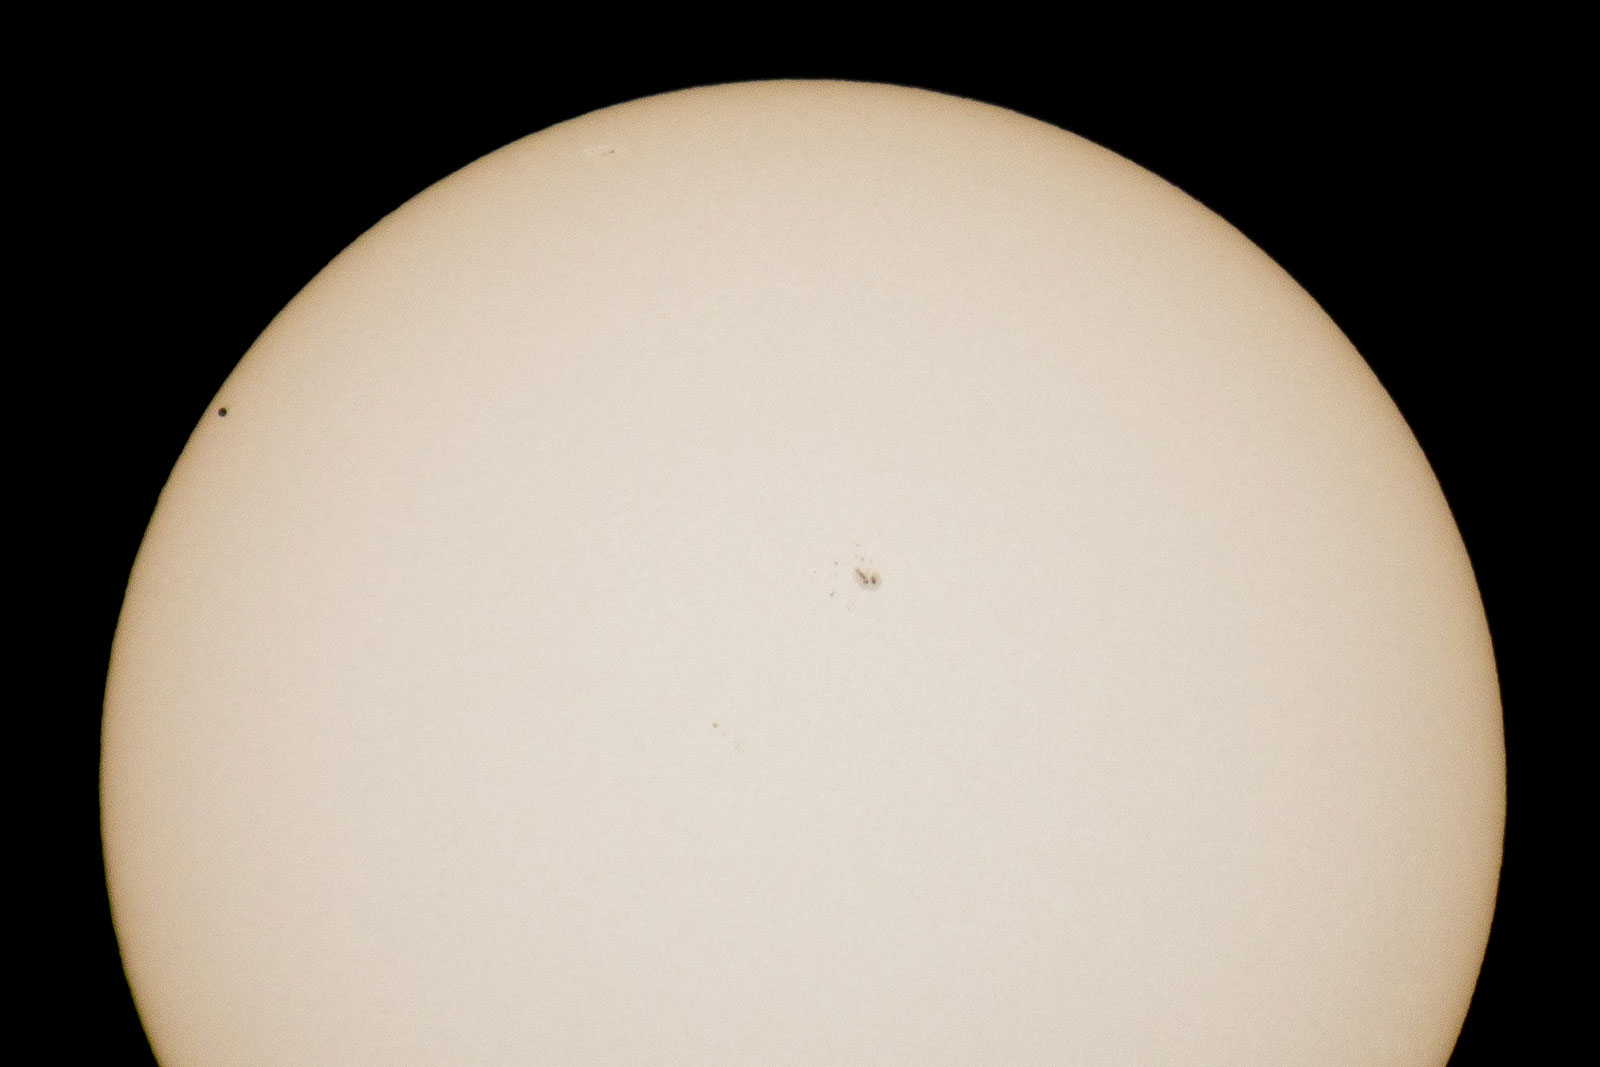
Shooting of the Sun
If you have a telephoto lens and want to shoot close-up Sun, it would require a super- dense neutral filter. It will allow you to capture the surface of the Sun without overexposure with solid color and visibility of the black spots.
CAUTION: DO NOT TRY TO CATCH THE SUN WITHOUT PRIOR PREPARATION, ESPECIALLY IF YOU USE DSLR CAMERA! Otherwise, you can damage the camera and injure you eyes.
Then let's talk about time lapses as it is a typical situation where you might need an ND filter.
Time-lapse
ND filters are often used in time-lapse, so let’s consider the typical situations.
Strong light flux
In fact, the situation is quite similar to classic photography. Time-lapse is a video made of a large number of serial shots. But there is an additional restriction - to avoid flicker effect you always have to shoot with a maximum aperture, if your lens has automatic aperture control. The fact is that during the serial shooting after each shot the camera sets the aperture into the initial (most opened) position and then closing it to the set value before the next shot. This action is repeating before the each shot. Here is the sample video of serial shooting on F2.8 lens with f/5.6 set:
And the point is that the automatic setting cannot close aperture into the identically same position. Every time the f-number will be a little bit different. That means that with every new shot the camera sensor will receive different value of light, so the final images will always be exposured in a different way, that is well seen in dynamics:
Therefore, in order to have a constant light flux when shooting time-lapse, it is recommended to set the aperture into the most opened position. That means that you would either have to shoot with very short shutter speed (which is undesirable and this will be considered below), or get an overexposure with a longer shutter speed.
That is, if in the classic photography setting the open aperture can be caused only by the situation (portrait photography), in time-lapse you always have to shoot with maximum aperture (unless you have a lens with manual aperture control).
Smooth dynamics
As we just mentioned, strong light flux and importance of shooting with wide open aperture gives us no choice, but to shoot with a fast shutter speed. However, in this case the final video will turn jerky and unpleasant for viewing. Using ND filters allows us to lower shutter speed and make video smoother.
Blurred motion
Blurred motion in time-lapse looks as good as in classic photography. But unlike the photos, the footage will look interesting both night and day, because it allows to express the dynamics. This technique is perfect for shooting of moving cars or flows of people. But if you shoot with a faster shutter speed, the final video, again, will look jerky.
Videography
Exposure control
If you are shooting video, for example, with a frame rate of 25 fps, it is recommended to set camera shutter speed to the inverse number of about 1/25 sec. But in sunny weather is almost impossible to fulfill this condition and you'll get overexposure.
The only thing you can do is to speed up the shutter speed, but in this case the final video will look jerky. ND filters allow to reach desired light flux for the optimal shutter speed.
Shooting of the Sun
When the Sun is near the horizon, you also can shoot not only time-lapse, but the usual video. And here you also need to use ND filters to cut an extra light flux.
Choosing the ND filter
Eventually we considered ND-filter types and main situations in which they can be used and the only thing now that remains is to give recommendations for choosing a right model.
If you have sufficient budget and want to seriously go deep into the long exposure, we recommend to use a set of filters. First, you need a filter with a high density level like ND500 or ND1000 with 9 and 10 ND f-stops. Using these filters you can achieve really long exposures. But if you need to slightly adjust the exposure (about 2-5 f-stops), we recommend to use variable ND filter. So, you will have ND filters for different situations. But that's not all. When you need to achieve an extra long exposure, you can make a "sandwich", combining both filters. So that you will get 15-17 f-stops.
The only thing you should pay attention to is a quality of variable density filters, because the common problem for a cheap variable ND filters is decrease in sharpness. Choosing the filter you should look for a well known and respectable brands. Kenko presented by 2 models - professional Kenko Variable NDX and for amateur - Kenko PL FADER.
Speaking of the more affordable way (which is much interesting for most photographers), I recommend to use filters with fixed ND level or a set of these filters. So, if you are shooting portraits with a fast lens, we recommend to use models between ND4-ND16. It will give you possibility to keep the depth of field even on sunny weather. If you are interested in long exposures, for example for shooting landscapes and cityscapes, models between ND32-ND200 will be enough for getting the shutter speed up to few seconds even on the sun. And finally, if you need an extra-long exposures, pay attention on the ND500 and ND1000 models (9 and 10 f-stops) or use a set of a few filters. For example, set of ND8+ND1000 (13 f-stops). ND32+ND500 (14 f-stops) also looks interesting.
Using filters with fixed ND level could look less convenient, but such way is more professional, because you can achieve any shutter speed as you like and it gives much better image quality (in case of resolution and color).
Conclusions
In this article we tried to consider the ND filters in a simple, but more detailed way for amateur photographers. Of course some nuances are stayed behind. For example, we did not speak about half-ND filters or about the color shift of ND filters of some manufacturers.
Also it was briefly mentioned above about the loss of sharpness problem of some variable ND filters. But as it was said at the beginning of the review it was made intentionally.
We hope this review will be useful and inspires you for new creative work.